Upgrading from Windows 10 Pro 22H2 to Windows 11 on Intel NUC devices should be straightforward, but many users encounter the dreaded message:
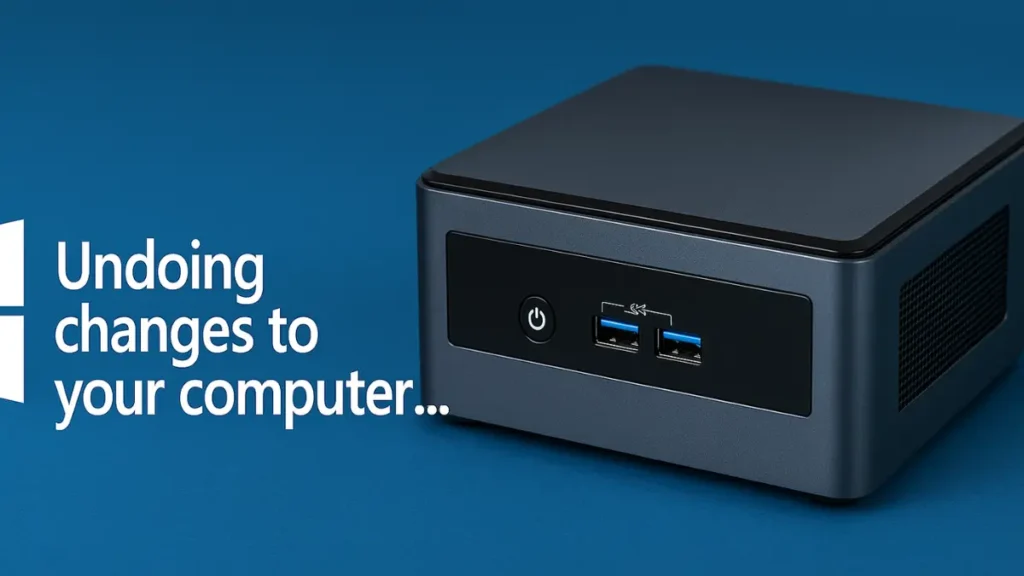
“Undoing changes to your computer…”
This error means the upgrade failed and Windows rolled back to its previous version. This guide explains why it happens and how to fix it.
Common Causes of Rollback on Intel NUC
- TPM 2.0 or Secure Boot not enabled
- Windows 11 requires TPM 2.0 and Secure Boot. If either is disabled in BIOS, setup may fail.
- Outdated BIOS firmware
- Older Intel NUC BIOS versions often block Windows 11 installation.
- Problematic storage or graphics drivers
- Intel Rapid Storage Technology (RST) and older graphics drivers are frequent culprits.
- Component store corruption in Windows 10
- If DISM cannot repair files (
The Source Files could not be found), setup cannot continue.
- If DISM cannot repair files (
- Third-party software interference
- Antivirus, disk encryption, or other low-level utilities can break the upgrade process.
Fix Windows 11 Upgrade Rollback (“Undoing Changes”) on Intel NUC
Step 1 – Check BIOS Settings
- Enter BIOS by pressing F2 during boot.
- Enable Intel PTT (TPM 2.0).
- Turn on Secure Boot.
- Ensure UEFI Boot Mode (not Legacy).
- If available, update to the latest BIOS from Intel’s Download Center.
Step 2 – Update Drivers
- Install the latest Intel Chipset, Graphics, and RST drivers.
- If you use RAID or Optane, try uninstalling the RST driver before upgrading.
Step 3 – Repair Windows 10 Component Store
If DISM reports missing source files:
- Download the Windows 10 22H2 ISO.
- Mount it, then run:
DISM /Online /Cleanup-Image /RestoreHealth /Source:X:\Sources\install.wim /LimitAccess(Replace X: with your ISO drive letter.)
- Reboot and re-run the upgrade.
Step 4 – Run the Upgrade Properly
- Use the official Windows 11 ISO or Installation Assistant.
- Disconnect external drives and USB peripherals.
- Temporarily uninstall third-party antivirus.
- Run
setup.exefrom the ISO within Windows.
Step 5 – Check Logs if It Still Fails
Look in:
C:\$WINDOWS.~BT\Sources\Panther\
C:\$WINDOWS.~BT\Sources\Rollback\- Open setuperr.log and setupact.log.
- Common rollback codes:
- 0xC1900101 → driver failure.
- 0x8007042B or 0x2000C → third-party software.
- 0xC1900208 → incompatible app/driver.
Alternative Fixes
- Perform a repair install of Windows 10 using the 22H2 ISO, then retry upgrade.
- As a last resort, back up your files and do a clean install of Windows 11.
Intel NUCs are fully capable of running Windows 11, but BIOS configuration, drivers, and component health are critical. Start by updating BIOS and drivers, repair the component store, and only then attempt the upgrade. If setup still fails, the Panther logs will reveal the exact issue.

