Survivalist Caches are one of the first major collectible sets you’ll encounter in Borderlands 4. These oversized weapon crates are hidden throughout the Fadefields region and provide a big stash of loot when opened. Each cache drops level-scaled gear, SDU Tokens, and contributes toward the Cache to Spend Challenge, which ultimately unlocks the Never Say DIY weapon skin.
Finding all ten caches isn’t always straightforward. Many are tucked away in caves, behind hidden entrances, or placed high above normal paths. This guide covers every location in detail so you can secure them all without missing a single one.
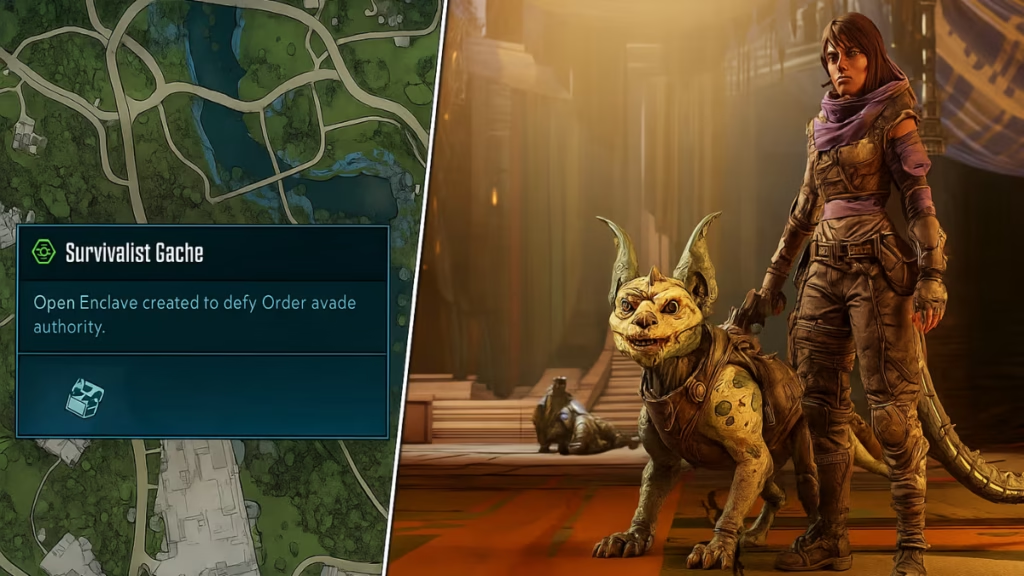
How Survivalist Caches Work
Unlike standard red chests, Survivalist Caches require you to interact with a small latch on the side to open them. Inside, you’ll usually find a mix of uncommon and rare gear, with the chance for epic drops. Each cache also grants 10 SDU Tokens, which can be spent on ammo, backpack, bank, or Lost Loot upgrades.
Importantly, these caches can only be opened once per campaign, so time your collection wisely if you want higher-level rewards later on.
All 10 Survivalist Cache Locations
Coastal Bonescape
- Haywire Shire
- In the southeast corner of the region, clear out the Ripper camp at Haywire Shire. The cache is behind the house on the east side, sitting just above on the hill.
- Bridge Near Harper’s Hideaway
- East of Harper’s Hideaway is a covered bridge over the river. Use the nearby box or tractor to mantle up into the rafters, where the cache is hidden.
- Sarrett’s Jetty
- Follow the road west from Harper’s Hideaway to the shoreline outpost called Sarrett’s Jetty. The cache sits between two buildings, close to a wrecked ship and guarded by Rippers.
The Howl
- Gushing Turret
- From Mort’s farm, head west to the lake at Gushing Turret. Look for a broken grate in a large pipe and swim through to a hidden hideout where the cache rests in the back room.
- Thresher Caves
- Enter the caves on the east side of The Howl. Use the grapple point in the rear chamber to reach the upper level. Past the red chest glide point, look right into a side chamber with a shack—your cache is outside.
- Rootdown Estates
- Northeast of Rootdown Estates, climb the cliffs into a gray map area leading to Ripper caves. Clear all enemies; once the final Ripper falls, a locked door opens to reveal the cache and a red chest inside.
Idolator’s Noose
- Someday Rise Path
- While heading toward Someday Rise, stop before the broken wooden bridge. Drop into the gorge below to find an abandoned camp with the cache.
- Racketrun Shack
- In the southwest of Idolator’s Noose, climb the cliffs at Racketrun. A shack at the top contains the cache.
- Boglight Vigilance
- In the far southeast swamps, look for a crashed Order ship near an inlet with a small island. The cache is inside the wreck, but watch for heavy patrols.
Dissected Plateau
- Synthetic Nave Roadside Pipe
- Northwest of Synthetic Nave, near an abandoned farm by the road fork, crawl into a drainpipe on the right side of the path. Inside the hidden chamber is your final cache.
Rewards for Collecting All Caches
- 10 SDU Tokens per cache (100 total)
- Large assortments of weapons and shields, usually higher rarity than standard chests
- Bonus cash and Eridium when the challenge completes
- Never Say DIY Weapon Skin as the final collectible reward
With all ten caches unlocked, you’ll not only pad out your inventory but also secure an early boost to your character’s progression.
Quick Tips for Cache Hunting
- Fight or skip enemies: Many caches are in Ripper camps, but you can often run past them if you only want the loot.
- Use Fast Travel hubs: Starting from nearby safehouses like Someday Rise or Rootdown Estates makes cache hunting faster.
- Save some caches for later: Since loot scales with level, holding off until you need better gear can give you more value.
The Survivalist Caches in Borderlands 4 are a rewarding first step into collectible hunting. They mix exploration, light puzzles, and combat while granting valuable loot and SDU Tokens. If you’re aiming for 100% completion in the Fadefields, these should be your first priority. Play Now!
Related Guides You Might Like:

