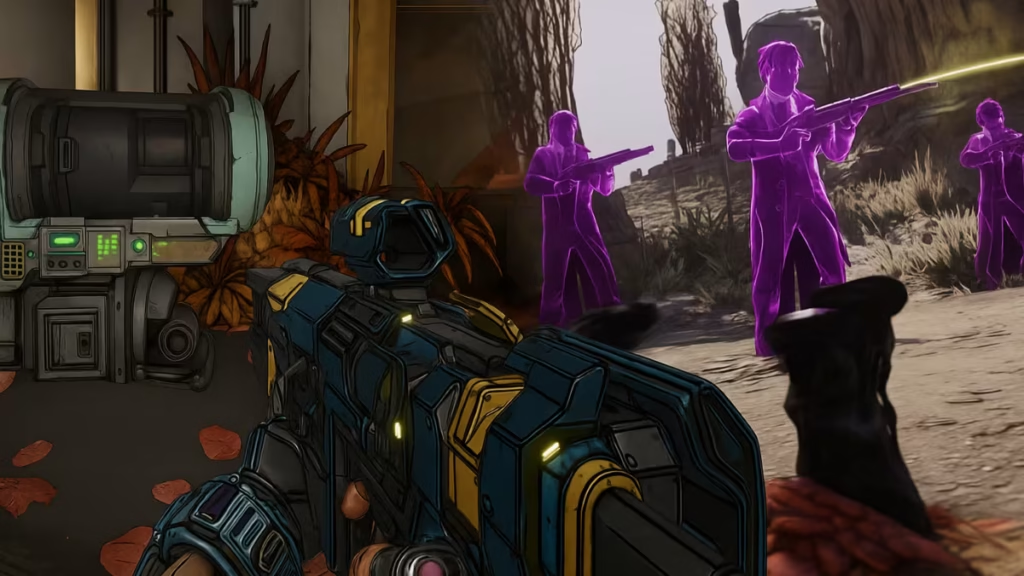
Firmware is one of the most important new mechanics in Borderlands 4, adding set-bonus style perks to shields, repkits, ordnance, class mods, and enhancements. If you want to optimize your endgame build, you’ll need to know how to move firmware between items. That’s where the Firmware Transfer Machines come in.

These special stations let you extract firmware from one item and apply it to another of the same type. The process costs cash, Eridium, and the donor item itself, but it allows you to preserve your best bonuses on stronger gear. Below, we’ll break down how to unlock them, where to find each one on Kairos, and the rules you need to know before transferring.
How to Unlock the Firmware Transfer Machine
You won’t have access to Firmware Transfer Machines during the main story. To unlock them, you need to:
- Complete the campaign – finish all primary missions.
- Begin Ultimate Vault Hunter Mode – four missions become available once the credits roll.
- Finish the first mission, “Zane’s Firmware” – this opens up the transfer system.
Only after this step will the machines activate across Kairos. Expect to pay around 100 Eridium and a hefty cash fee per transfer.
See also: Borderlands 4 Ancient Crawler Locations Guide – All 11 Crawlers & Rewards
Firmware Transfer Rules You Should Know
Before spending your hard-earned Eridium, keep these restrictions in mind:
- Same item type only – you can move firmware from shield to shield, or from ordnance to ordnance, but never across categories.
- Donor item is destroyed – the source gear is consumed in the process.
- Recipient keeps firmware permanently – once transferred, that firmware is locked to the new item.
- No weapons allowed – firmware rolls only on non-weapon gear such as repkits, shields, ordnance, class mods, and enhancements.
- Stacking bonuses – three pieces of the same firmware activate its full set bonus, but you can also combine a 3-piece set with a 2-piece set for hybrid builds.
All Firmware Transfer Machine Locations on Kairos
There are five Firmware Transfer Machines spread across major regions of Kairos. Each one is placed in a hub-style location so you can return whenever you’re ready to reconfigure your loadout.
| Machine | Region | Exact Spot |
|---|---|---|
| 1 | The Howl | Southeast section |
| 2 | Heart of the Mountains | Eastern edge |
| 3 | The Low Leys | Southern area |
| 4 | Ruined Sumplands | Southeast corner |
| 5 | Carcadia District | Central plaza |
When checking your map, look for the Firmware Transfer Machine icon (you can toggle it in the legend). The Echo-4 HUD will also highlight the machine if you’re nearby.
Step-by-Step: Using a Firmware Transfer Machine
Once you’ve found one, here’s how the transfer process works:
- Interact with the machine – open the transfer menu.
- Slot your donor gear – place the item with the firmware you want to move.
- Choose the recipient – select a piece of gear of the same type.
- Preview the result – confirm the firmware will apply to the correct target.
- Pay the cost – spend cash and Eridium, then finalize.
- Receive your upgraded item – the firmware now resides permanently on your chosen gear.
Related Guides You Might Like:
Quick Tips for Firmware Transfer Machine locations
- Save every firmware item – even common drops can be valuable donors later.
- Plan builds early – think about which legendary items will benefit most from permanent firmware.
- Bank space is key – hold extras until you reach Ultimate Vault Hunter Mode.
- Farm Ripper Drill Sites – these high-density zones are known for dropping firmware gear quickly.
Borderlands has always been about chasing loot, but firmware ups the ante by letting you build layered bonuses across multiple items. The machines ensure that your hard-earned firmware doesn’t get locked onto underleveled gear forever. By investing time and Eridium into the transfer system, you’ll have more control over endgame optimization than ever before. Play Now!

