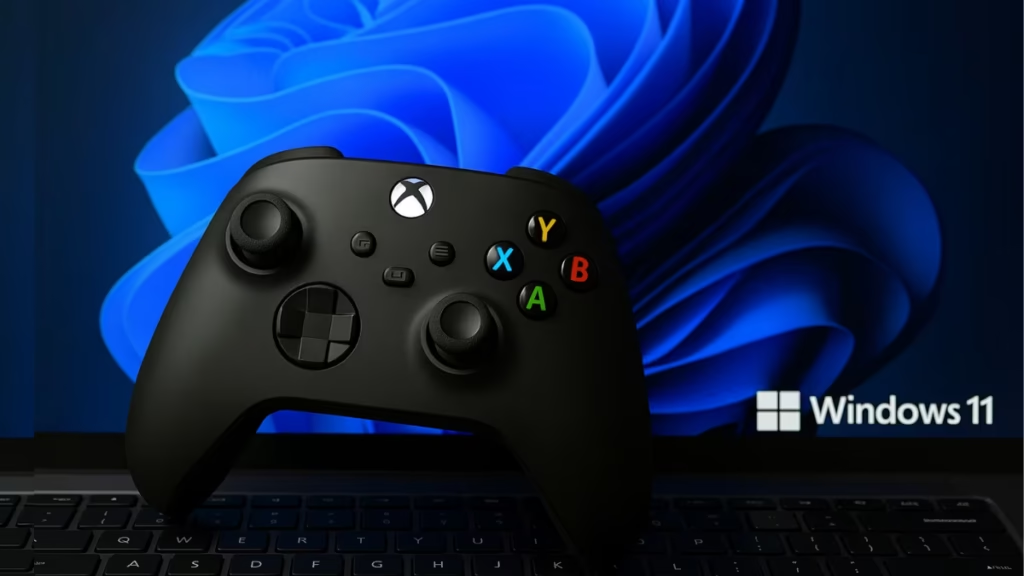
If your Xbox One controller feels off while gaming on PC—like the sticks drifting, inputs feeling uneven, or buttons not responding correctly—calibration can help. Windows 11 includes a built-in calibration wizard that lets you realign your controller’s inputs for smoother performance.

Why Calibrate Your Xbox One Controller?
Over time, your controller may develop small input errors such as:
- Stick drift – the character moves without touching the stick.
- Unbalanced triggers – one side feels more responsive than the other.
- Dead zones – movements don’t register until sticks are pushed further.
Calibration fixes these issues by re-mapping the hardware’s actual input positions with Windows’ expected data.
Step 1: Connect the Xbox One Controller
- USB Method: Plug in the controller using a USB cable.
- Wireless Method: Pair it via Settings → Bluetooth & devices.
- Confirm Windows recognizes the controller (you’ll usually feel a vibration).
Step 2: Open the Calibration Tool
There are two ways to access the calibration menu:
- Shortcut Method (Fastest):
- Press Win + R, type
joy.cpl, and press Enter.
- Press Win + R, type
- Control Panel Method:
- Go to Control Panel → Hardware and Sound → Devices and Printers → Right-click the controller → Game Controller Settings → Properties.
Both methods lead to the same Game Controller Settings window.
See also: How to Fix Stick Drift on PS5, Xbox & PC Controllers
Step 3: Run the Calibration Wizard
- In the controller properties, go to the Settings tab.
- Click Calibrate to launch the wizard.
- Follow the on-screen instructions:
- D-pad: Calibrate to ensure proper centering.
- Left Stick (X and Y axes): Rotate fully, then let it rest in the center.
- Right Stick (Z axis included): Repeat the rotation and centering.
- Triggers: Pull and release fully to record maximum and minimum ranges.
Important: When prompted to leave controls in their neutral position, do not touch them until the step completes.
Step 4: Test and Reset if Needed
- After calibration, open the Test tab.
- Move sticks, press triggers, and check buttons for proper input.
- If calibration feels wrong, use the Reset to Default button and try again.
Step 5: Fine-Tune with Xbox Accessories App (Optional)
The Xbox Accessories app (from Microsoft Store) allows:
- Updating controller firmware.
- Remapping buttons.
- Adjusting trigger and vibration settings.
This is optional but useful if calibration alone doesn’t solve your issues.
Step 6: Troubleshooting Tips
If problems remain, try these quick fixes:
- Controller not detected: Check USB cable or switch to wired if on wireless.
- Not working properly: Update controller drivers and firmware.
- Lag, drift, or input delay: Re-run the calibration wizard.
- Won’t connect to PC: Install the latest drivers or use the Xbox Wireless Adapter.
Calibrating your Xbox One controller in Windows 11 is simple and helps resolve drift, dead zones, or uneven inputs. Whether you use the joy.cpl shortcut or Control Panel, the calibration wizard ensures your sticks, triggers, and D-pad perform at their best.
With firmware updates through the Xbox Accessories app and basic troubleshooting, you can keep your controller working smoothly for all your PC games.

