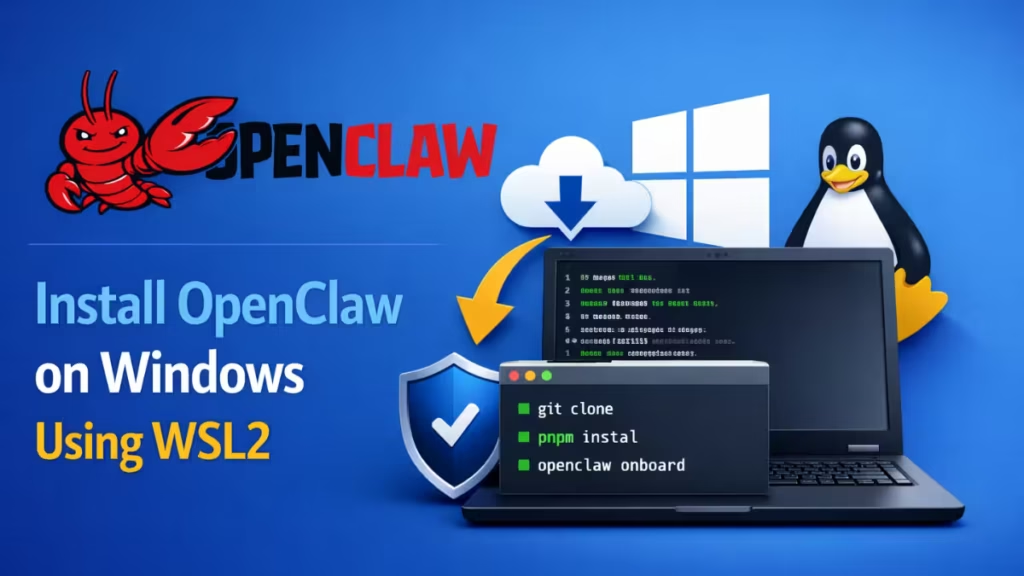
Installing OpenClaw on Windows works reliably when you follow the official WSL2-based installation method documented by the project. OpenClaw relies on Linux-first tooling, so Windows users must run it inside WSL2 (Windows Subsystem for Linux) for stable operation.
OpenClaw is built as a Linux-first tool and relies on system services, service managers, and runtime behavior that Windows does not provide natively. Running OpenClaw inside WSL2 gives Windows users a full Linux environment with proper service handling, stable networking, and predictable builds. This approach avoids native Windows failures and matches the installation method recommended by the OpenClaw project itself.
Why OpenClaw Uses WSL2 on Windows
OpenClaw depends on Linux-based services, system processes, and package tooling. Native Windows environments do not provide these components reliably.
WSL2 solves this by running a full Linux environment alongside Windows, allowing OpenClaw to function exactly as intended while remaining local to your system.
System Requirements
Before starting, confirm the following:
- Windows 10 or Windows 11 (64-bit)
- WSL2 enabled
- Ubuntu installed via WSL2
- Node.js 22 or newer
- Internet connection
- Administrator access for initial setup
OpenClaw requires Node.js ≥ 22. Older Node versions can fail during installation or onboarding.
OpenClaw provides an official installer, but for Windows systems the project documents and recommends running OpenClaw inside WSL2. This guide follows that documented WSL2 installation method, which is fully supported and equivalent to the installer’s setup.
Step 1: Install WSL2 and Ubuntu
- Open PowerShell as Administrator
- Run:
wsl --install -d Ubuntu-24.04- Restart Windows if prompted
- Launch Ubuntu from the Start Menu
- Create a Linux username and password
This creates a local Linux environment for OpenClaw.
See also: How to Install Moltbot Locally on macOS, Linux, and Windows
Step 2: Enable systemd in WSL (Required)
OpenClaw requires systemd to manage its Gateway service.
Inside the Ubuntu terminal:
sudo tee /etc/wsl.conf >/dev/null <<'EOF'
[boot]
systemd=true
EOF
Close Ubuntu, then run in PowerShell:
wsl --shutdownReopen Ubuntu and verify:
systemctl --user statusStep 3: Install Required Tools Inside WSL
Install Git and Node inside Ubuntu, not on Windows.
sudo apt update
sudo apt install -y git curl
Install Node.js 22:
curl -fsSL https://deb.nodesource.com/setup_22.x | sudo -E bash -
sudo apt install -y nodejs
Install pnpm:
npm install -g pnpmVerify:
node -v
pnpm -v
Step 4: Download OpenClaw
Clone the official OpenClaw repository:
git clone https://github.com/openclaw/openclaw.git
cd openclaw
Always use the official GitHub repository. Avoid third-party builds or executables.
Step 5: Build OpenClaw
Install dependencies and build the project:
pnpm install
pnpm ui:build
pnpm build
This step prepares the CLI, Control UI, and Gateway components.
Step 6: Run OpenClaw Onboarding
Start the interactive onboarding process:
openclaw onboardDuring onboarding, OpenClaw:
- Configures local defaults
- Sets up the Gateway
- Prompts for model provider selection
- Prepares chat integrations
Choose QuickStart if prompted.
Step 7: Install the Gateway Service
If the Gateway is not installed automatically, run:
openclaw onboard --install-daemonThis runs the Gateway as a background service inside WSL.
Step 8: Verify the Installation
After installation, confirm everything works correctly:
openclaw doctor
openclaw status
openclaw dashboard
openclaw doctorchecks environment healthopenclaw statusconfirms Gateway statusopenclaw dashboardopens the Control UI in your browser
Accessing the OpenClaw Interface
OpenClaw provides two interfaces:
- Terminal UI (TUI) for command-line interaction
- Control UI (Web Dashboard) for browser-based management
When OpenClaw shows a local URL, open it in your Windows browser using:
http://localhost:<port>Why Native Windows Installation Is Not Supported
OpenClaw does not support direct installation on native Windows systems. The project relies on Linux-based tooling and service management that Windows cannot replicate reliably. While Docker-based setups exist, WSL2 remains the only stable and officially documented way to run OpenClaw on Windows in 2026.
Common Mistakes to Avoid
- Do not run OpenClaw directly in Windows CMD
- Do not skip systemd configuration
- Do not use Python, pip, or virtual environments
- Do not install unofficial executables
- Do not expose Gateway ports without firewall rules
FAQs: Install OpenClaw on Windows
How do I install OpenClaw on Windows?
You install OpenClaw on Windows by setting up WSL2 with Ubuntu and running OpenClaw inside the Linux environment, which ensures proper dependency handling, onboarding, and Gateway stability.
Does OpenClaw support native Windows installation?
No, OpenClaw does not support a full native Windows installation because it depends on Linux-based tooling and services, so the project officially recommends running it through WSL2.
What is the official way to install OpenClaw on Windows?
The official way to install OpenClaw on Windows is to use WSL2 and follow the documented installation steps provided by OpenClaw, either through the installer or the documented WSL2 setup process.
Which Node.js version is required for OpenClaw?
OpenClaw requires Node.js version 22 or newer, as older Node versions can cause build failures, onboarding errors, or Gateway issues during installation.
Why does OpenClaw require WSL2 on Windows?
OpenClaw requires WSL2 because it relies on Linux-based system services, package managers, and binaries that are not reliably available in native Windows environments.
How can I verify that OpenClaw installed correctly?
You can verify a successful OpenClaw installation by running openclaw doctor, openclaw status, and openclaw dashboard, which confirm environment health, Gateway status, and access to the Control UI.
Is OpenClaw safe to run locally on Windows?
OpenClaw is safe to run locally when used responsibly, but since it can access files and execute commands, users should limit permissions, avoid sensitive directories, and start with private integrations.
Can I update or uninstall OpenClaw later?
Yes, OpenClaw supports clean updates, migration, and uninstall through its official CLI commands, all of which are documented in the project’s official documentation.
Do I need Docker to run OpenClaw on Windows?
No, Docker is optional and not required, as OpenClaw can run locally on Windows using WSL2 without any container setup.
Installing OpenClaw on Windows works reliably only through WSL2, as documented by the project. This method aligns with OpenClaw’s official tooling and avoids common runtime issues.
Once installed, OpenClaw runs locally inside WSL2 while remaining fully accessible from Windows. Used carefully, it becomes a powerful assistant for automation, research, and workflow control.

