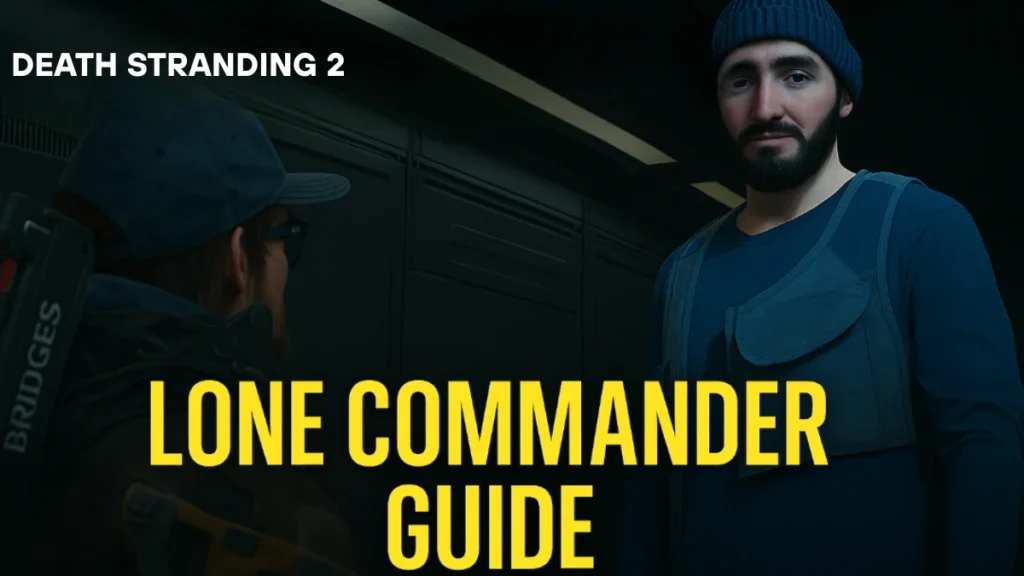
Death Stranding 2: On the Beach continues Kojima’s trademark mix of delivering cargo and exploring a beautiful but dangerous world. One of the first optional places you can visit is the bunker of The Lone Commander, hidden up in the hills above the Government’s Base in Australia. It’s not part of the main story, but reaching him is worth it if you want some great gear and extra missions.
This guide covers everything you need to know about how to get to the Lone Commander, including both possible routes, the gear you should bring, what to watch out for, and the rewards waiting for you once you earn his trust.
See Also: Death Stranding 2 Episode and Order List
Where to Find the Lone Commander
You’ll unlock the Lone Commander during Sub Order 100, which pops up right after you finish Order No. 009 at the Government’s Base. His shelter appears on your map northeast of the base, sitting high up in rocky hills.
The game marks the destination clearly but getting there isn’t as simple as following a straight line.
Read More: Death Stranding 2 Beginner Tips
Route 1: The Shorter Cliffside Path (Faster but Risky)
The fastest way to the Lone Commander is to go straight northeast from the Government’s Base, heading up into the cliffs.
How to take this path:
- Leave the Government’s Base. Walk out and look east. You’ll see a slope heading up.
- Stick to the right side of the slope and keep climbing.
- Once you’re on the high ground, head north toward the Lone Commander’s icon on your map.
This route is full of rocks and narrow ledges but can still be crossed on foot or with light vehicles like the Tri-Cruiser. But it’s definitely not the safest way, because:
- BT Zone: This path takes you right through a BT area full of green-eyed BTs—a tougher new enemy type in Death Stranding 2. They can also call in more BTs if they spot you.
- Timefall: The area gets a lot of rain, which damages your cargo faster.
- Steep Climbing: While ladders aren’t strictly required, bringing one can help if you hit a tall ledge.
What to Bring
- 2–3 Blood Grenades to deal with BTs if you get caught.
- Assault Rifle with MP rounds for fighting BTs.
- Container Repair Spray to protect your cargo from rain damage.
- A ladder just in case you hit rough terrain.
Stealth is key here. Crouch and move slowly through the BT area. If you get spotted, toss a Blood Grenade first, then shoot the BTs to finish the job.
Once you’re past the BTs, it’s just a short 10-second walk to the Lone Commander’s bunker over a flat stretch of land.
Related Guides You Might Like: Death Stranding 2 Auto-Paver Locations
Route 2: The Longer Rear Path (Safer but Takes More Time)
If you’d rather avoid BTs entirely, there’s a longer but safer way to reach the Lone Commander.
How to take this path:
- Leave the Government’s Base but go south instead of northeast.
- Walk past the Brigand’s Camp and keep away from the Smoke Hill Mine.
- Circle around behind the mountain.
- Climb up the waterfall at the back.
- Approach the Lone Commander’s bunker from behind.
This route is much longer, but you won’t run into any BTs along the way, making it a good choice if you’re carrying fragile cargo or just don’t want to fight.
A few things to note:
- The bandit camp is pretty easy to sneak past.
- Later in the game, you can build roads or ziplines to cut down on travel time for this route.
- The waterfall climb can slow you down, so bringing a ladder or climbing anchor helps.
The Lone Commander Won’t Trust You Right Away
When you first deliver cargo to the Lone Commander, he won’t agree to join the Chiral Network immediately. Like many other preppers in Death Stranding, he’s cautious and needs to know he can trust you.
Instead of connecting right away, he’ll send you on another sub mission. You’ll have to head back into the BT zone to recover more cargo for him. Once you complete this extra task, he’ll finally let you link up to the network and unlock more deliveries and rewards.
See Also: How to Leave Signs in Death Stranding 2: On the Beach
How Heavy Is the Cargo?
A detail worth mentioning: the cargo for Sub Order 100 weighs about 44 pounds (around 20 kg). That’s not too heavy for Sam, but it matters if you’re planning to take the shorter cliff path where you’ll need to stay light and quick.
Lone Commander Rewards
If you keep delivering to the Lone Commander and raise your connection level, he’ll reward you with some powerful gear that’s especially great for stealth players. Here’s what you can unlock:
| Stars | Reward |
|---|---|
| ★ | Tranquilizer Sniper Rifle – Good for taking out enemies quietly from far away. |
| ★★ | Smoke Grenade – Creates smoke to hide your movements. |
| ★★★ | Silenced Tranquilizer Handgun – A quiet weapon similar to the Bola Gun, perfect for stealth. |
| ★★★★ | Lightweight Tranquilizer Sniper Rifle – Lighter than the regular version, making it easier to carry. |
| ★★★★★ | Silenced Lightweight Tranquilizer Sniper Rifle – One of the best weapons in the game. Can knock out many enemies in one shot and stays silent so nobody knows where the shot came from. |
These rewards make it well worth the effort to keep visiting the Lone Commander after your first delivery.
Tips Before You Go
- Pick Your Route Wisely: Go direct for speed but expect BT trouble, or take the long way for safety.
- Stay Ready for Timefall: Bring Container Repair Spray to protect cargo from rain damage.
- Think About Roads and Ziplines: Once you unlock more tools, building infrastructure makes future trips way easier.
- Manage Cargo Weight: Keep your load light if taking the cliff path.
- Know Your Ride: The Tri-Cruiser can help on the cliff route but might get stuck in rough spots.
See Also: Death Stranding 2 Structures Guide
Finding the Lone Commander in Death Stranding 2 is one of those classic Kojima moments—an optional challenge that’s both dangerous and rewarding. Whether you risk BT fights for a faster run or take the longer path to stay safe, getting to his bunker unlocks some of the game’s best stealth gear and deepens the world’s storytelling.
With the right prep, any porter can earn the Lone Commander’s trust and score some top-tier equipment for future deliveries.
Related Guides You Might Like:

