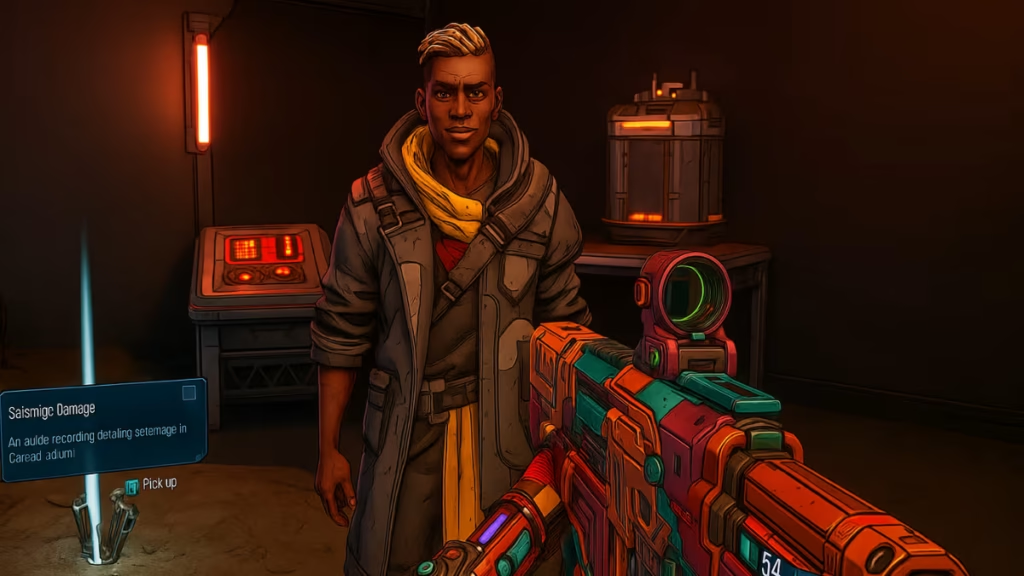
The Fault Hunting side mission takes you deep into Carcadia Burn, where tremors are threatening the stability of the region. What starts as an investigation into seismic activity quickly uncovers hidden Order facilities, dangerous synth prototypes, and a powerful AI named Genone. This guide covers every step of the mission—from starting the quest to defeating the final boss—so you won’t miss a thing.

How to Start Fault Hunting
There are two different ways to begin this mission, but both point you toward the same NPC:
- Method 1: Talk to Leopold, a young seismologist at the Society for Amateur Seismology Enthusiasts, located in the Ruined Sumplands, north of Moxxi’s bar.
- Method 2: After restoring Carcadia during the Unpaid Tab main quest, you can also pick it up from the Quest Board.
Either way, Leopold will brief you about strange tremors and ask you to investigate their source.
Step 1 – Investigating the Tremors
- Head to the northeast cave marked on your map. The entrance is large and easy to spot.
- Inside, use the air vents/geysers to cross gaps. Time your jumps carefully—activate double jump after the geyser lifts you for maximum height.
- Fight off the Creeps infesting the cavern.
- Complete the optional objective by picking up the Seismic Damage ECHO Log and examining the large glowing green bulkhead door.
Leopold notes the door’s construction looks like an Order build, but it doesn’t appear on any maps—something worth investigating.
Step 2 – Entering the Hidden Facility
- After the optional check, another vent opens nearby. Ride it up to a ledge and crawl through the narrow passage.
- You’ll find yourself in an Order facility hallway. Keep moving until you reach a malfunctioning door.
- Watch closely: when the door partially opens, shoot the visible green fuse canister to unlock it.
- More Creeps attack beyond this point—clear them out.
Step 3 – The Server Room Puzzle
- Drop into the red vent and follow the hallway to a large server room.
- Examine the dead Creeps glowing green, then interact with the server console in the center. It needs power.
- Find the generator across the room with three large tubes.
- Solve the pipe puzzle using your Grapple ability on ceiling junctions to reroute energy toward the console.
- Once the circuit is complete, let ECHO-4 hack the server. Defend him from incoming waves of Creeps.
When the hack succeeds, you’ll see a recording of Zadra, revealing her work on a rogue synth project. That synth—Genone—contacts you directly and invites you to confront him.
Step 4 – Locating Genone
- Exit the facility and head south toward the Yawning Yard near Carcadia Burn.
- If you’ve unlocked the Makeshift Chalet safehouse, fast travel there for quicker access.
- From the cliff edge, use Echo Location to pinpoint the path downward. Drop carefully until you reach another Order bulkhead door.
- Genone will grant you access. Head inside.
Step 5 – Inside Genone’s Laboratory
- Fight through more Creeps while navigating the corridors.
- You’ll eventually face synth prototypes—stronger robotic enemies meant to test your combat abilities. Defeat them all.
- Another pipe rerouting puzzle blocks your way forward. This one is trickier: some paths are broken, so you must connect power along a route behind the generator to activate the door.
- Past this point, you’ll enter a decontamination chamber (the gas here looks dangerous but won’t harm you). Afterward, climb the ladder to a prep room with vending machines.
Stock up—you’re about to face Genone.
Step 6 – Boss Fight: Genone
Genone is a heavily armored synth with multiple health bars and dangerous attacks. Here’s how to take him down:
- Phase 1 – Shields: Genone’s shields are vulnerable to Shock damage. Equip at least one Shock weapon to strip them quickly.
- Phase 2 – Armor: Once shields are down, switch to Corrosive or Cryo weapons to chew through his armor.
- Minions: He periodically spawns synths and Order troops. Keep at least one enemy alive for Second Wind opportunities but avoid getting swarmed.
- Attacks: Expect elemental splash damage matching his affinity (often Corrosive). Use cover around the arena and keep moving.
- Regeneration: At ~50% health, Genone may begin regenerating armor. Stay aggressive with Corrosive weapons to outpace the healing.
Defeating him requires balancing crowd control with sustained DPS on the boss.
Step 7 – Shutting Down the Facility
- After Genone falls, check behind the chamber he emerged from to find the Control Room Keycard (sometimes called Facility Override – Clearance Zadra).
- Use it on the nearby console to unlock the control room.
- Flip the switch to shut down the facility permanently. Leopold thanks you for ending the seismic threat.
Fault Hunting Rewards
Completing Fault Hunting grants:
- XP & Cash
- Eridium
- Assault Rifle (Uncommon to Epic rarity)
- Cosmetic Weapon Skin: Eternal Defender
- Additional loot from Genone, including a chance at dedicated Legendary gear like the Oscar Mike or Recursive (if farming him).
Related Guides You Might Like:
Quick Tips: Fault Hunting Side Mission Walkthrough Borderlands 4
- Bring Shock and Corrosive weapons before heading to Genone’s lab.
- Don’t forget to complete the optional objectives (ECHO Log and door scan) for lore flavor and progression clarity.
- If you plan to farm Genone’s drops, return after finishing the mission—he can be re-fought for his Legendaries.
The Fault Hunting side mission is one of the most memorable optional quests in Borderlands 4, blending environmental puzzles with a challenging boss battle and plenty of lore connecting back to Zadra and the Order. Play Now!

