If you paused Windows updates or skipped recent security patches, your system may not have received the latest Secure Boot certificate update. This update is important because older Secure Boot keys expire soon, and missing it can cause boot issues or security risks later.

You can manually trigger the Secure Boot certificate update in Windows 11 using a simple command-based method. Follow this guide carefully to update it safely.
Before You Start
Prepare your system first to avoid errors during the update.
- Enable Secure Boot in BIOS/UEFI
- Install the latest Windows cumulative update
- Save your BitLocker recovery key (if enabled)
- Use an administrator account
Do not skip this step. Most failures happen because of missing prerequisites.
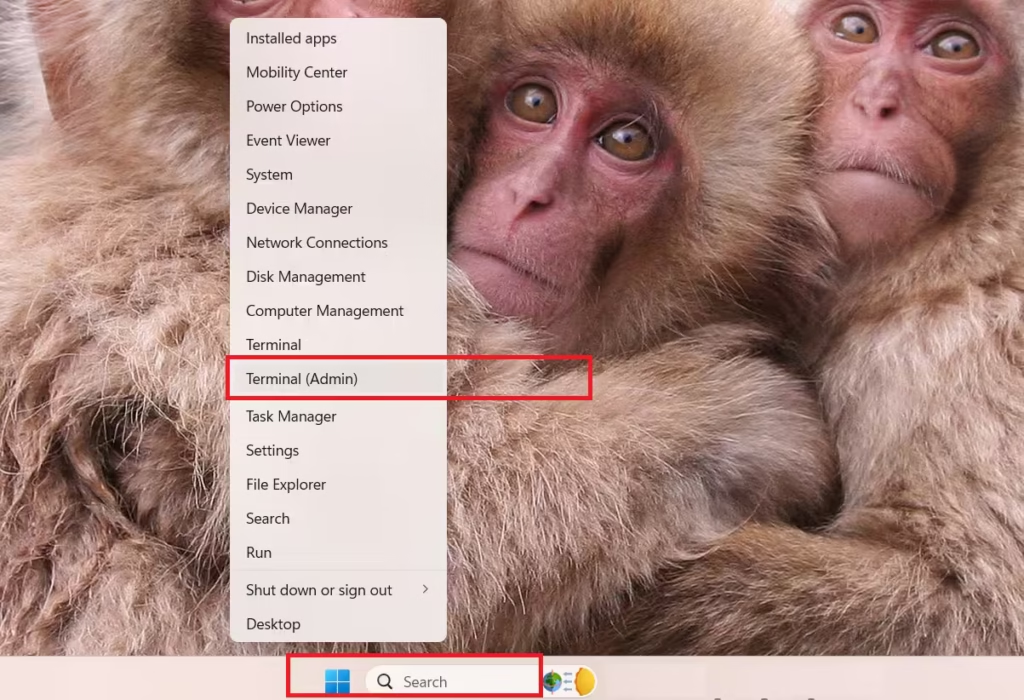
Step 1: Open PowerShell as Administrator
Right-click the Start button and select:
Windows Terminal (Admin) or PowerShell (Admin)
Step 2: Trigger the Secure Boot Update
Run the following command:
reg add "HKEY_LOCAL_MACHINE\SYSTEM\CurrentControlSet\Control\SecureBoot" /v AvailableUpdates /t REG_DWORD /d 0x5944 /fThis command tells Windows to start the Secure Boot certificate update process.
Step 3: Run the Secure Boot Update Task
Now execute:
Start-ScheduledTask -TaskName "\Microsoft\Windows\PI\Secure-Boot-Update"This forces Windows to apply the update immediately instead of waiting for automatic execution.
Step 4: Verify the Update Status
Check if the update started correctly:
reg query "HKEY_LOCAL_MACHINE\SYSTEM\CurrentControlSet\Control\SecureBoot" /v AvailableUpdatesYou should see values like:
0x5944→ Update triggered0x4100→ First stage completed
Step 5: Restart Your PC
Reboot your system to apply changes:
shutdown /r /t 0Step 6: Run the Task Again After Restart
After reboot, open PowerShell (Admin) again and run:
Start-ScheduledTask -TaskName "\Microsoft\Windows\PI\Secure-Boot-Update"Then verify again:
reg query "HKEY_LOCAL_MACHINE\SYSTEM\CurrentControlSet\Control\SecureBoot" /v AvailableUpdatesIf you see:
0x4000→ Update completed successfully
How to Check if Secure Boot Certificate Update Was Successful
You can check detailed status using:
reg query "HKEY_LOCAL_MACHINE\SYSTEM\CurrentControlSet\Control\SecureBoot" /v UEFICA2023StatusExpected result:
Updated→ SuccessInProgress→ Still processing
Common Issues and Fixes
If the Secure Boot certificate update does not work, you should check a few common problems that usually block the process. Fixing these first will help the update complete successfully.
- Secure Boot is disabled: Enable it in BIOS/UEFI settings
- Scheduled task missing: Your system may not be fully updated
- BIOS is outdated: Install the latest firmware from your manufacturer
- Windows version is outdated: Install the latest Windows updates
- Update not applying: Fix the above issues before retrying
What NOT to Do
Avoid these mistakes during the update process, as they can cause errors or incomplete installation.
- Do not disable Secure Boot during the process
- Do not use random or incorrect registry values
- Do not skip Windows updates before starting
- Do not interrupt the system during reboot
FAQs
What is the Secure Boot certificate update in Windows 11?
The Secure Boot certificate update in Windows 11 installs new security keys that replace older certificates used during system startup. These updated certificates ensure your PC can verify trusted software and remain compatible with future Windows security updates.
Why is the Windows 11 Secure Boot certificate update important?
This update is important because older Secure Boot certificates are expiring. Without updating them, your system may face boot failures, security risks, or issues installing future Windows updates.
How do I manually update Secure Boot certificates in Windows 11?
You can manually update Secure Boot certificates by setting the correct registry value, running the Secure Boot scheduled task, restarting your PC, and verifying the update status using PowerShell commands.
What happens if I do not update Secure Boot certificates?
If you do not update Secure Boot certificates, your PC may fail to boot properly in the future. You may also face compatibility issues with new Windows updates and reduced system security.
How can I check if Secure Boot is enabled on my PC?
You can check if Secure Boot is enabled by opening System Information in Windows and looking for the “Secure Boot State” field. It should show “On” if Secure Boot is enabled.
Is it safe to manually update Secure Boot certificates?
Yes, it is safe if you follow official steps and ensure your system meets all requirements. Avoid using incorrect registry values or skipping system updates before running the process.
Why is the Secure Boot update not working on my system?
The update may fail if Secure Boot is disabled, your BIOS is outdated, Windows updates are missing, or the required scheduled task is not available. Fix these issues before retrying.
Do I need to update BIOS before updating Secure Boot certificates?
In some cases, yes. If your system firmware is outdated, the Secure Boot certificate update may fail. Updating BIOS ensures compatibility with the new security keys.
Can I update Secure Boot certificates without Windows Update?
Yes, you can manually trigger the update using PowerShell and registry commands, but your system still needs the required Windows update components installed.
How long does the Secure Boot certificate update take?
The update process usually takes a few minutes, including a system restart. In some cases, it may take longer depending on your system configuration and update status.
