Terra Dome is Pragmata’s third major region, and it packs in more collectibles than anything you’ve seen so far. The area breaks down into four distinct zones: Terra Dome Entrance, Eco Modeling Lab, Soil Research, and the Terrarium. Each zone holds its own set of Safe Boxes, Pure Lunum, Mods, REMs, and Mini Cabin figurines, and hitting 100% in all of them requires careful routing.
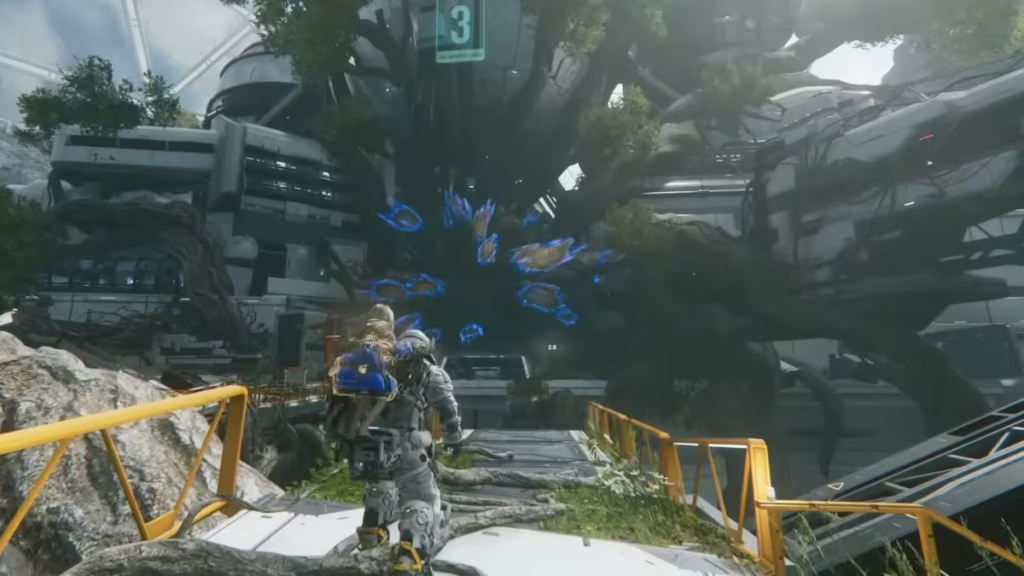
One important thing to know before you start: you cannot collect everything in a single run. A handful of items are locked behind the Cleanse ability, which you receive later in the game. This guide covers the full list, including which items require a return visit and when you can come back for them.
Table of Contents
All Pragmata Terra Dome Collectibles Overview
| Zone | Safe Boxes | Pure Lunum | Mods | REMs | Other |
|---|---|---|---|---|---|
| Terra Dome Entrance | 5 | 1 | 2 | 1 | Training Data x1 |
| Eco Modeling Lab | 10 | 3 | 3 | 2 | Mini Cabins x2 |
| Soil Research | 10 | 1 | 0 | 1 | Mini Cabin x1, Training Data x1 |
| Terrarium | 0 | 1 | 0 | 0 | Storage Expander x1 |
Note: Upgrade Components appear in several Safe Boxes throughout Terra Dome but do not count toward your 100% map completion score. This guide still points them out to make sure you leave nothing behind.
Terra Dome Entrance Collectibles
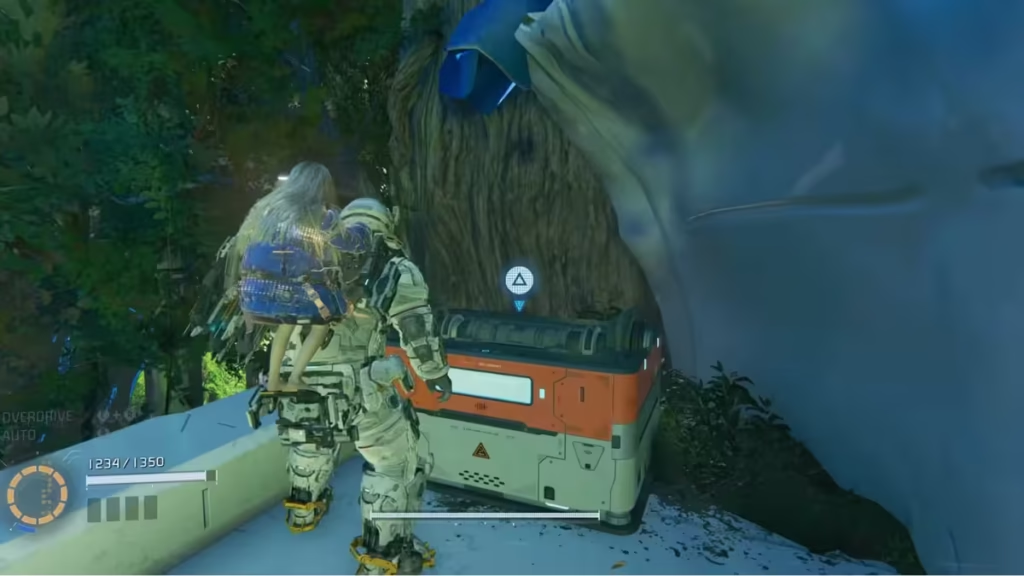
Safe Box 1 — 400 Lunafilament
When you cross the main bridge at the entrance and approach the large door ahead, turn left before you pass through it. Look for a container hanging from a crane arm. Jump to the container, then jump across to the skinny white ledge opposite it. Follow the ledge to the end, drop down to the upper ledge below, head left under the root, and collect Safe Box 1.
Safe Box 2 — Upgrade Components x3
You can only reach this box after you defeat the SectorGuard at the end of Eco Modeling Lab. Once the fight is over and the tree section in the Central Shaft is removed, scan the shaft before jumping down. Safe Box 2 sits on a platform roughly ten meters below and to the left. Hover down to the platform to collect it.
Safe Boxes 3 and 4 — Upgrade Components x3 and Cabin Coin x1
Head into Plant Factory and take Path B at the first fork. At the second fork, take a right again. After you clear the second locked combat chamber, you enter a reward room with both boxes sitting out in the open.
Safe Box 5 — 350 Lunafilament
This one requires a second visit to the Plant Factory. Because you can only travel one path per visit, you need to fast travel away and return to reset the area. When you come back, take the path you skipped the first time. The Safe Box waits at the endpoint of the opposite branch.
Pure Lunum
From the same reward chamber where you found Safe Boxes 3 and 4, head into the Terra Dome Entrance Red Gate. Clear the first combat room, and you find the Pure Lunum chest in the chamber directly after.
Mod 1 — Cheap Shot
Complete the second combat chamber in the Red Gate area. Afterward, take the exit and look for a small reward room on the left side of the hallway. Cheap Shot sits inside a box in that room.
Training Data
Training Data is in the same small reward room as Cheap Shot, sitting beside the deer hologram conversation point. Grab both at the same time.
REM — Flowers
After using the regulator at the end of the Red Gate area, the remaining tree section in the Central Shaft disappears. Look directly across the shaft and spot the REM on a platform. Boost across, or jump to a closer platform on the right first and boost from there.
Mod 2 — Precision Shot
Ride the Central Shaft elevator up to the top. Precision Shot sits on a raised platform immediately next to the new shelter shortcut. You cannot miss it. Climb up and collect it.
Eco Modeling Lab Collectibles
Eco Modeling Lab is the densest collectible zone in all of Terra Dome. Most items tie to generated tree routes, hidden hologram walls, and interior side rooms. Clear every generated tree platform before moving on, and always check the walls in dead ends.
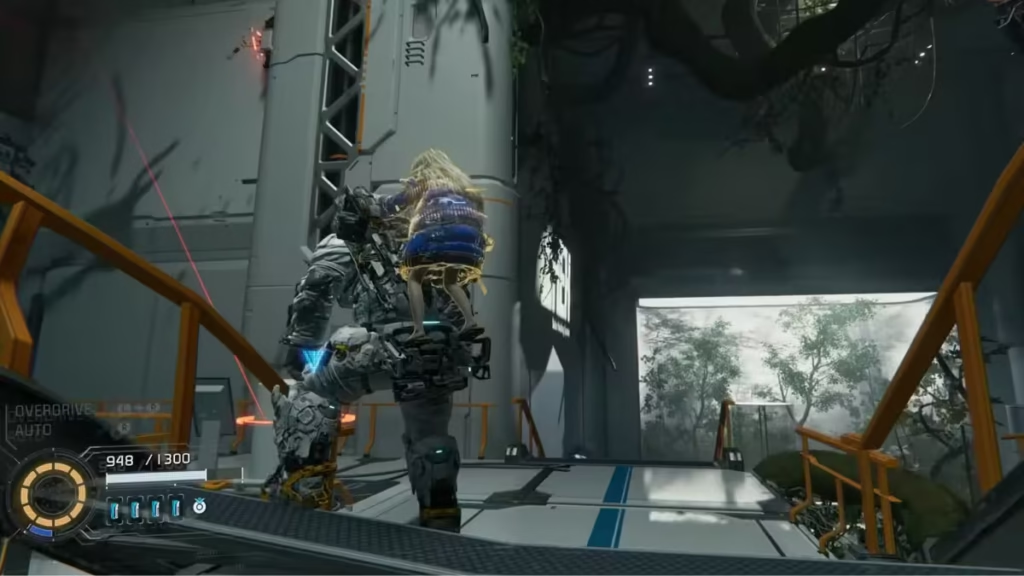
Mini Cabin 1
After the opening cutscene and the butterfly hall, you reach a section with a broken set of stairs. Stop at the break and turn around. Look up along the wall to spot the first Mini Cabin perched on a thin vine. Listen for the unique audio cue that signals a Mini Cabin is nearby.
Safe Box 1 — 300 Lunafilament
Use your printer to climb the broken steps near the start of the area. At the top, turn right and walk to the end of the walkway. Interact with the hologram wall there to pass through it. Safe Box 1 is directly inside.
Safe Box 2 — 700 Lunafilament
Follow the path toward one of the Gen Chips. The route leads into an interior area accessible through blue filament. Clear the filament with your Limb Eraser, drop into the room, defeat all the enemies inside, and the Safe Box unlocks automatically.
Safe Box 3 — Upgrade Components x3
After collecting your second Gen Chip, drop below the walkway on the left side. Deal with the walkers in the area, and you find Safe Box 3 waiting in that lower section.
REM — RC Car
From the location of Safe Box 3, jump on one of the nearby storage containers. You spot blue filament blocking a passage in the rock wall. Clear it, head inside, sprint past the rotating lasers, deactivate them, collect the RC Car REM, and unlock the nearby door to open a shortcut.
Safe Box — Cabin Coin
In the Gen Chip section, look for the Safe Box on a tree branch above the terminal that grows a tree platform. It sits on the right side of the room.
Aggressive Defense Mod
When you unlock the meteorology sim lab shelter shortcut, check the opposite side of the nearby stairs. Open the blue chest there to find the Aggressive Defense mod.
Pure Lunum 1 and Collateral Damage Mod
Open the Red Gate at the Enviralytics shelter shortcut using a gate key. Inside, you face an extended combat gauntlet. Enemies fill the upper branches and walkways above a laser floor. Defeat every bot in the room to deactivate the floor lasers, then open the door at the end. A blue chest inside holds the Collateral Damage mod, and a Pure Lunum chest sits beside it.
REM — Balloons
Down the stairs from the Enviralytics shelter shortcut, continue past the enemies and turn right. You find the Balloons REM sitting on the ground.
Mod — Recursive Learning
Look for a hidden hologram wall in the dead-end passage near the forested lower section. Interact with the wall to reveal it, head inside, and defeat the crusher enemy that appears. Jump up to reach the chest containing Recursive Learning once it is defeated.
Pure Lunum 2
After you defeat the SectorGuard in Eco Modeling Lab, a Pure Lunum chest appears directly in front of you as part of the post-fight reward.
Safe Box — 500 Lunafilament
After collecting Pure Lunum 2, turn right, move past the overgrown tree roots, and walk to the wall at the end. Interact with the wall to reveal a hologram, step inside, and open the Safe Box for 500 Lunafilament.
Mini Cabin 2
After the four-lock door section, ride an elevator up and fight three smaller robots. Once the fight is over, stand near the blocked doorway and look up toward the tree over the railing. The second Mini Cabin sits up in the branches.
Pure Lunum 3
In the greenish lower section after the orange enemy fight, lower the platform, climb the ladder, and follow the upper route. The third Pure Lunum chest sits at the end of that route.
Soil Research Collectibles
Soil Research is the longest cleanup block in Terra Dome. It mixes beach sections, invisible enemy ambushes, hidden hologram walls, upper ledges, and a bunk room. Sweep every corner before moving on.
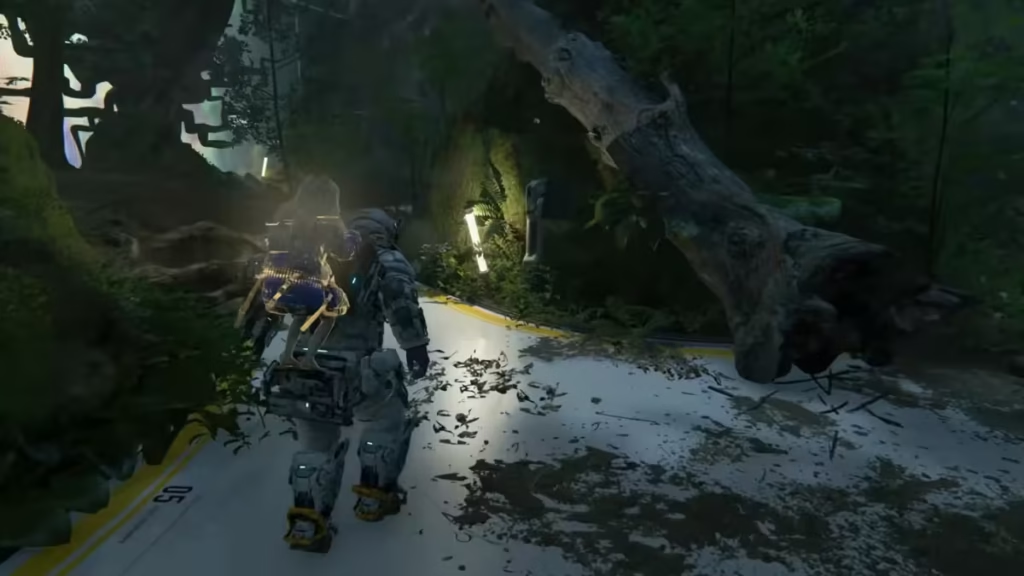
Safe Box 1 — Cabin Coin
After meeting Eight, head right into the big darkened room. The first Safe Box sits near the wall and holds a Cabin Coin.
Training Data
After the cutscene on the beach, turn 180 degrees from the direction the game points you. Head past the tunnel you entered from, go left, erase the blue filament you find, and drop into the room below. The Training Data sits inside.
Safe Boxes Near the Four-Lock Door
When you are unlocking the door with four locks and ride an elevator up after unlocking the third terminal, check the corridor after the fight with three smaller robots. A Safe Box sits in the same corridor, guarded by a new invisible creeper robot and a bomber. Take both enemies out before you approach the box.
Safe Box in the Nook
After opening the fourth and final lock, follow the walkway outside and drop carefully, following the trail of Lunafilament. Where the trail ends, turn around and check the small nook in the wall. A Safe Box sits tucked inside.
Safe Box Behind the Hologram Wall
After riding the elevator down from the Soil Research shelter shortcut, you encounter your first jamming device. Turn away from the jammer and look at the far wall. Interact with the hologram wall there, step inside, and collect the Safe Box.
Safe Box Past the Filament
In the same room, just past the jammer, break down the block of filament you see. A small room on the other side holds another Safe Box.
Safe Box — Upgrade Components
Next to the jammer is an unlockable door. Open it, defeat the cloaked creeper robot inside, and move forward to find a Safe Box with three upgrade components.
Safe Box — Upgrade Components (Far Room)
After your second jammer encounter, you enter a large room with multiple exits. Go through the open door straight ahead to find another Safe Box with upgrade components.
Safe Box — Cabin Coin (Security Room Upper Level)
When you look into the security room from the upper level, do not drop down yet. Cross the small gap on your right and collect the Safe Box with a Cabin Coin.
Safe Box — Upgrade Components x3 (Security Room Upper Level)
From the Cabin Coin box, take a running jump, follow it with two mid-air dashes, and land on the far walkway. Open the Safe Box there for three upgrade components. If you already dropped into the security room, use the hacking panel on the wall to raise a platform and get back up.
Mini Cabin 3 and REM — Swing
Open the locked door next to the weapon rack in Soil Research. Go around the left corner, use the eraser route, and climb up into the room visible through the glass. Inside a container in this room, you find the third Mini Cabin. The container has a narrow channel on its thinner end, so either climb nearby objects to get an angle and shoot through, or use a riot blaster shot to open it from the inside. The Swing REM sits in the same locked room.
Pure Lunum
In the dark room just before the lift that descends to the Terrarium, look for the Pure Lunum chest. Climb the container on the left, reach the ledge into the neighboring room, and use the eraser route to access the pickup.
Terrarium Collectibles
Terrarium is the shortest zone in Terra Dome, but do not walk straight to the boss door. One significant reward requires clearing the Red Zone first.
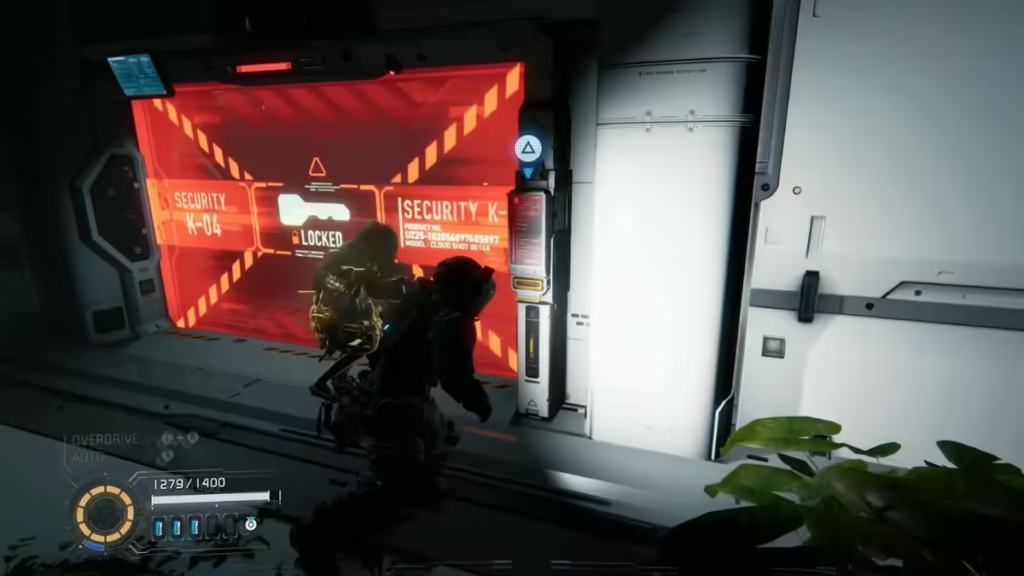
Pure Lunum and Storage Expander — Red Zone Reward
When you reach the Terrarium, look for the red gate beside the boss room door. You need a gate key to open it. If you are out of keys, mark it on your map and return when you have one. Inside, you face a gauntlet of bomber and creeper enemies. Defeat them all to open the door at the back, which reveals a chest containing both Pure Lunum and the only Storage Expander in the entire Terra Dome sector.
Items Locked Until You Get the Cleanse Ability
Two collectibles in the Eco Modeling Lab require the Cleanse ability, which you unlock later in the game. Once you have it, fast travel back to the Meteorology Sim Lab in Terra Dome and follow these steps:
Safe Box with Cabin Coin: Turn around from the lab and head back outside. Drop over the railing on the right. Clear the walkers in the area and use Diana’s Cleanse ability to break down the cluster of dead filament blocking the path. Walk through to find the Safe Box directly ahead.
Final Pure Lunum: From the Safe Box, turn around and look for a ledge with a zip line above it. Activate the panel on the wall to raise a block nearby, then jump to the block before it lowers. Climb to the zip line, take it up, and open the final chest to collect the last Pure Lunum in Terra Dome.
Best Route to Find All Pragmata Terra Dome Collectibles (100%)
If you want to complete Terra Dome in the most efficient order, follow this sequence:
- Terra Dome Entrance: Search the bridge, both Plant Factory paths (requires two visits), the deer hologram room, and the Central Shaft upper drop loop.
- Eco Modeling Lab: Clear every generated tree route before leaving each room. Hit the Red Zone, the lower forest section, tunnel side rooms, and the post-SectorGuard hallway.
- Center Hall Upper Floor: Grab the single Escape Hatch collectible as soon as you step off the elevator.
- Soil Research: Sweep the beach section, all hidden hologram walls, upper balconies, the bunk room, the locked REM room, and the dark room before you descend.
- Terrarium: Clear the Red Zone last so you leave the sector with both the final Pure Lunum and the Storage Expander.
- Return with Cleanse: Fast travel back to Meteorology Sim Lab to collect the dead filament Safe Box and the zip line Pure Lunum once you unlock Diana’s Cleanse ability. Play Now!
FAQs
How many collectibles are in Terra Dome in Pragmata?
Terra Dome contains 47 collectibles in total, spread across five sub-areas: Terra Dome Entrance (10), Eco Modeling Lab (13), GeoScience Lab (1), Soil Research (13), and the Terrarium (2). This makes it the largest collectible haul in Pragmata’s early game.
Can you miss collectibles permanently in Pragmata’s Terra Dome?
No. Nothing in Terra Dome is permanently missable. If you lack a required ability on your first visit, every locked item becomes available during Unknown Signal Mode, which is Pragmata’s post-story cleanup mode. You can fast travel back to any sub-area and collect whatever you skipped.
What is the Cleanse ability in Pragmata and when do you unlock it?
The Cleanse ability is a late-game skill that Diana uses to clear dead filament masses blocking certain paths. You unlock it automatically during the Central Port 01 story mission in Sector 5. Two Safe Boxes and one Pure Lunum in Terra Dome’s Eco Modeling Lab require it, so return to those areas after that mission.
Where is the Storage Expander in Terra Dome Pragmata?
The only Storage Expander in all of Terra Dome comes from clearing the Red Zone inside the Terrarium. Look for the red gate beside the boss room door, open it with a gate key, defeat all the bomber and creeper enemies inside, and the reward chest at the back contains both the Storage Expander and a Pure Lunum.
Do you need to play both Path A and Path B in the Plant Factory Pragmata?
Yes. Both paths in the Plant Factory lead to different Safe Boxes, so you need to complete both to reach 100% in Terra Dome Entrance. You can only travel one path per visit, which means you must fast travel away from the area and return to reset it before taking the opposite route.

