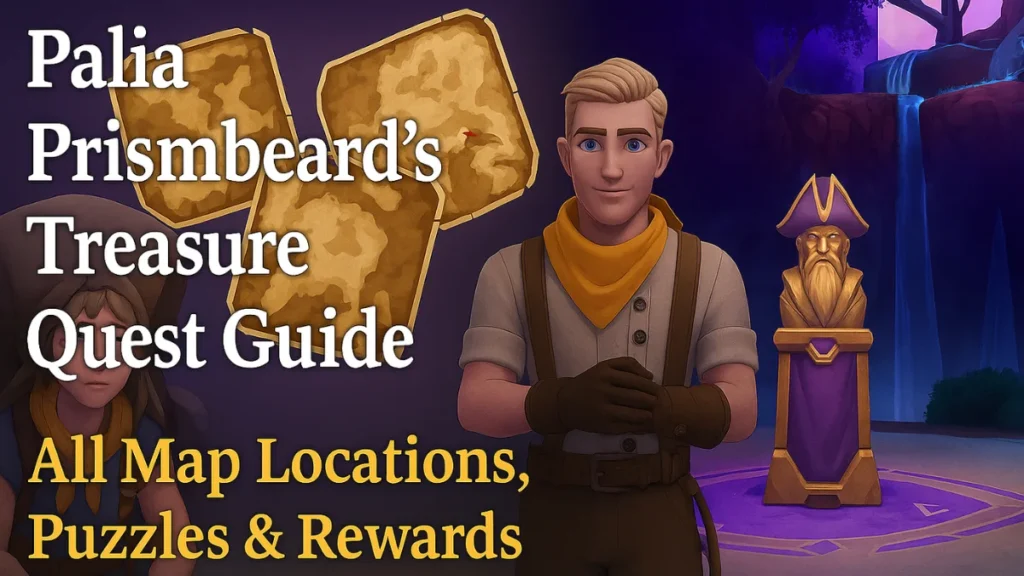
The Hunt for Prismbeard’s Treasure is a fun, multi-step quest in Palia that sends you on an exciting treasure hunt across Elderwood. You’ll follow clues, solve puzzles, and use a special item to uncover the secrets of the pirate Prismbeard. This guide breaks down each step—from starting the quest to opening the final treasure chest—so you don’t miss anything along the way.

How to Start the Questline
Before you can start the quest, you need to:
- Reach Level 30
- Finish the quest Learning the Ropes
- Visit Elderwood at least once
Once you meet these, Auni will visit your housing plot and take you to a hidden cave in the southeast corner of Okana Bog. This starts the first quest, Adventure on the Horizon.
You can fast travel to De Mer Dock, then slide down the big slope to enter the cave. Don’t use your glider—if you do, the game sends you back to the top.
Quest 1: Adventure on the Horizon
In the cave, Auni and Nai’o will guide you into the Shipwreck Cave, where you’ll see a sliding tile puzzle. It’s a simple puzzle that forms an image of Prismbeard when done.
To solve it, follow these moves:
- Slide the second row, first tile to the right
- Slide the first row, first tile down
- Slide the first row, second tile left
- Slide the second row, second tile up
- Slide the third row, second tile up
- Slide the third row, first tile right
- Slide the second row, first tile down
- Slide the first row, first tile down
- Slide each tile in the first row to the left
After solving it, a treasure chest appears with the first Pirate Map. This leads you into the next quest, Prismbeard’s Lost Treasure.
Quest 2: Prismbeard’s Lost Treasure
Now you’ll use the Pirate Maps to find three hidden dig spots. Each one has a painting of Prismbeard and a dirt mound marked with an “X”. Use your hoe to dig at each spot.
Map 1 – Red Blossom Cave (D-7)
Look west of the Central Stables. You’ll see a wall painting of Prismbeard and a torch beside a dirt pile.
Map 2 – Jeunesse Pass (I-6)
Go southeast past Deep Woods. You’ll find a wooden beam above a stream. Glide from there into a small cave to find the next painting and dig spot.
Map 3 – Mitana Grove (G-3)
Near the Mitana Grove Stables, look for a cliff beside the river across from Auni and Nai’o. Instead of another map, you’ll find a riddle.
Head back to the puzzle room in the Shipwreck Cave. When you interact with it and choose:
“A fitting reward for Prismbeard’s demise”
—a new chest appears. Open it to get the Pirate’s Spyglass, which lets you see hidden things.
How to equip the Spyglass:
- Open your inventory
- Click the Quest Gear icon
- Select Pirate’s Spyglass
Make sure to look around slowly—some statues only show up when you’re facing the right way.
Once equipped, you’ll spot a hidden statue near the puzzle. Interact with it, then talk to Auni and Nai’o. This finishes the quest and starts the next one: The True Treasure.
Quest 3: The True Treasure
The True Treasure quest automatically starts once you complete Prismbeard’s Lost Treasure.
This part starts with a clue from the new statue. Visit Caleri in Kilima Village to get old newspaper plates. These have images that hint at Prismbeard’s past.
You need to visit each location shown in the clues. At each one, use your Spyglass to find a hidden statue. After each one, check in with Auni and Nai’o—walk nearby if they don’t show up right away.
Here’s where you’ll find each statue:
1. Starting Point
- In the puzzle room inside Shipwreck Cave
2. Childhood Home – Mauvais Way
- On the cliffs west of Vieuxport Sea
3. First Ship – Deep Woods
- At a small dock and pond, north of Elderwood Stables
4. Departure Dock – De Mer Dock
- Where “young Zayid left by boat,” as mentioned in the plates
5. Capture Point – Elderwood Central Stables
- On the upper walkway
6. Escape Point – Mitana Grove
- On the central pier with old ruins
7. Final View – Eobard’s Revenge
- On a cliff above Shipwreck Cave, overlooking a wrecked ship
Final Puzzle: Unlocking the Treasure
After activating the final statue, a secret door nearby will unlock, leading to the final treasure chamber.
Go through the door and you’ll see the last puzzle. There are four scrolls, each with a direction and a sea creature. Set the dials to match:
- North: Siren
- East: Kraken
- South: Leviathan
- West: Charybdis
After that, confirm at the podium. If you got it right, the door opens. If it doesn’t, try reloading the area in case of a bug.
With the final puzzle solved, you don’t just uncover treasure—you complete the life story of Prismbeard, piece by piece.
Final Rewards
When you finish the whole questline, you’ll get:
- Prismbeard’s Map
- Prismbeard’s Figurehead
- Prismbeard’s Journal
- Emerald, Ruby, Pearl, Gold Bars
- Friendship points with Auni and Nai’o
If you’ve followed this Prismbeard’s Treasure Quest Guide Palia to the end, you’re now ready to claim your well-earned rewards and enjoy the full story payoff.
These items aren’t just cool decorations—they tell the full tale of Prismbeard’s legacy and your part in discovering it.
Read More:
Palia True Treasure Quest Guide: All Statues, Puzzle & Rewards
LEGO Fortnite Expeditions Quests: Full Rewards Guide
The Alters: How to Find Unusually Colored Rock for Miner
Pokémon GO Summer Road Trip 2025: Big Red Truck Tour Dates, Bonuses, and Events Across Europe

