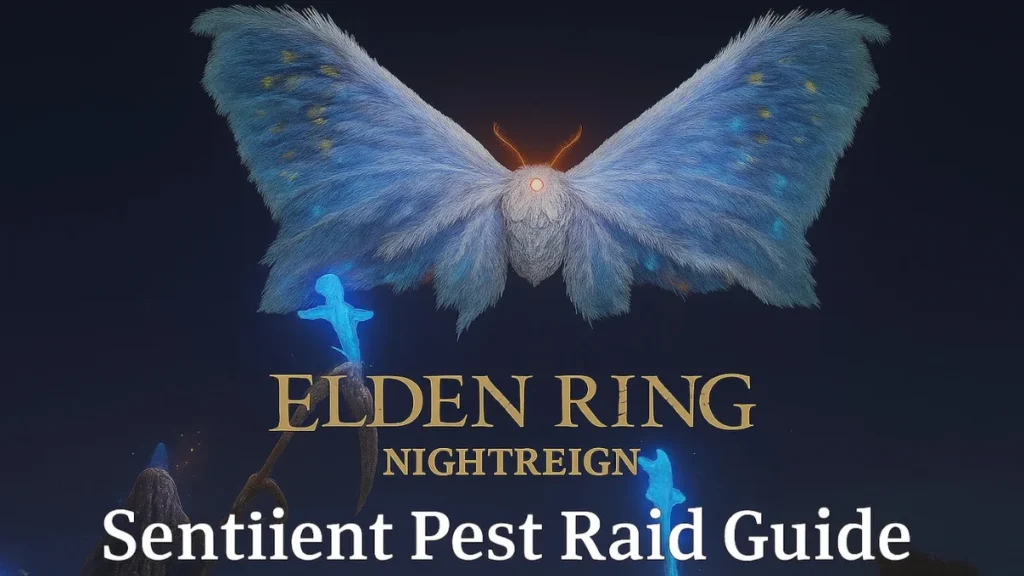
The Sentient Pest Raid in Elden Ring Nightreign is one of the more unpredictable and layered challenges in the game. Also known as Gnoster, Wisdom of Night, this boss encounter splits your attention between two dangerous enemies—a ground-based armored beetle and a sky-bound magical moth. Whether you’re tracking the swarm during a raid or facing Gnoster head-on in an expedition, this fight demands mobility, strategy, and fire-based offense.
This guide walks through how to approach the battle step by step, explaining key mechanics, weaknesses, and strategic party builds for those seeking to overcome this demanding Nightlord encounter.
How to Get Ready for the Sentient Pest Fight
Before facing Gnoster, it’s crucial to ensure you are at least level 10 and equipped with an Epic-tier weapon that matches your character’s stats. Fire damage is especially effective against the Sentient Pest, making fire-aligned weapons or Fire Grease essential for maximizing damage. Players should also prioritize equipping the Night of the Beast relic—earned from the Tricephalos fight—which applies fire affinity to your starting weapon.
Enhancing your weapon with at least two smithing stones will give you a major advantage, even if stronger gear isn’t found during the expedition. Buffs that improve stamina regeneration and mitigate magic damage will further support your survivability—especially during the moth’s long-range magic barrages.
Best Team Compositions
A successful raid party against the Sentient Pest requires a tactical mix of ranged damage and support roles. At least two party members should be capable of attacking from a distance, allowing them to target the moth early in the encounter.
Ranged fighters like Ironeye, Recluse, and Duchess excel here for their projectile-based damage and mobility. Supporting them with a quick and evasive melee fighter like Wylder gives your team the flexibility to handle both phases of the fight. Avoid relying heavily on tanky classes like Guardian, whose slow movement and limited range make them ill-suited for this mobile boss.
Some recommended party combinations include:
- 2x Ironeye + Wylder: Balanced and mobile.
- Ironeye + Recluse + Duchess: Maximizes ranged elemental damage and crowd control.
Revenant can be used if equipped with high-quality weapons, but her spirit summons are mostly ineffective—Gnoster tends to wipe them out quickly.
Phase 1: Dual Threats – Moth and Scorpion Split
In the first phase, Gnoster operates as two independent entities: a flying moth that uses magic and poison, and a ground-based beetle-like scorpion that specializes in brute force. Players must understand each enemy’s mechanics to survive the encounter and manage resources effectively.
The Moth (Ranged Attacker)
- Glintstone Stars: The moth shoots shimmering light projectiles upward that arc down like homing beams. Dodge forward and diagonally to escape the impact zone.
- Poison Cloud: A green mist spreads out in a wide arc. A faint bell chime signals the attack. Move backward quickly to avoid being poisoned.
- Beam of Light (Phase 2 only): A disc of white light appears moments before a divine beam strikes the area. Sprint out of the circle immediately to avoid lethal damage.
The Scorpion (Melee Attacker)
- Stone Blades: The scorpion slams its limbs into the ground, raising damaging stone spikes. Ranged players can ignore this, but melee fighters must time dodges or retreat before the slam.
- Claw Smash: One or both claws slam down in a straightforward smash. Dodge sideways or forward to avoid.
- Stone Bug: The scorpion becomes immune to damage by turning to stone. This only happens in phase one. Switch targets to the moth during this time.
- Scorpion Ram (Phase 2): When merged with the moth, the scorpion accelerates and charges without warning. Evade sideways rapidly.
Phase 2: Merged Form – Gnoster, Wisdom of Night
At approximately two-thirds combined health, the moth and scorpion merge into one aggressive boss. The moth mounts the beetle, adding mobility and magical destruction to an already overwhelming physical threat.
The beetle’s movement becomes faster and more erratic, charging across the battlefield while summoning explosive light pillars and lingering poison clouds. Because the moth is now mounted, melee players will struggle to land clean hits unless they get behind or beneath the beetle’s legs—yet even that area is risky due to damage from each stomp. Staying mobile is critical, and ranged fighters must maintain pressure while carefully positioning to avoid being pinned.
Poise-breaking strategies are largely ineffective, even with heavy hitters like Executor. Stagger resistance is extremely high, so focus on sustained damage and evasive timing instead of brute force.
Locust Swarm Raid Event: Tracking the Hidden Moth
Occasionally, the Sentient Pest doesn’t appear in a standard expedition. Instead, players may be caught in a world event: a hidden raid encounter known as the Locust Swarm Raid.
Raid Trigger and Initial Signs
The event begins with the message: “A swarm of locusts has descended upon the land.” When this occurs, the sky darkens and explosive locust clusters scatter across the field. Any player caught in these explosions will lose one or more levels and their associated Runes—unlike regular deaths, which typically only remove one.
How to Track the Raid Boss
This event deviates from others in one crucial way: the boss is not marked on your map. There is no icon, hint, or waypoint. The only way to find the Sentient Pest’s raid form is to follow the swarm of locusts. After each explosion, they rise and drift in the air—not randomly, but toward their master. Observing their flight path is essential, as it’s the only method of locating the moth.
As you follow the swarm’s direction and draw near its endpoint, you’ll see a faint outline of the moth in the gloom. It won’t fully materialize until you’re close. This visual cue confirms you’re approaching the correct location.
Combat Behavior and Reward
Once discovered, the moth does not fight back. There are no attacks to avoid and no scorpion form to defend it. However, the locust explosions will continue to pose a threat—so stay alert while dealing the finishing blow.
Defeating the moth immediately restores all levels and Runes lost during the swarm. You’ll also receive the Integration of Intelligence relic, which grants a chance to trigger massive Rune bursts on enemy hits—a valuable tool for resource scaling in later content.
Final Thoughts
The Sentient Pest is less about brute force and more about recognizing patterns, managing space, and balancing your team’s capabilities. Whether you confront Gnoster in a structured expedition or stumble into the hidden locust raid, understanding its behavior and knowing how to track it down makes the difference between defeat and recovery.
Let the swarm pass, and strike with clarity. Play Now
Read More:
Cookie Run Kingdom Boss Rush Guide: Meta Teams, Hidden Synergies & How to Beat All Stages
Sonic Saves Robloxia Guide: How to Beat All Levels, Unlock Secrets, and Complete 6 Runs
How to Fix Minecraft getsockopt Error (Quick Solutions)
How to Fix “An Error Occurred in e4mc” in Minecraft: Full Troubleshooting Guide

