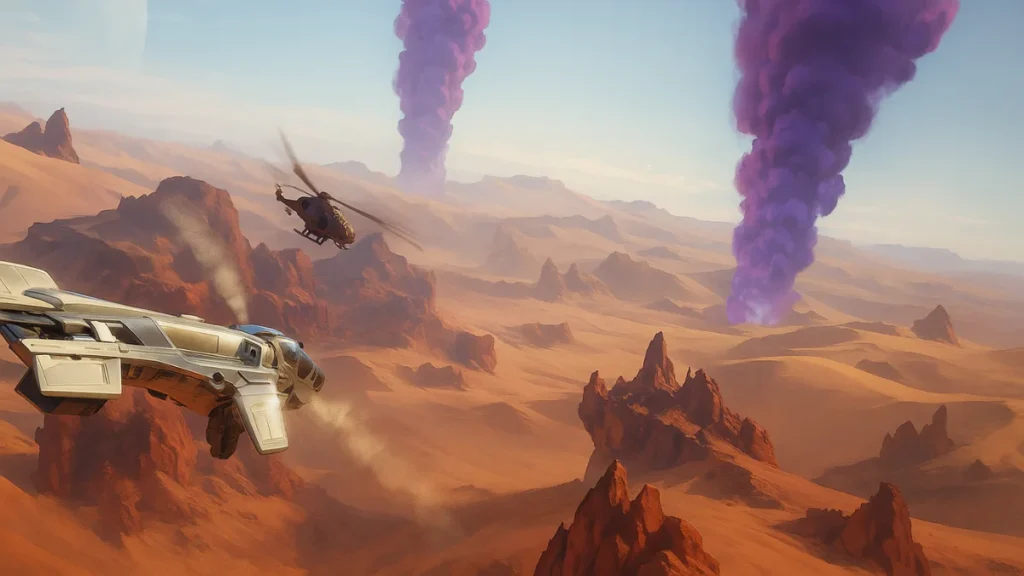
In Dune: Awakening, the journey from fledgling survivor to fully equipped explorer is long, dangerous, and rewarding. The early hours are filled with tension, discovery, and the ever-present risk of the open sands. But eventually, every path leads to the Deep Desert—the game’s Tier 6 (T6) endgame zone. On paper, this is the peak of the experience: high-value resources, dangerous PvPvE encounters, and massive base-building opportunities. In practice, it’s a mix of strategic depth, logistical mastery, and repetitive grind, depending on how you approach it.
This guide breaks down how the Deep Desert endgame works, what makes it tick, and how to survive—especially as a solo player.
See also: Best Base Spots in Dune Awakening: Early, Mid & Late Game
The Deep Desert Base – Your Endgame Hub
A proper T6 base in the Deep Desert is essential for serious late-game play. The sheer volume of raw resources here makes refining on-site a must, as refined materials weigh drastically less—making transport much easier. For example, 500 Milange weighs 3,750 volume unrefined but only 100 volume refined (about 38× lighter), and 500 Plastium drops from 2,550 to 500 volume (over 5× lighter).
- Best Location: Near the PvE zone edge to shorten heavy hauling trips.
- Starter Kits for Solo Players:
- Basic (1 Trip): Medium refineries, two large wind traps, 300k water storage. This setup totals 876 volume and requires 1,115 power (≈14 regular generators).
- Dedicated (2 Trips): Large ore refinery, 600k water capacity. Totals 1,927 volume and needs 1,590 power (≈22 generators).
- Long-Term (3 Trips): Large spice refinery, big power requirements. Totals 2,863 volume and demands 1,740 power (≈24 generators).
Tip: Don’t waste trips on building materials—they’re easy to farm in the Deep Desert. Save space for essentials like particulate filters, penta shields, and light storage chests.
Wind Traps, Filters, and Energy for Long-Term Survival
Water in the Deep Desert means large wind traps. Death stills are inefficient due to body transport requirements. Each particulate filter powers a large wind trap for 12 hours, producing ~75,600 water. Carrying 20 filters covers ~1.5M water per trip.
- Water Needs: 300k water supports ~200 Plastium/day (≈600 Stravidium + 800 Titanium). 600k water doubles this output.
- Fiber Farming: Plant fibers for filters respawn every 30 seconds; a 10-minute run can yield 1,000+ fibers (~66 filters).
See also: Dune Awakening Griefing Issue: Why PvE Players Are Frustrated
Power needs are simpler than in Hagga Basin. A base without expansions has a 40 production-unit cap, so basic generators are usually enough. Upgrading adds hauling work—most solos skip it.
Refinery Priorities
While a large spice refinery offers high yields, it’s expensive and not critical for solo players early on. A large ore refinery is far more important for Plastium production. Before splurging on big spice operations, invest in must-have T6 tools like:
- Kynes Cutter
- Compact Compactor
- Mark 6 Power Pack
- Scout Thopter speed upgrades
For unique T6 schematics, focus on the Landsraad Rally—it’s easier than relying on shipwrecks or testing stations.
High-Risk, High-Reward Farming in PvP and PvE Zones
Spice Farming
- High-Risk Zones: Expect attacks and destroyed thopters.
- Approach Smartly: Scout from altitude—crawler tracks or many farmers usually mean a guild; multiple hovering thopters could be gankers; empty fields may have just been attacked, so stay high and cautious.
- Drop Bag Method: Store spice mid-run to reduce losses, but note that refilling does not reset the 20-minute decay timer—start a new pile or collect it all before time runs out.
Field Selection
- Medium fields last indefinitely but draw players—stash quickly and wait them out. Safest method: harvest “mostly-gone” piles to avoid guild attention.
- Small fields are generally not worth the risk here; farm spice in Hagga Basin during spice blows instead.
Titanium & Stravidium
- Avoid dense war zones; scout smaller islands.
- In areas like Atro, scan for 15–20 nodes at once. Fly mid-altitude, harvest 1–2 nodes, then move. Hover for a 360° scan after each landing, and use the hand scanner (hidden enemies show as water sources).
- Drop-bagging works but is slower; here, speed beats stashing.
See also: Dune Awakening Insulated Fabric: How to Get and Use It
Best Ornithopter for High-Risk Zones
Losing a thopter is inevitable. The Mark 5 Assault Ornithopter is the sweet spot for risk vs. performance. From scratch, you can farm parts for two replacements in ~80 minutes if you follow the A-zone testing station loop.
Component farming tips:
- Cobalt paste requires 984 Arthrite; armor plating comes from DD PvE shipwrecks or testing stations.
- 300 capacitors + 188 servos in ~20–25 min (A-zone testing stations).
- Miasate: 5–10 min; Aluminum: 6 min; Dur-aluminum: 12 min.
Endgame PvE & PvP Content
- PvE Testing Stations: Located past B-zone, these T6 arenas lock you in with waves of enemies and drop Plastium Infused Dust + unique schematics. Soloable with T5 gear, but a good melee weapon and Mark 6 Power Pack help.
- PvP Shipwrecks: Always PvP, but less camped than spice fields. Scan before entry—moving water droplets on scan = player inside. Pocket your thopter and carry only one fuel cell to limit losses.
- PvP Testing Stations: Best seen as PvP arenas; loot is unreliable, and exclusives can be bought or traded.
How to Keep Endgame Play Fresh and Rewarding
While the Deep Desert offers complex logistics and competitive play, its weekly reset means planning routes in advance—using maps to mark shipwrecks, Imperial sites, and testing stations—pays off massively.
For PvP-focused players, building with plast reduces repairs, large penta shields add durability, and honeycomb wall/floor layers hide critical structures like the sub thief and power cores.
Finally, the late-game economy can be a grind but lucrative—blueprints like the Ancient Way rocket launcher, Dune Watcher, and Ambition shotgun can fetch 800k–3M salari at the weapons vendor.
See also: How to Find Buried Treasure in Dune Awakening: Full Guide
Dune: Awakening’s endgame may be set in an endless desert, but its systems are anything but barren—if you approach them with strategy. Success here is about preparation, efficiency, and adaptability. Whether you’re soloing high-risk spice runs or managing a fortified guild base, the Deep Desert can be both your proving ground and your grindstone. Play Now!

