Even though Windows 11 Home edition doesn’t officially include the full Hyper-V Manager, some of its underlying virtualization components like Virtual Machine Platform and Windows Hypervisor Platform can still run in the background. This often confuses users when they see “Hyper-V running” under System Information, even though the option doesn’t appear in the Windows Features list.
If you don’t need virtualization for apps such as WSL (Windows Subsystem for Linux) or Android emulators, here’s how to fully turn off Hyper-V related features on your PC.
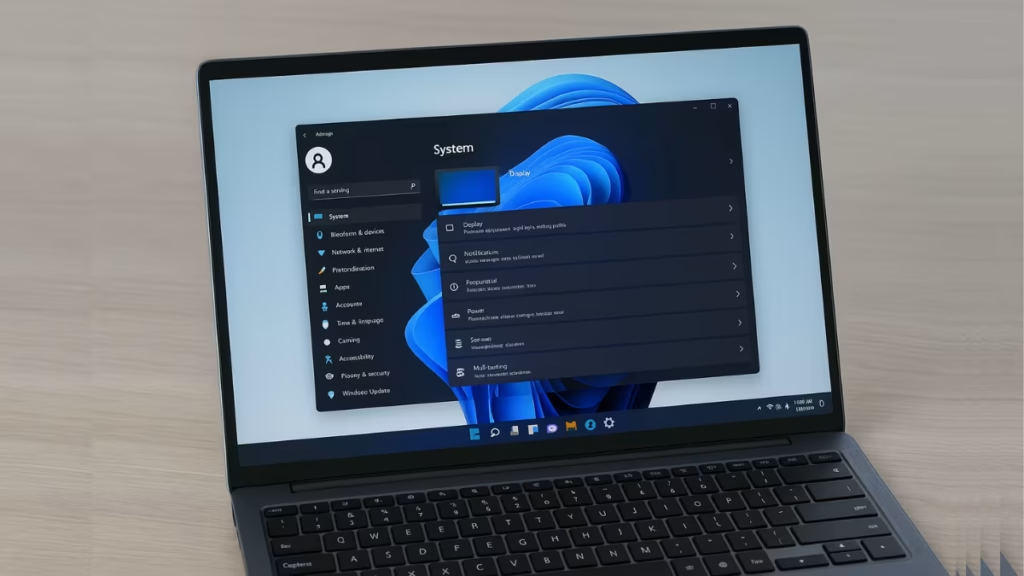
1. Disable Virtualization Features via Windows Features
Windows 11 lets you manually switch off optional features:
- Press Win + R, type
optionalfeatures.exe, and press Enter. - In the Windows Features window, uncheck the following options if present:
- Virtual Machine Platform
- Windows Hypervisor Platform
- Windows Subsystem for Linux
- Windows Subsystem for Android
- Click OK and restart your PC.
This ensures unnecessary virtualization services won’t load with Windows.
2. Disable Hyper-V Components Using PowerShell
If you don’t see the options in the Features window, you can disable them manually:
- Open PowerShell as Administrator.
- Run these commands one by one:
dism.exe /Online /Disable-Feature:Microsoft-Hyper-V-All
dism.exe /Online /Disable-Feature:VirtualMachinePlatform
dism.exe /Online /Disable-Feature:Microsoft-Windows-Subsystem-Linux
dism.exe /Online /Disable-Feature:HypervisorPlatform- Restart your system.
These commands turn off hidden virtualization services at the system level.
3. Stop the Hypervisor from Launching
Even after disabling the above, sometimes the hypervisor still loads at boot. To stop it:
- Open Command Prompt (Admin).
- Run:
bcdedit /set hypervisorlaunchtype off- Restart your PC.
To enable it again later, use:
bcdedit /set hypervisorlaunchtype auto4. Disable Virtualization in UEFI/BIOS
If you never plan to use virtualization, you can switch it off at the firmware level:
- Restart your PC and press the required key (F2, F10, F12, or Del) to open UEFI/BIOS Setup.
- Locate virtualization settings such as:
- Intel VT-x / Virtualization Technology
- AMD-V / SVM Mode
- Intel VT-d / IOMMU
- Set them to Disabled.
- Save and reboot.
This guarantees no hypervisor components run in the background.
Quick Check
After completing these steps, open System Information (type msinfo32 in the Start menu). Under Hyper-V Requirements, it should now show as Not enabled.
Although Windows 11 Home doesn’t officially support full Hyper-V, background virtualization features may still run. By disabling optional features, turning off the hypervisor launch, and adjusting UEFI settings, you can completely shut them down. This not only frees up system resources but also avoids conflicts with apps that don’t play well with virtualization.

