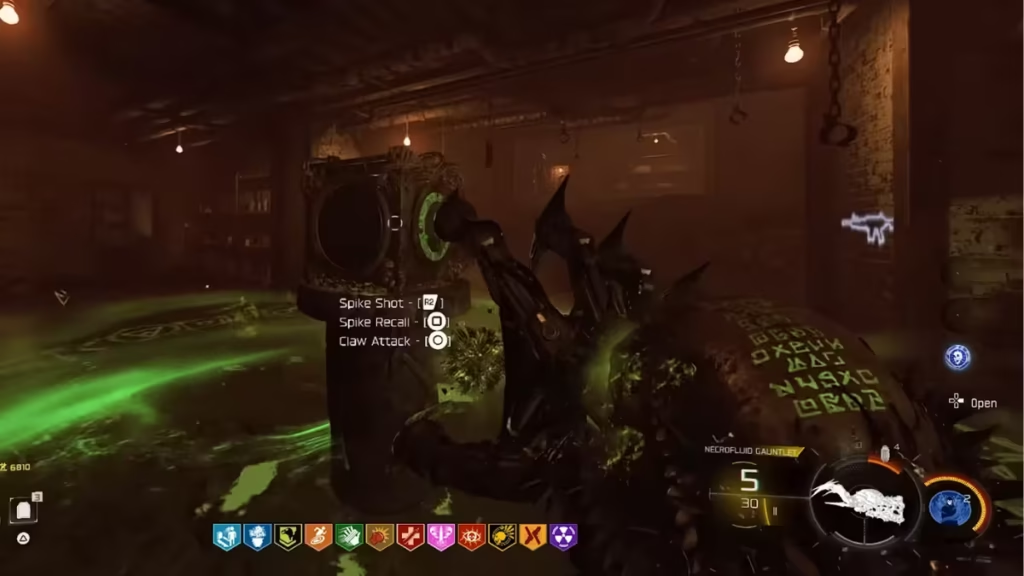
The Necrofluid Gauntlet is the signature Wonder Weapon on Ashes of the Damned, offering a mix of liquid spike attacks, powerful recalls, and a claw strike that turns tight rounds into manageable encounters. Unlocking it, however, is a full questline that demands coordination, timing, and map knowledge.
Tasks to Unlock the Necrofluid Gauntlet
Unlocking the Necrofluid Gauntlet requires:
- Powering all three Power Pumps
- Defeating Uber Klaus and freeing Klaus
- Completing a timed scan to earn the Aether Canister/Barrel
- Charging the canister at all Power Pumps
- Solving a rune puzzle in the Vandorn Farm cellar
- Surviving a lockdown ritual inside the cellar
Once completed, you permanently earn the Wonder Weapon for the match, and afterward it becomes available in the Mystery Box as well.
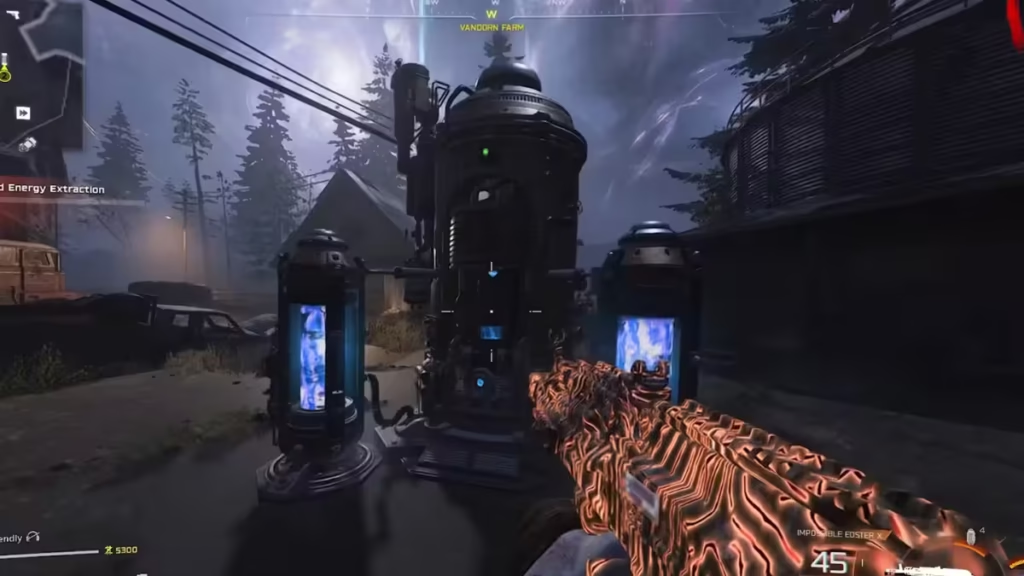
Step 1: Activate All Three Power Pumps
Before anything else, the map’s three Power Pumps must be cleared and restored. This also aligns with the Pack-a-Punch unlock path.
You’ll find Power Pumps at:
- Blackwater Lake
- Ashwood
- Vandorn Farm
Clear the glowing orange infestations around each pump, then flip the local power switch to stabilize it. This step must be completed before any progress toward the Gauntlet becomes possible.
Step 2: Free Klaus From the Ashwood Sheriff’s Office
Klaus is essential for the mid-quest steps. To recruit him, you must first obtain the Stabilizer Chip.
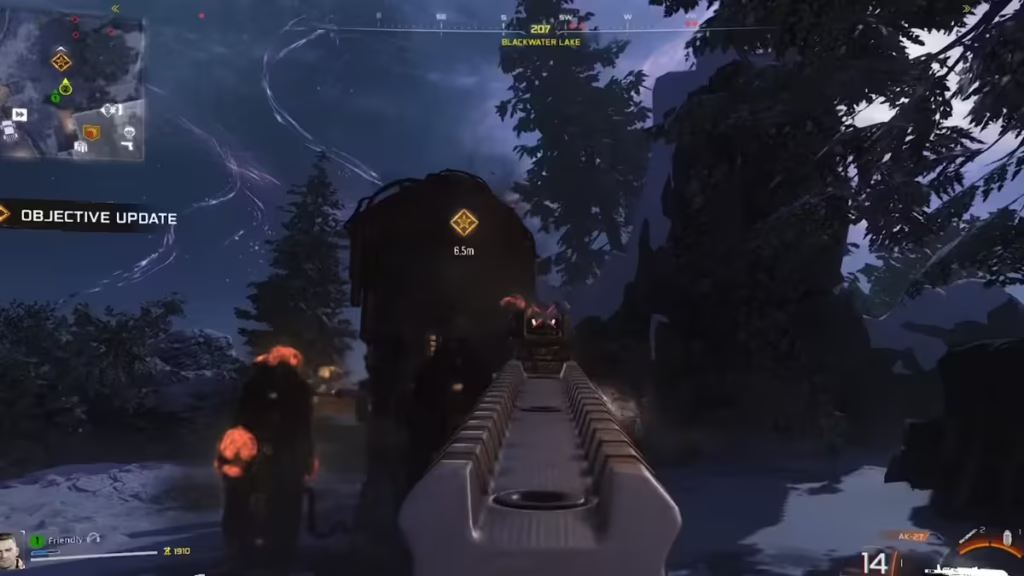
How to Get the Stabilizer Chip
- Travel to Janus Towers Plaza.
- Walk the road toward Blackwater Lake until an Uber Klaus bursts from a container.
- Defeat the Uber Klaus—he drops the Stabilizer Chip.
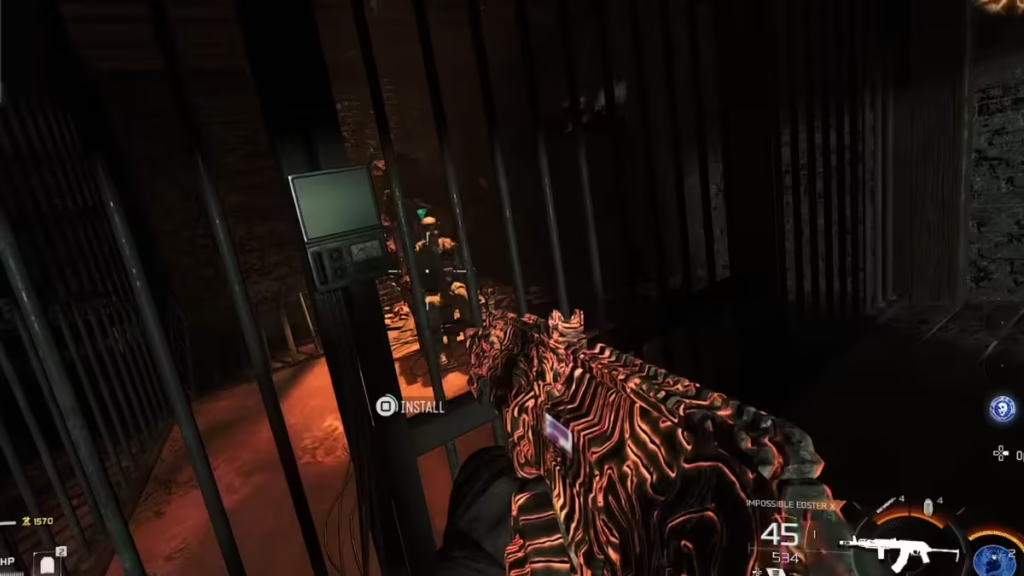
- Take the chip to the Ashwood Sheriff’s Office, next to the Vulture Aid perk.
- Insert the chip into the cell terminal.
- Craft Stun Grenades (250 Salvage each) and throw 3–4 directly into the cell.
- Once stunned enough, Klaus awakens and becomes an ally.
Klaus can be summoned and controlled, and you’ll need him shortly.
Step 3: Complete the Zarya Cosmodrome Scan to Earn the Aether Canister
Head to Zarya Cosmodrome, descend into Support Systems, and find the locked canister with a console beside it.
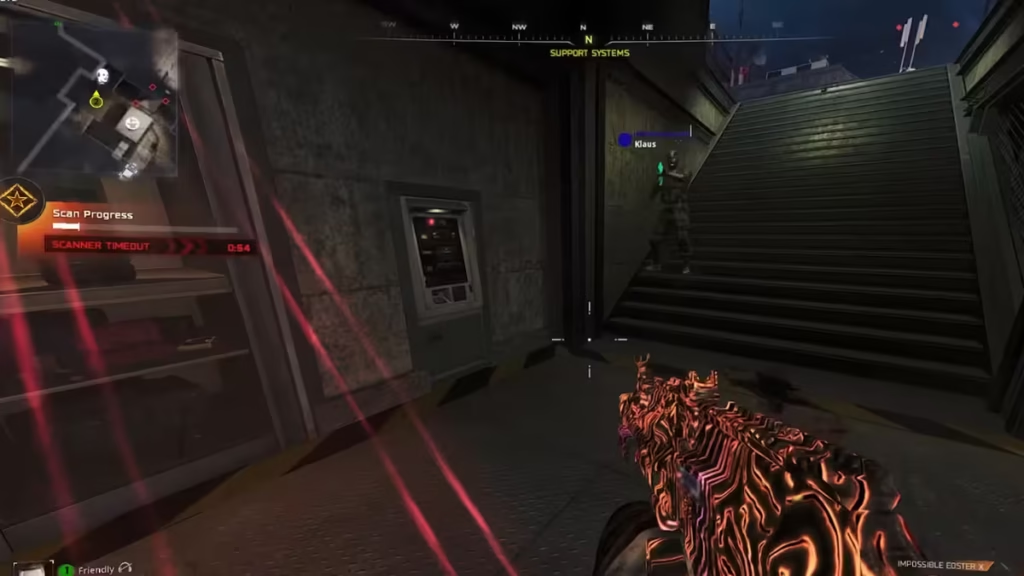
What to Do
- Command Klaus to approach the console—this activates it.
- Interact with the now-active button to begin the scan sequence.
- Stand inside the red or green scanner circle and look directly at the camera’s red light.
- You must survive one full minute, staying inside the circle.
- Being hit pauses progress, and leaving the circle resets the scan on the next round.
Finish the scan successfully to earn the Aether Canister/Aether Barrel from the slot beside the console.
Step 4: Charge the Canister at All Power Pumps
The canister is empty when you receive it—you must charge it using the Power Pumps you restored earlier.
How Charging Works
- Each placement starts the canister’s timer.
- You must reach the next Power Pump before the timer empties, or the canister resets.
- The fastest route is typically:
- Ashwood
- Blackwater Lake
- Vandorn Farm
Once fully charged at the third pump, take the canister into the Vandorn Farm cellar—located beneath the barn—and place it into the stone cube.
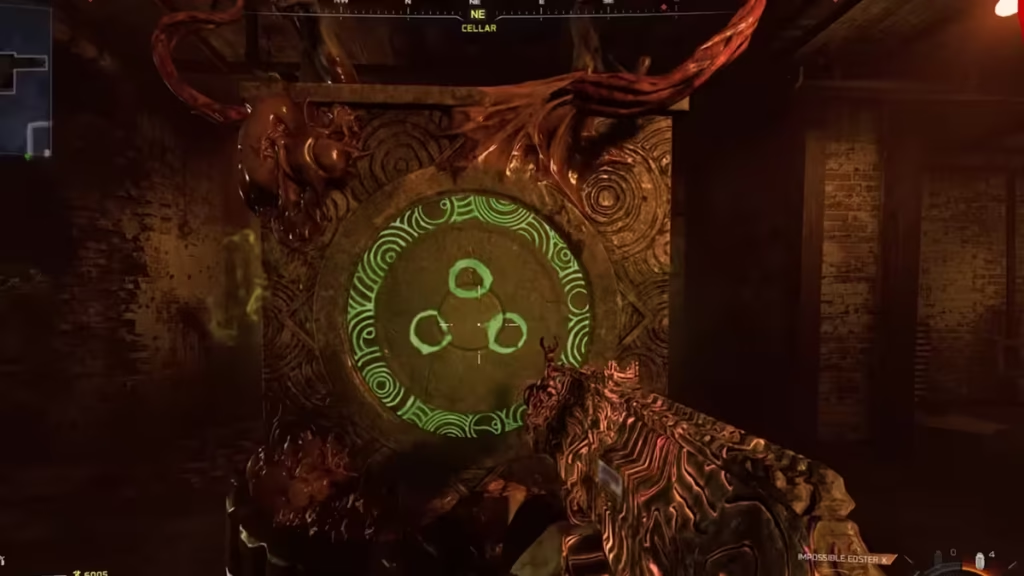
Step 5: Solve the Rune Puzzle at Vandorn Farm
With the canister powering the eldritch cube, you’ll notice runes on three of its sides and an eye on the fourth.
How to Identify the Correct Symbols
- Travel to Janus Towers Plaza.
- Use the Jump Pad to launch back toward Vandorn Farm.
- As you fly, observe the rooftops of:
- The farmhouse
- The barn
- The silo
Each displays one glowing rune.
- Remember or screenshot the three runes.
- Return to the cellar cube and rotate the sides until all three symbols match the ones you saw.
Once correct, interact with the cube’s eye to unlock the Necrofluid Gauntlet.
Step 6: Complete the Lockdown Ritual
Picking up the Necrofluid Gauntlet triggers a green-lit lockdown inside the cellar.
Your Objective
- Destroy the floating green orbs using the Gauntlet’s spike shot.
- Reload immediately after firing to recall the spike—this is essential for progress.
- Clear every orb in the room to end the lockdown.
Once the ritual ends, the Necrofluid Gauntlet is fully yours, and now has a chance to appear in the Mystery Box for the rest of the match.
How the Necrofluid Gauntlet Works
The Gauntlet has three core abilities:
| Ability | Input | Description |
|---|---|---|
| Spike Shot | R2 / RT / Left-Click | Launches a high-impact spike that embeds into targets. |
| Spike Recall | Reload Button | Pulls embedded spikes back, damaging enemies and granting overheal. |
| Claw Attack | Melee Button | A powerful but slow close-range swipe. |
The key mechanic is the overheal granted when recalling spikes—letting you exceed normal max HP as long as you stay active and reload frequently. Play Now!
Tips for Players
- Bring fast-clearing weapons for the scan and lockdown stages.
- Cymbal Monkeys and Decoys help maintain the scan circle.
- Aether Shroud is especially useful for solo players during the scan.
- Once unlocked, Pack-a-Punch the Gauntlet at Ol’ Tessie to push it to Tier 3 power.
Read More:
- Critical Kills Black Ops 7 Zombies: Fast Camo Unlock Guide
- Pack-a-Punch Location in Black Ops 7 Zombies
- Black Ops 7 Season 1 Release Date: When the New Season Starts and Countdown Timer
- Black Ops 7 Zombies Beta: How to Get the Free Raygun Fast
- All Black Ops 7 Mastery Camos – Full List for Multiplayer, Zombies, Campaign, and Warzone
- How to Prevent Packet Bursts in Black Ops 7: Best Settings and Fixes
- Call of Duty Black Ops 7 Aim Assist Changes Explained: New Rotational Rules and Right-Stick Requirement

