IPVanish is a VPN service that encrypts your internet traffic and hides your IP address on Windows. This guide walks you through how to download, install, and connect to IPVanish for Windows, and how to set up Threat Protection Pro for real-time malware defense.

What You Need Before You Start
- A Windows PC running Windows 10 or later
- An active IPVanish account
- A stable internet connection to download the installer
How to Download IPVanish for Windows
- Open your browser and go to ipvanish.com.
- Navigate to Apps > Windows > Download Windows App.
- Save the installer file to your PC.
How to Install IPVanish on Windows
- Double-click the downloaded installer file to run it.
- Choose an installation location. The default path works for most users. If you have external drives plugged in, confirm the destination points to your internal drive. Click Change to pick a different folder if needed.
- Click the Install button.
- Select Yes in the User Account Control pop-up.
- Click Run and select Yes in the next prompt.
- IPVanish opens automatically after installation. Enter your login credentials and click Log In.
How to Connect to IPVanish
- On the IPVanish home screen, click Connect.
- IPVanish connects you to the fastest available server by default.
- Your internet traffic is now encrypted and routed through the VPN.
How to Check Your VPN Connection Status
After connecting, click the down arrow in the top left of the app. A status window appears and shows:
- Your assigned Public IP Address
- Time Connected
- Server Name
- Protocol in use
To stop the VPN, click the blue Disconnect button in the upper right of the app window.
What Is IPVanish Threat Protection Pro
Threat Protection Pro is IPVanish’s built-in anti-malware tool available on the Advanced plan. It adds multiple layers of defense that VPN encryption alone cannot provide.
All IPVanish plans include core Threat Protection, which uses DNS filtering to block malicious and tracking domains. Every DNS query your device sends gets checked against a blocklist. If the domain is on that list, your device cannot reach it. This built-in layer works on Windows, Android, iOS, and Apple TV.
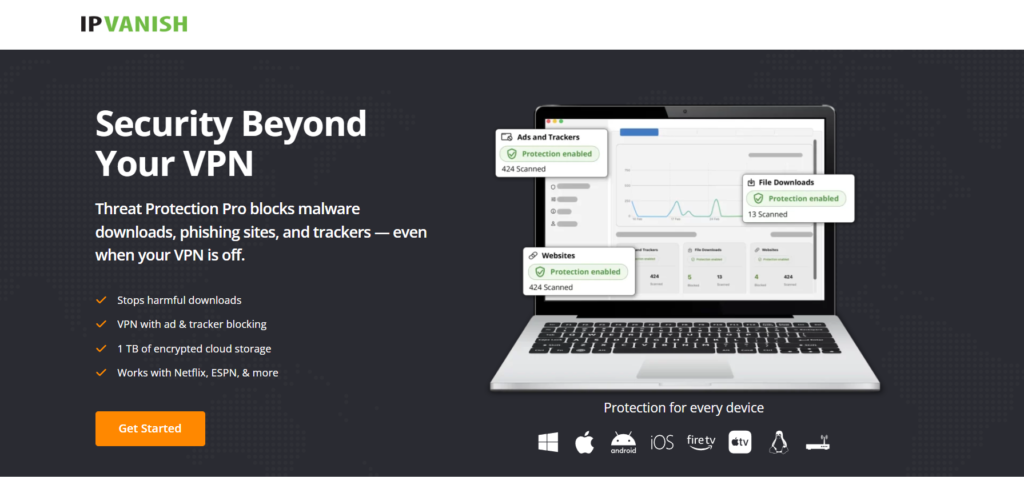
Threat Protection Pro goes further. IPVanish officially released Threat Protection Pro in March 2026. It scans web content for malicious code before it loads, quarantines suspicious downloads, and monitors unusual network traffic on Windows. It runs 24 hours a day, even when the VPN connection is off.
A VPN encrypts your traffic and hides your IP address, but it does not protect you from every type of cyberattack. Threat Protection Pro addresses that gap by targeting threats at the page, file, and network level in real time.
Threat Protection Pro is exclusive to Advanced-tier subscribers and supported on Windows and Mac only. The Advanced plan costs roughly $1 more per month than Essential on the two-year plan and uses VIPRE’s antivirus engine under the hood.
How to Turn On Threat Protection Pro on Windows
You need an IPVanish Advanced subscription before you can enable Threat Protection Pro.
- Open the IPVanish app and log in.
- Click the shield icon in the navigation menu.
- Follow the on-screen prompt to install the required drivers.
- Once installation completes, the Threat Protection Pro control panel loads automatically. It shows current activity, blocked threats, and quarantined files.
Other Security Features in IPVanish
IPVanish includes these features on all plans:
- Kill switch blocks your internet access if the VPN connection drops unexpectedly, so your real IP never leaks.
- DNS and IPv6 leak protection keeps your ISP and third parties from seeing your real location or web history.
- Double Hop routes traffic through two VPN servers for extra anonymity.
- No-logs policy combined with RAM-only servers means IPVanish does not retain your activity data.
Advanced subscribers also get Secure Browser, which provides up to 30 hours of disposable browsing per session. It prevents browser fingerprinting and wipes your session history on exit.

