Epson ScanSmart is the official scanning utility designed to make scanning easier and more productive on Windows 11. Unlike the built-in Windows Scan tool, it provides advanced features like OCR, cloud saving, and multi-page document handling. If you’re setting up a new Epson printer or scanner, here’s a step-by-step guide to download, install, and troubleshoot Epson ScanSmart on Windows 11.
Why You Need Epson ScanSmart
Unlike the default Windows scanning tool, Epson ScanSmart is optimized for Epson devices. It offers:
- Easy one-click scanning
- Automatic file organization (PDF, JPEG, TIFF)
- Direct save to cloud storage
- Simple editing tools before saving or sharing
If you want a smooth scanning experience, this utility is a must-have.
See also: How to Download & Install Canon imageFORMULA R40 Driver on Windows 11 and 10
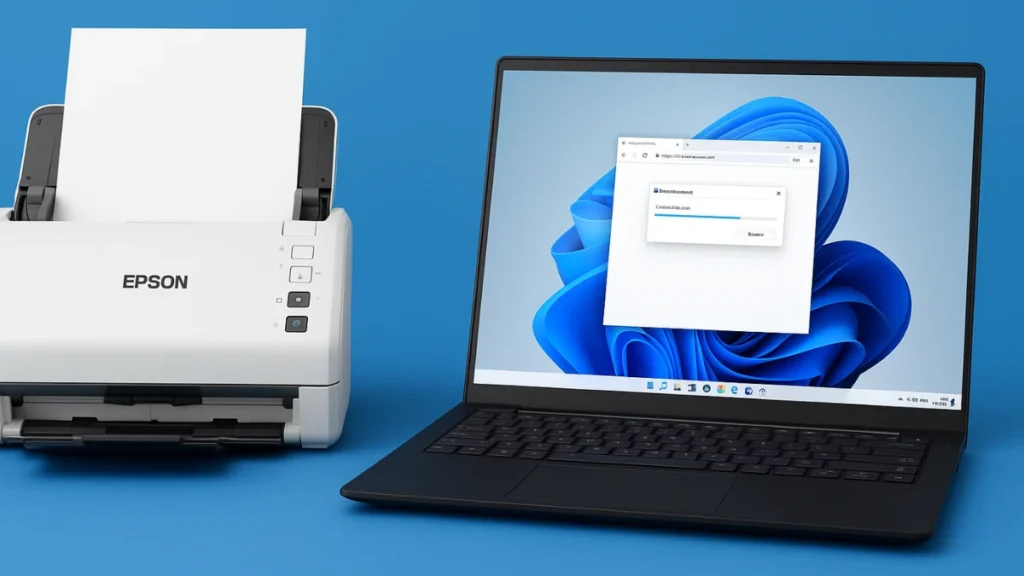
Step 1: Go to the Epson Support Page
- Open your browser and visit the Epson Support page.
- Enter your scanner’s model number in the search box (e.g., Epson ES-400, DS-410, or another model).
- Select your device from the list of matching results.
Step 2: Choose Windows 11 as Your OS
- On your product’s support page, scroll to the Drivers & Downloads section.
- Check that Windows 11 (64-bit) is selected in the operating system drop-down.
- If it’s not, manually select it before continuing.
Step 3: Download Epson ScanSmart
- Scroll down to Drivers and Utilities.
- Look for Epson ScanSmart Utility.
- Click Download. The file will usually be named something like:
ScanSmart_Setup.exeepsonXXXX_ScanSmart_Installer.exe- or included in a Drivers & Utilities Combo Package.
Step 4: Install Epson ScanSmart
- Locate the downloaded file in your Downloads folder.
- Double-click the installer to launch setup.
- Follow the on-screen prompts to complete installation.
- Once installed, open it from the Start menu → Epson Software → Epson ScanSmart.
Step 5: Open and Configure ScanSmart
- Go to the Start Menu → Epson Software → Epson ScanSmart.
- Connect your Epson scanner via USB or Wi-Fi.
- Follow the initial setup wizard to adjust scanning preferences (file type, resolution, save location).
You’re now ready to scan with ease.
Troubleshooting Epson ScanSmart on Windows 11
If Epson ScanSmart doesn’t detect your scanner or won’t launch, try these fixes in logical order:
- Check Connections
- Ensure the USB cable is plugged in properly.
- If using Wi-Fi, confirm the scanner and PC are on the same network.
- Update Drivers
- Go back to your product’s support page.
- Download and install the latest Epson Scan 2 drivers if required.
- Run Windows Update
- Keeping Windows 11 up to date ensures compatibility with Epson utilities.
- Reinstall Epson ScanSmart
- Uninstall the app via Settings → Apps → Installed Apps.
- Reboot your PC and reinstall the latest version from Epson Support.
- Confirm Product Compatibility
- Most Epson WorkForce, FastFoto, and ES-series models support ScanSmart, but older devices may not. Check the support page for confirmation.
Quick Tips
- Always download ScanSmart from the official Epson website to avoid unsafe or outdated software.
- Restart your PC after installation if the program doesn’t launch right away.
- For advanced features like batch scanning or OCR, ensure your Epson model supports them.
With these steps, you’ll have Epson ScanSmart up and running on Windows 11 in minutes—making scanning faster, cleaner, and much more convenient.

