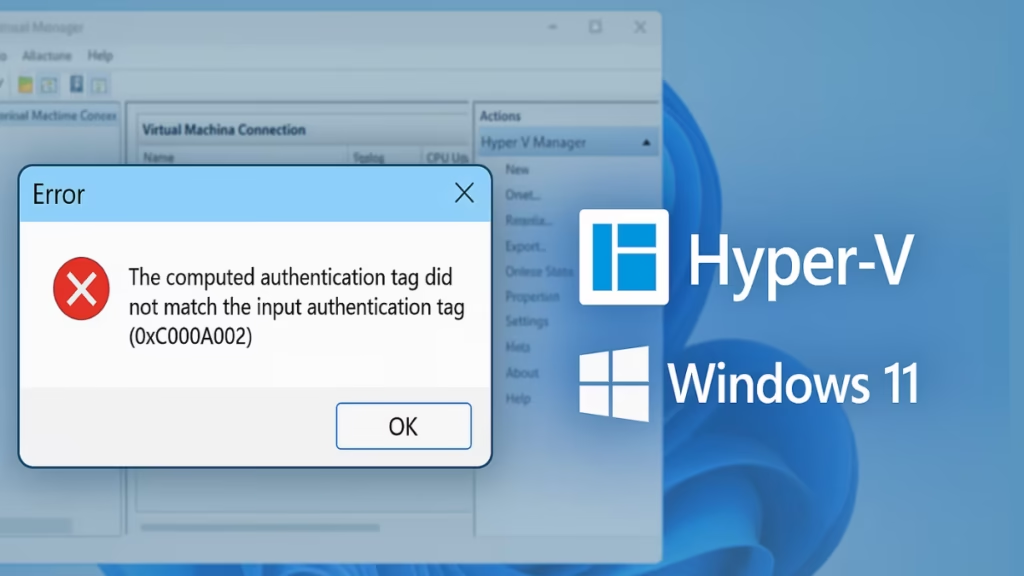
Upgrading a Windows 10 virtual machine to Windows 11 in Hyper-V should be straightforward, but many users hit a frustrating roadblock as soon as they enable TPM (Trusted Platform Module) support. Instead of booting normally, Hyper-V throws the following error:
“The computed authentication tag did not match the input authentication tag (0xC000A002)”
This guide explains why the error happens, what it means, and the different methods you can use to fix it so you can successfully enable TPM and upgrade your VM to Windows 11.
Why Does This Error Happen?

The error appears when there’s a mismatch between the virtual TPM configuration and the VM’s saved state or key protector data. Common causes include:
- The VM has a saved state or snapshots that conflict with the new TPM setting.
- The VM’s configuration data is corrupted.
- A mismatched or missing key protector if the VM is using shielded or guarded settings.
Fix 1: Delete the Saved State
The quickest and most effective solution for most users is to clear the VM’s saved state.
Steps:
- Open Hyper-V Manager.
- Select your VM → right-click → Delete Saved State.
- Start the VM again with TPM enabled.
This clears the old suspended state and forces Hyper-V to initialize the VM fresh.
Fix 2: Recreate the VM and Attach the Old Disk
If clearing the saved state doesn’t work, the VM configuration may be corrupted. Instead of repairing it endlessly, rebuild the VM using your existing virtual disk:
- Shut down the VM.
- Make sure your VHDX files are safe.
- In Hyper-V Manager, delete the old VM (keep the VHDX).
- Create a new Gen2 VM.
- In settings, enable TPM under Security.
- Attach your old VHDX as the boot disk.
- Boot the VM.
This gives you a clean VM configuration with TPM enabled from the start, while keeping your OS and data intact.
Fix 3: Reset the Key Protector (Shielded VMs Only)
If you’re running a shielded VM or working in a guarded fabric, the issue may be with the key protector. In that case, regenerate it with PowerShell:
$owner = Get-HgsGuardian UntrustedGuardian
$kp = New-HgsKeyProtector -Owner $owner -AllowUntrustedRoot
Set-VMKeyProtector -VMName "VMName" -KeyProtector $kp.RawData
Enable-VMTPM -VMName "VMName"
This ensures the VM has a valid key protector before enabling TPM.
Quick Comparison of Fixes
| Problem | Fix | Difficulty |
|---|---|---|
| VM has saved state/snapshot | Delete saved state | Easy |
| VM config corrupted | Recreate VM shell, reattach VHDX | Medium |
| Shielded/guarded VM with key issues | Reset key protector via PowerShell | Advanced |
How to Avoid the Hyper-V Authentication Tag Error
- Always shut down VMs cleanly instead of relying on saved states.
- Take backups of VHDX files before changing security settings.
- For shielded VMs, ensure Host Guardian Service (HGS) is properly configured.
See also: How to Install Windows 11 Version 25H2 (Official 2025 Update)
FAQs: Hyper-V authentication tag error
Q. Why can’t I upgrade to Windows 11 without TPM?
Windows 11 requires TPM 2.0 and Secure Boot. Hyper-V supports virtual TPM on Gen2 VMs only.
Q. Will deleting the saved state delete my VM data?
No, it only clears the suspended state. Your OS and files remain intact.
Q. What if none of the fixes work?
As a last resort, export the VHDX and create a completely fresh VM, then migrate your data.
The 0xC000A002 Hyper-V TPM error looks intimidating, but in most cases, it’s just a problem with cached VM state. By deleting the saved state or recreating the VM configuration, you can enable TPM successfully and proceed with upgrading to Windows 11.

