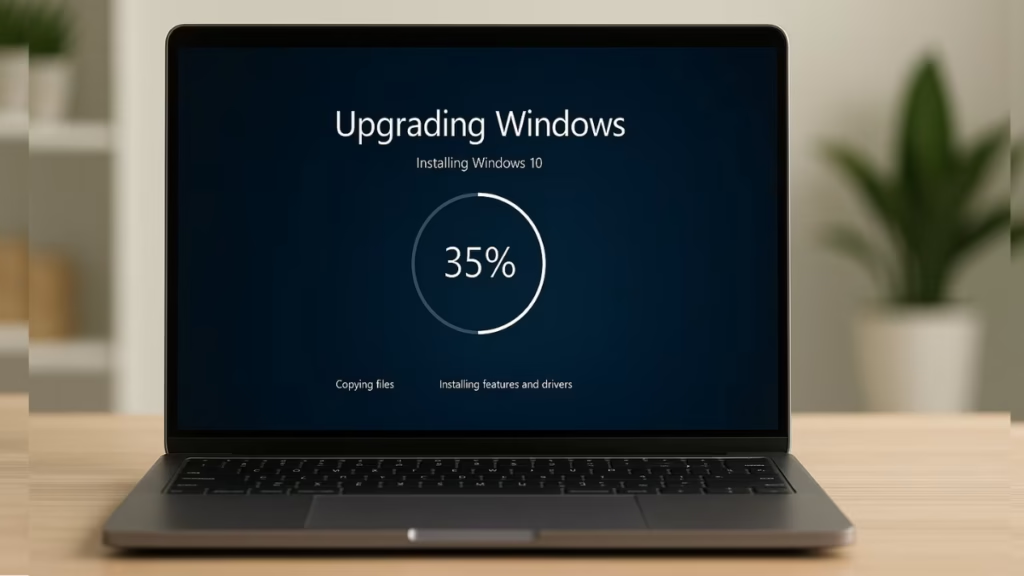
If you’re still on Windows 7, it’s time to move forward. Microsoft officially ended support for Windows 7, making it risky to continue using. The good news is you can upgrade directly to Windows 10 and then move on to Windows 11 if your PC meets requirements. This guide walks you through the entire process step by step.

1. Check System Requirements
Before upgrading, ensure your computer meets the requirements.
Windows 10 Minimum Requirements
- CPU: 1GHz or faster, 32-bit or 64-bit
- RAM: 1GB (32-bit) or 2GB (64-bit)
- Storage: 32GB
- GPU: DirectX 9 with WDDM 1.0 driver
- Firmware: BIOS or UEFI
Windows 11 Minimum Requirements
- CPU: 1GHz+, 2 or more cores, 64-bit, supported by Microsoft
- RAM: 4GB or more
- Storage: 64GB or more
- GPU: DirectX 12 compatible with WDDM 2.0
- TPM 2.0 and Secure Boot enabled
Tip: Once on Windows 10, use Microsoft PC Health Check app to confirm Windows 11 compatibility.
2. Back Up Your Data
Moving from Windows 7 to newer versions can reset some settings or apps. To stay safe:
- Copy documents, photos, and videos to an external drive.
- Upload important files to cloud storage like OneDrive or Google Drive.
- Export browser bookmarks and email if needed.
3. Upgrade from Windows 7 to Windows 10
Since Microsoft no longer officially provides a free upgrade, you’ll use the Windows 10 Media Creation Tool.
Method 1: Direct Upgrade
- Download the Windows 10 Media Creation Tool from Microsoft.
- Run the tool → select Upgrade this PC now.
- Choose to keep “Personal files and apps” if possible.
- Enter a valid product key (your Windows 7 key may still activate).
- Let the upgrade complete (this may take 1–2 hours).
Method 2: Fresh Install with USB
If the upgrade tool doesn’t work:
- Run the Media Creation Tool on another PC.
- Select Create installation media (USB/DVD).
- Boot your Windows 7 PC from the USB.
- Install Windows 10 fresh.
4. Update Windows 10 Fully
After installing Windows 10:
- Open Settings → Update & Security → Windows Update.
- Install all pending updates until you’re on the latest version (Windows 10 22H2).
5. Upgrade from Windows 10 to Windows 11
Once on Windows 10, you can move to Windows 11.
Option 1: Windows Update
- Go to Settings → Update & Security → Windows Update.
- If eligible, you’ll see Upgrade to Windows 11 is ready.
- Click Download and Install.
Option 2: Installation Assistant
If you don’t see the update:
- Download the Windows 11 Installation Assistant from Microsoft.
- Run it and follow on-screen steps.
Option 3: USB Install
- Use the Windows 11 Media Creation Tool.
- Create a bootable USB.
- Boot from it and install Windows 11 manually.
After upgrading to Windows 11:
- Reinstall drivers (GPU, audio, etc.) if required.
- Ensure Secure Boot and TPM are enabled in BIOS.
- Restore personal files from your backup.
- Reinstall older apps that didn’t transfer.
Upgrading from Windows 7 to Windows 10 and then Windows 11 isn’t difficult, but it requires preparation. Always back up your data first, check hardware requirements, and use Microsoft’s official tools to avoid errors. Once done, you’ll have a modern, secure, and supported system.

