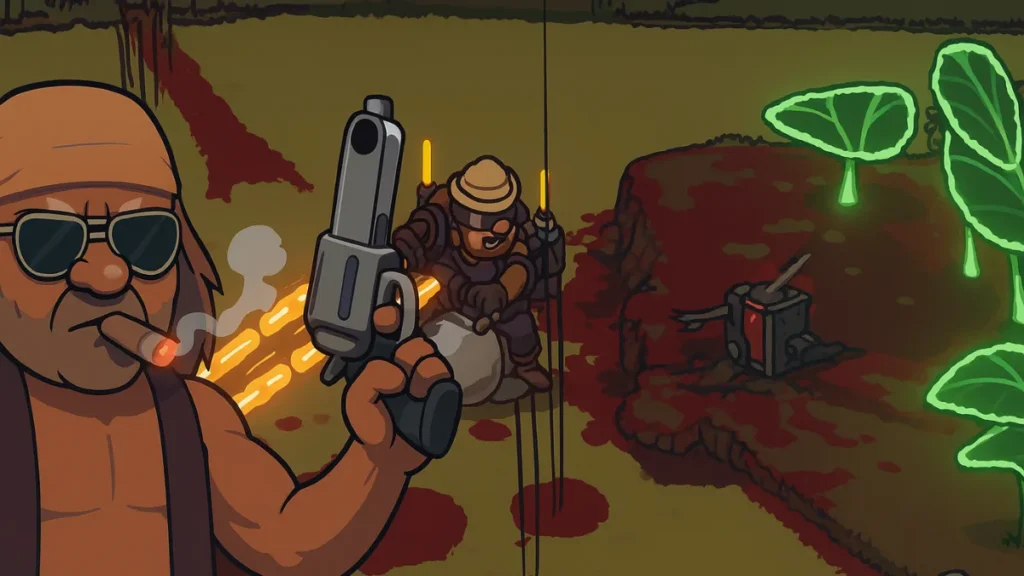
The mutant apocalypse in Guntouchables is chaotic, relentless, and unforgiving — but also packed with opportunities to turn the tide if you know how to play smart. Whether you’re diving in solo or teaming up with friends, success comes from more than just pulling the trigger. You’ll need to balance stamina, manage resources, and make quick decisions that keep you alive through each mission.
This guide covers essential beginner tips and strategies to help you survive longer, clear objectives faster, and set yourself up for stronger future runs.
1. Pick a Beginner-Friendly Starter Character
Your first character choice shapes how you handle early-game challenges.
- Best for Newcomers: Linda — Her melee shovel attack gives you a reliable, ammo-free way to deal with close-range threats, perfect while learning reload timing and ammo conservation. At early levels, Linda also unlocks a perk that reveals consumable locations on the map, letting you feed your team valuable resources.
- Solo-Friendly: Commando — Comes with powerful grenades for clearing large enemy groups. Grenades replenish every time you restock ammo, so plan routes around resupply points to keep his AoE damage ready.
- Support Option: Doctor Marcus — Doubles healing and revive effectiveness at Level 2, great for team play. His ability to spike-heal teammates makes him a lifesaver in chaotic fights.
- Long-Range Choice: Sharpshooter Alfred — Uses stamina to boost weapon damage while aiming; works best if you’re comfortable managing stamina carefully. Reserve this boost for critical shots instead of constant aiming to avoid stamina drain before big waves.
Tip: Try each character, but stick with one until you learn their strengths and weaknesses. Familiarity is a big advantage in early runs.
Learn the Game Modes in Guntouchables
Expeditions are the stage-based missions you select when hosting. Progressing through them unlocks the next one, while Weekly Expeditions (available at higher ranks) rotate with special challenges.
Start with First Exposure mode — it reduces enemy health/damage and increases consumable drops — to learn layouts safely. Heat Mode, on the other hand, adds mutators that change enemy stats or behaviors. Begin with a few before stacking more to avoid overwhelming difficulty.
2. Manage Stamina and Dash for Survival
The Dash (default: Spacebar) is your lifeline for dodging danger and repositioning. It consumes stamina, so spamming it recklessly will leave you stranded when you need it most.
- Save it for emergencies like breaking out of a mob or escaping dangerous choke points.
- Pair with perks such as Good Cardio (reduced dash cost) or Stamina Regeneration (faster recovery). Also grab Speed Buff early — higher base movement speed lets you kite more easily and conserve dash for critical escapes.
- Stay aware of stamina usage from melee attacks or special abilities, not just dashing. The stamina bar sits just below your HP above your character — check it before committing to risky moves.
Pro Tip: If a wave is incoming, preserve stamina for the worst moments rather than spending it on minor movements.
3. Focus on Spawners Before Clearing Enemies
It’s tempting to mow down every mutant you see, but enemies will keep coming until you destroy their spawners — boil-like growths erupting from the ground. Eliminating these quickly reduces enemy density, conserves ammo, and gives you breathing room to complete objectives.
Remember: you don’t have to clear every enemy to finish a mission. If ammo is low or the path is flooded, skip unnecessary fights and focus on the objective instead.
4. Use Your Pistol and Save Heavy Ammo
Your pistol is more than a backup — it’s perfect for dealing with weaker enemies like Ticks or breaking crates without wasting primary weapon ammo. It’s also ideal for tapping Corrupted Nymphs from a distance, keeping you safe from status effects. Reserve your stronger guns for high-health targets or emergencies.
Let the Drone Handle Small Threats
Your Drone auto-targets low-health enemies like Ticks and Nymphs, thinning swarms while you focus on the mission. Keep line-of-sight so it can fire effectively. When Tick Carriers drop multiple Ticks, pause for a moment — the Drone often wipes them out before they reach you.
5. Use Hazards and Explosives to Control Crowds
Red explosive barrels can instantly clear a mob if triggered at the right time.
- Memorize barrel locations as you explore.
- Lure enemies toward them before firing.
- Combine barrels with choke points for maximum impact.
Other hazards include Corrupted Ground, which builds a Corruption meter while you stand in it. Move to safe ground to clear the effect. If you pick the Mold Spores mutation, you won’t regenerate stamina while Corrupted — another reason to avoid these zones.
6. Choose Mutations That Won’t Overwhelm You
Between missions, you must select a Mutant Evolution (enemy buff) in exchange for a player bonus. Some choices are less dangerous than others:
- Range Boost (Bile Crawler): Slow, low-HP enemies that rarely get close — easy Drone or rifle kills.
- Mega Outbreak on Ticks — More Ticks spawn, but they’re weak and usually cleared instantly.
- Crippling Hit on Nymphs — They rarely reach you before dying.
- Regeneration on Worm Stabbers — Stationary enemies you can avoid entirely.
Avoid mutations that significantly buff already dangerous enemies like Bile Spitters or Bile Runners.
7. Collect Crates for Long-Term Perk Gains
Crates, marked on the minimap with green glow and white-rimmed circles, unlock Perks once the mission is complete. The number of crates collected determines how many Perks you receive, so grabbing even one or two per run can make a big difference over time.
Even if grabbing a crate is risky, the long-term rewards often justify the detour.
8. Check the Minimap Regularly to Plan Your Route
The minimap (top-right corner) shows:
- Mission objectives and paths
- Crate locations
- Useful items and hazards
Check it often to avoid wandering aimlessly or missing valuable loot, especially when resources are low. Use it to plan crate detours and spot safe resupply points between big fights.
9. Select Weapons That Match Your Playstyle
Choosing the right weapon for your playstyle is essential:
| Weapon Type | Strengths | Weaknesses |
|---|---|---|
| Rifles | Balanced damage and range | Slight damage drop on penetration |
| Shotguns | Strong close-range burst | Weak at long range |
| Machine Guns | High suppression fire | Burns ammo quickly |
| Pistols | Reliable backup | Limited damage |
| Launchers | Huge AoE damage | Slow reload, low ammo |
Beginner tip: Stick to rifles or shotguns until you master ammo management.
Once you’re comfortable, visit Baxter’s Bazaar to apply mods — reload speed, mag size, damage, accuracy, and more. Applying several unlocks Milestone Mods that can drastically boost performance or add elemental effects.
Quick-Start Loadouts
- Solo safety: Linda + Shotgun (mobility, stamina perks, and close-range dominance).
- Team sustain: Marcus + Rifle (reliable DPS with strong healing support).
- Anchor/Crowd control: Commando + Launcher or Rifle (grenades reset on ammo resupply).
10. Play in First Exposure Mode to Learn the Game
For your first few runs, First Exposure Mode reduces enemy health and damage while boosting consumable drops. It’s a safer way to learn layouts, enemy patterns, and objective pacing before moving into harder modes like Heat Expeditions.
Related Guides You Might Like:
- Guntouchables: Increase Stamina and Manage It
- PEAK Frost Guide: How to Survive and Avoid Stamina Drain
- Labyrinth of the Demon King Guide: Combat & Secrets Explained
- Umamusume King Halo Build Guide – Stats, Cards & PvP Tips
- Find an Expeditioner in Clair Obscur: Expedition 33 Guide
Early success in Guntouchables comes from discipline — knowing when to fight, when to move, and how to prepare for what’s ahead. By focusing on stamina management, targeting spawners, making smart mutation picks, and learning your weapons, you’ll quickly find yourself surviving longer and progressing faster.
Enjoyed this walkthrough? A small coffee from you keeps us going!
Buy Me a CoffeeYour support keeps Fdaytalk alive and helps us create more free gaming guides for the community.
Once you’ve mastered the basics, experiment with Heat mutators, push Weekly Expeditions, and test different perk builds — every run teaches you something new, and that’s how you become truly untouchable. Play Now!

