The Drifter is one of the standout Survivors introduced in the Alloyed Collective expansion. She brings a scrap-driven, physics-heavy playstyle built around Junk, Sentry Keys, and high-impact melee abilities. But unlike some Survivors, the Drifter is not unlocked automatically—you must progress through several new biomes, clear layered objectives, and defeat multiple bosses before you can free her.

Unlocking the Drifter involves three major tasks:
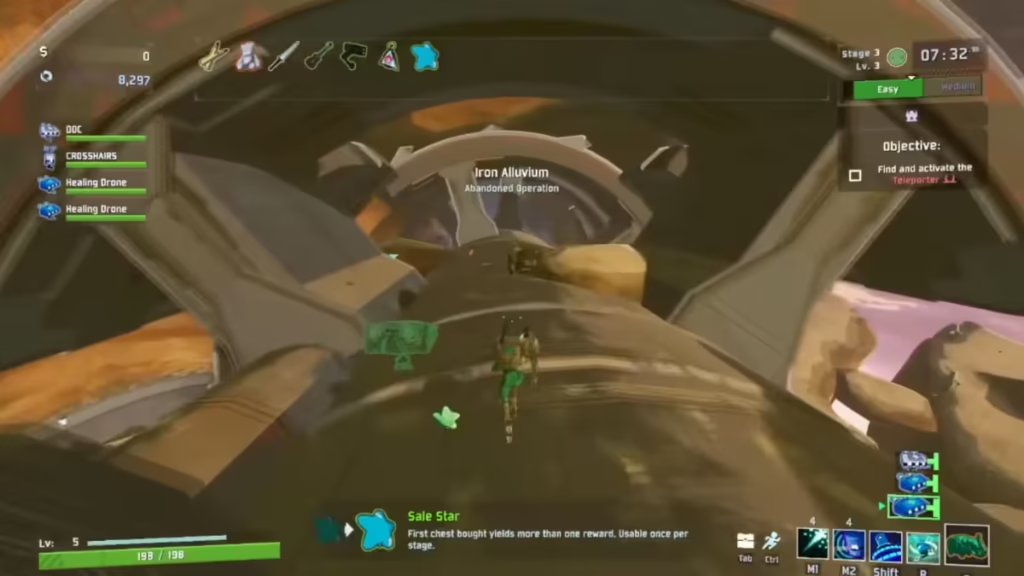
- Reach Iron Alvium and activate the hidden node.
- Clear Conduit Canyon by collecting Sentry Keys and defeating the Alloy Hunter.
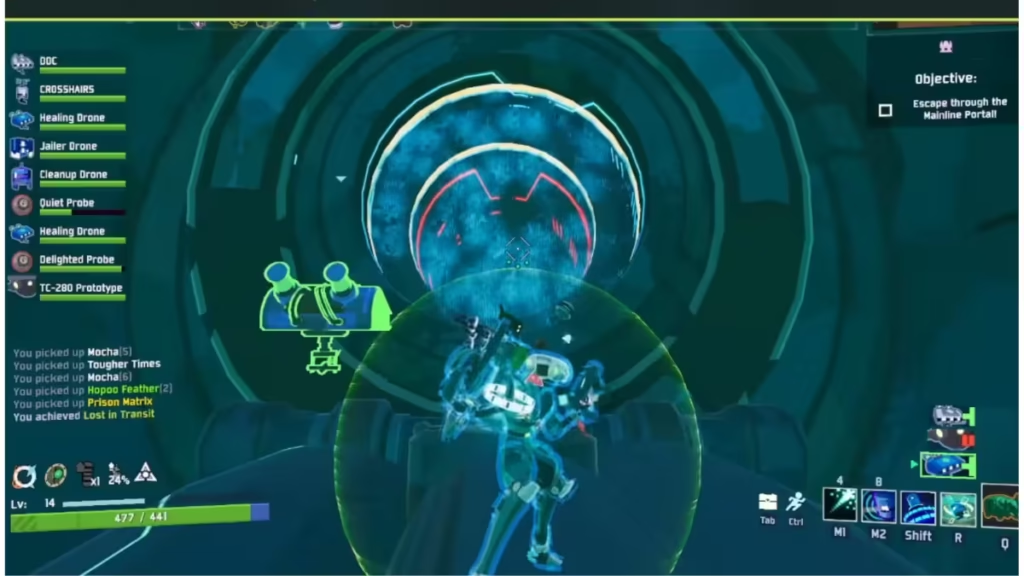
- Explore Solutional Haunt, defeat Solus Wing, gather two Prison Matrices, and offer them in the Vault.
Once both matrices are offered, you complete the “Lost in Transit” challenge and the Drifter becomes playable.
Stage 1 – Reaching Iron Alvium and Activating the Node

Start with a Safe Setup: For consistency, run on Drizzle and consider using the Command Artifact—it reduces randomness and helps you stay alive during long encounters.
Progress to Stage 3: Play through early stages normally. You’ll know you’re on the right path if Stage 3 loads into Iron Alvium.
Find the Activation Node:
- A single encrypted node spawns somewhere in Iron Alvium. This node’s location changes each run.
- Interact with it to trigger the boss encounter.
Defeat the Teleporter Boss: Clear the fight as you normally would. Once the teleporter charges, an Encrypted Portal appears. Entering this portal takes you to the next critical zone.
Stage 2 – Navigating Conduit Canyon
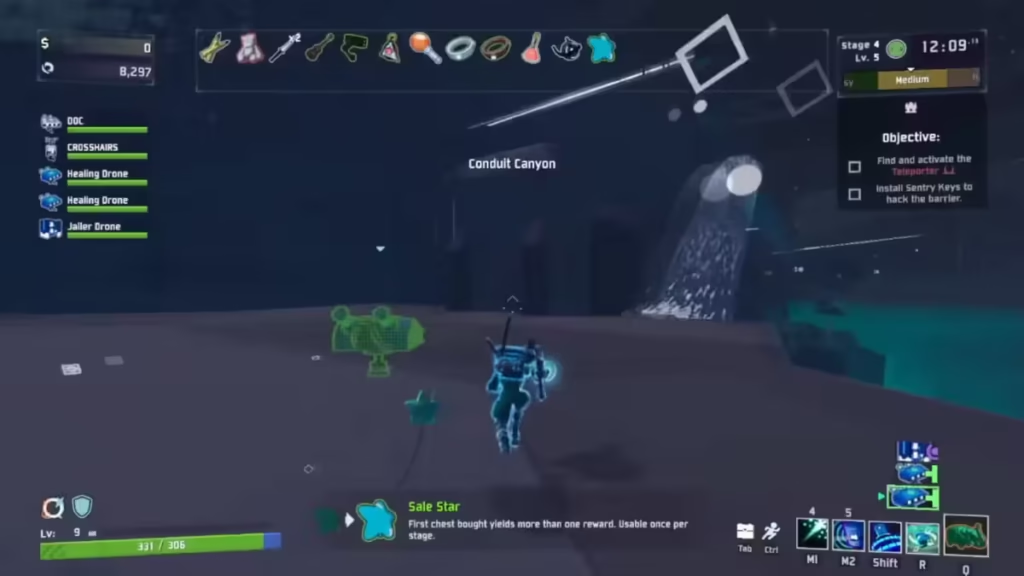
Conduit Canyon is a two-part map requiring key collection and node activation.

Step 1: Hunt Elites for Sentry Keys: Elites in this zone can drop Sentry Keys, which are required to activate Canyon nodes.
Step 2: Power the First Three Nodes:
- There are six nodes total—three in each half of the map.
- The first half is immediately accessible. Insert Sentry Keys into all three nodes to unlock the second half.
Node positions do not change between runs. Keys, however, depend on elite spawns.
Step 3: Access the Second Half: Once the initial three nodes are powered, the rest of the Canyon opens. Again, hunt elites, gather Sentry Keys, and activate the remaining nodes.
Step 4: Prepare for the Boss: Completing all node activations powers the teleporter. The fight begins with a standard Solus Control Unit, but the encounter escalates quickly when the Alloy Hunter appears.
Step 5: Defeat the Alloy Hunter: This hybrid boss is the real gatekeeper of Drifter progression. Use mobility and vertical space to avoid its sweeping energy attacks.
Once both phases are defeated, charge and activate the teleporter to enter the final zone.
Stage 3 – Solutional Haunt and the Final Unlock

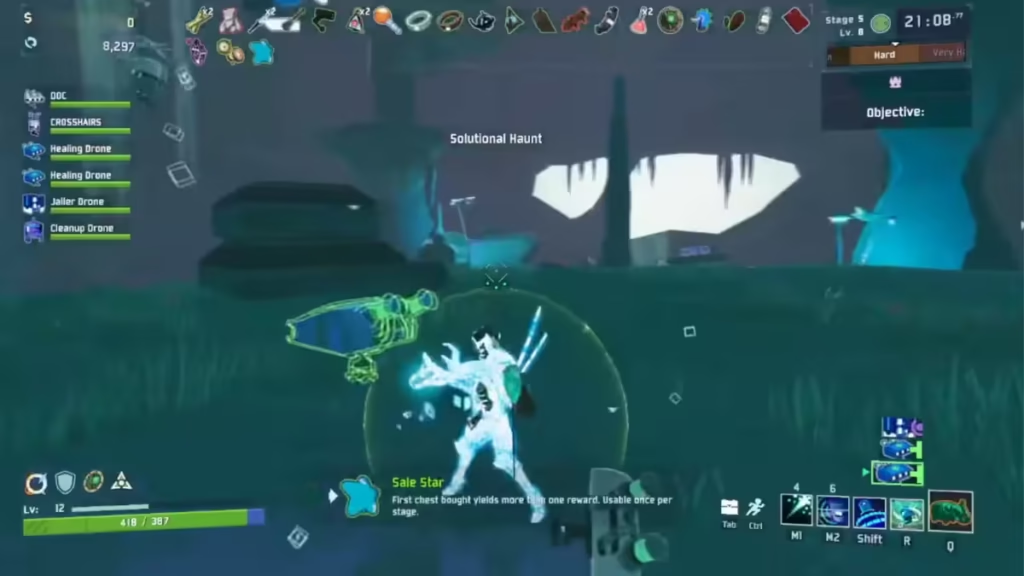
Step 1: Enter the Drifter Unlock Zone: Clearing Conduit Canyon transports you to Solutional Haunt, the final region of the DLC’s progression.
Step 2: Defeat Solus Wing: Solus Wing is the hardest fight of the expansion, with wide AOEs and high burst damage. Running on Drizzle and using the Command Artifact is strongly recommended.
Step 3: Ignore the Portal and Head Upwards
- After the boss falls, an exit portal will appear—but do not take it yet.
- Instead, use the zip lines to reach the upper platforms of the Haunt. This area contains the remains of two Alloyed units.
Step 4: Claim Two Prison Matrices: Each platform contains a Soulless Coffer that grants a Prison Matrix when interacted with.
Important notes:
- You need two matrices—one from each coffer.
- Interacting with a coffer spawns enemies and a mini-boss wave.
- Make sure you heal before activating them.
Step 5: Offer the Matrices in the Vault
- Return to the Vault area located in the lower chamber of Solutional Haunt. Place both matrices into the containment unit.
- Doing so completes the “Lost in Transit” challenge and permanently unlocks the Drifter.
All Drifter Abilities in Risk of Rain 2
Once unlocked, the Drifter becomes a unique Survivor focused on Junk, Scrap, and environmental manipulation.
- Passive – Trash to Treasure: Recycling objects generates Scrap, and holding Scrap grants stacking combat bonuses.
- Primary – Blunt Force: A three-hit melee string that progressively scales into a powerful third strike with stun and Junk-dropping potential.
- Secondary – Junk Cube: Drops a heavy cube for burst damage, which you can punch to launch up to three times before it detonates. Consuming Junk lets you skip its cooldown entirely.
- Utility – Repossess: Leap forward and absorb an enemy or interactable into your bag. Re-activate to hurl your captured target and deal impact damage.
- Special – Salvage: Consume large amounts of Junk to generate temporary combat items, giving the Drifter strong spike power in prolonged fights.
Tips For Players
- Prioritize survivability until Conduit Canyon; the bosses hit extremely hard.
- Farm elites deliberately in Canyon to avoid key droughts.
- Use verticality during the Alloy Hunter and Solus Wing fights.
- Interact with coffers at full health to avoid dying to the surprise enemy waves.
Once both matrices are delivered, the Drifter becomes fully playable across all future runs. Play Now!
Read More:
- Battlefield 6 Season 1 Update Patch Notes: New Map, Weapons, Fixes, and Full Changes
- You Can Play the Fortnite Chapter 6 End Event Early… If You Know This Trick
- Tarkov: How to Contact the Soldiers at the Terminal
- Diablo 4 Finally Adds the Feature Players Wanted… 11 Seasons Too Late
- Best Minecraft Prison Servers (2025): Top 15 Prison Servers You Must Play
- NBA 2K26 Season 3 Release Countdown: Big Rewards Are Coming at Launch
- Where Winds Meet Drunken Precision or Rhetoric Edge: Which Talent Should You Choose First?

