Crimson Desert is not just about combat and exploration. The world of Pywel hides multiple ancient puzzles that test your observation, logic, and patience. Some of these puzzles can slow your progress if you don’t understand the mechanics clearly.
This guide breaks down three (3) major puzzles—Dragon’s Stone Chamber, Duskhill Ruins, and Duskwood Checker—step by step so you can solve them quickly and claim rewards without confusion.
1. Dragon’s Stone Chamber Puzzle Solution
The Dragon’s Stone Chamber is one of the most mysterious puzzle locations in Crimson Desert. You will find it hidden near the Hernand Highlands, close to Greymane’s camp.
To reach the chamber, move southeast from Howling Hill and locate a large hole in the ground. Instead of dropping directly, glide into the opening on the northwest wall to access the chamber more easily.
Once inside, interact with the mural and push the painted door. This unlocks access to the puzzle area.
How the Puzzle Works
You will see:
- Three rotating discs
- A painted map with red check marks
- Dim lighting that hides key clues
The game does not tell you the correct disc positions directly. Instead, the map acts as your guide.
Hint: The red check marks on the wall map represent real locations in the world. One important clue is the structure shown at the top right, it matches the House of Healing.
By identifying these locations, you can determine how each disc should be aligned.
Quick Solution (If You Don’t Want to Explore)
Rotate all three discs until they match the orientation shown in the murals tied to those locations. Once aligned correctly:
- A hidden door opens on the north wall
- You unlock an Abyss Cresset
- You gain access to a fast travel point near your home
This puzzle does not reward you with weapons or gold, but it improves mobility. Fast travel access saves time across long exploration sessions.
2. Duskhill Ruins Pillar Puzzle Solution
The Duskhill Ruins puzzle appears early in the game and introduces a more mechanical challenge.
Before solving it, you must unlock the pillars.
Step 1: Remove the Vines
The puzzle pillars are initially blocked by vines that damage you.
To clear them:
- Use arrows and pass them through fire
- Or enter sword mode and burn the vines using light
Once cleared, the puzzle becomes active.
Step 2: Understand the Mechanism
Your goal is simple: Raise all pillars to the same height
But each control affects multiple pillars at once:
| Switch | Affected Pillars |
|---|---|
| 1 | 2nd & 4th |
| 2 | 2nd & 5th |
| 3 | 2nd, 3rd & 4th |
| 4 | 3rd, 4th & 5th |
This makes it a coordination puzzle rather than a single-step solution.
Exact Solution
Follow this order:
- Turn Switch 3 clockwise
- Turn Switch 2 clockwise
- Turn Switch 4 clockwise
That’s enough to align all pillars correctly.
You don’t need perfect alignment—the game accepts small differences.
Reward
- Abyss Cresset
- Abyss Artifact
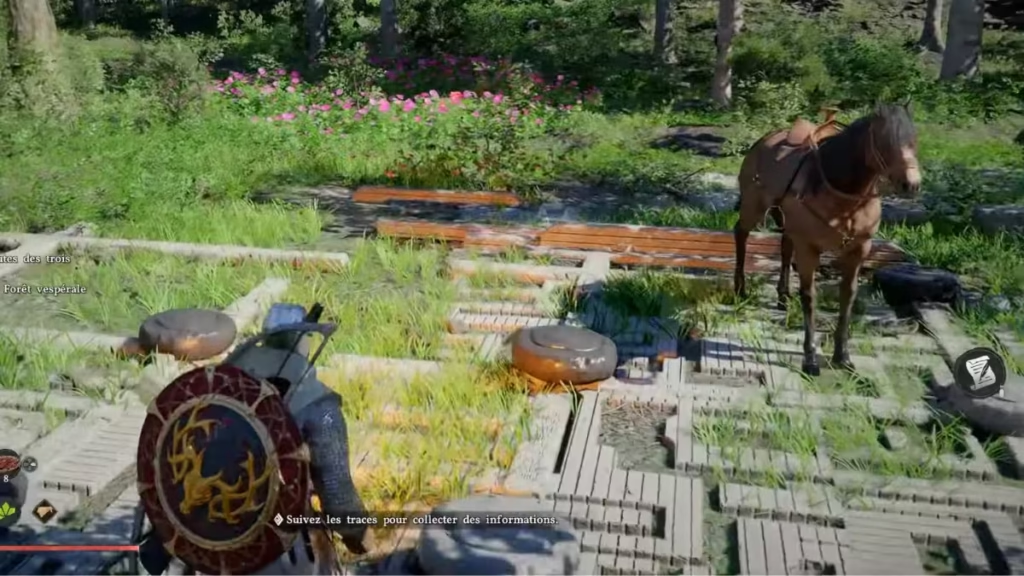
3. Duskwood Checker Puzzle Solution
This puzzle looks like a board game, but it works differently from standard checkers. You can move both black and white pieces freely, which confuses many players at first.
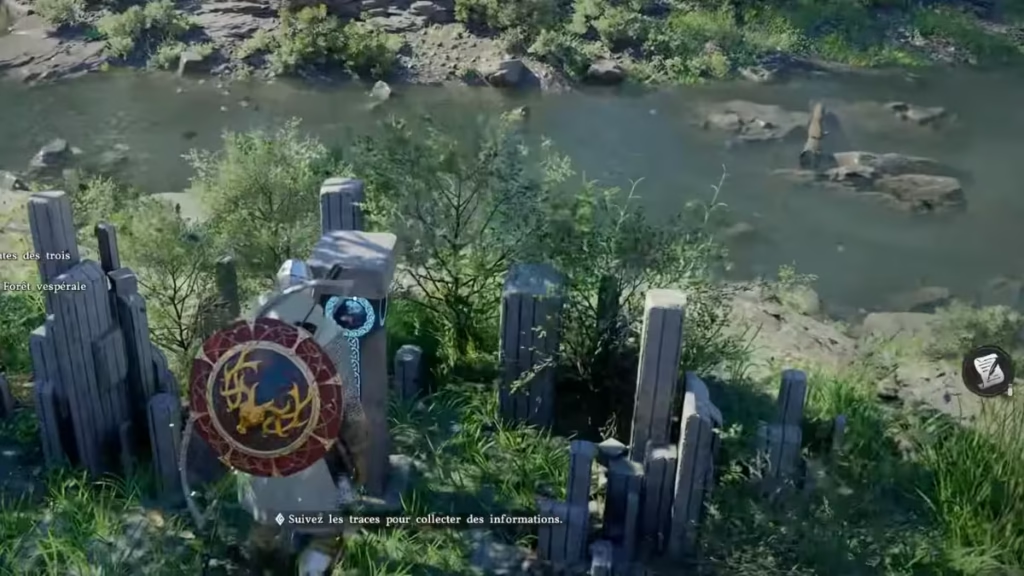
Location
You can find this puzzle near:
- A river between a cave and Kilnden Workshop
- Accessible via Abyss Nexus fast travel
Objective
Create a line of five matching pieces:
- Horizontal
- Vertical
- Or diagonal
Fastest Solution
The easiest method:
- Find the extra white piece near the Abyss Cresset
- Place it between two existing white pieces
- Form a straight horizontal line of five
This completes the puzzle quickly without unnecessary movement.
Alternative Method
You can also:
- Create a diagonal line
- Rearrange multiple pieces
But this takes more time and effort.
Controls
To move pieces:
- Approach the piece
- Pick it up
- Move to a new position
- Place it manually
Reward
- Abyss Cresset
- Abyss Artifact
Best Strategy to Solve Crimson Desert Puzzles
Crimson Desert puzzles follow a clear design pattern, and once you understand how they work, you can solve future challenges much faster without relying on trial and error. The game consistently uses environmental storytelling and logic-based mechanics to guide you toward the solution.
To approach puzzles efficiently, focus on observing environmental clues such as maps, murals, symbols, and hidden markings. These elements usually point directly to the solution but require careful attention. Instead of guessing randomly, interact with objects step by step and watch how each action affects the environment. This helps you understand the system behind the puzzle.
You should rely on logic rather than brute force. Many puzzles involve multiple objects that interact with each other, so identifying patterns in how switches, discs, or pieces behave will make solving them much easier. Once you recognize these patterns, the solution often becomes obvious. Play Now!

