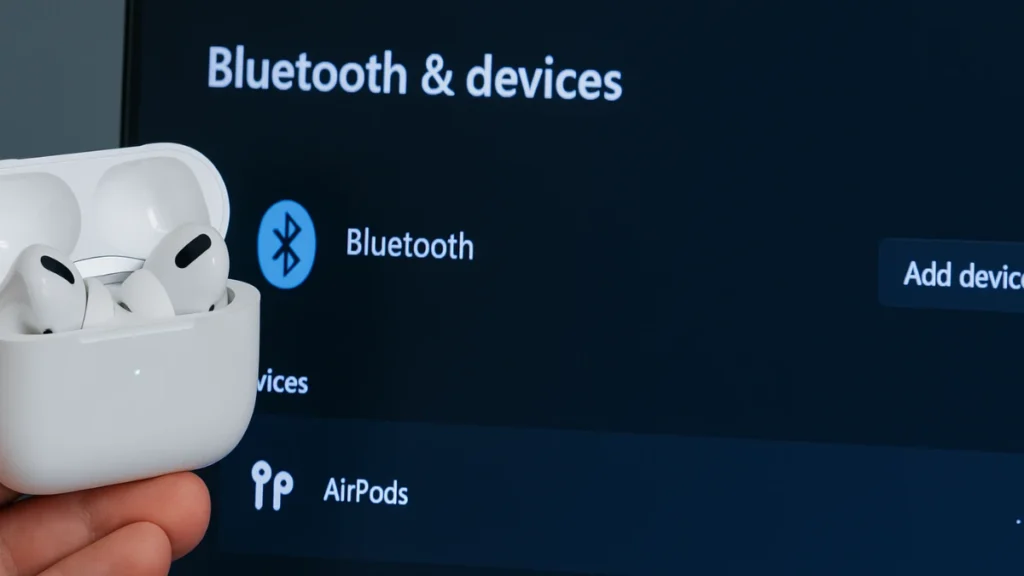
AirPods and AirPods Pro are built for seamless use with Apple devices, but they also work well with Windows PCs — if everything connects properly. Unfortunately, many Windows 11 users report issues such as AirPods not showing up in Bluetooth, failing to pair, disconnecting randomly, or producing low sound.

If your AirPods are not connecting to Windows 11, follow this step-by-step guide. We’ll start with the easiest checks and progress to more advanced fixes.
1. Check Bluetooth & Put AirPods in Pairing Mode
Before anything else, make sure:
- Bluetooth is enabled on your PC: Press Win + I > Bluetooth & devices, toggle Bluetooth ON.
- AirPods are in pairing mode: Place them in the case, open the lid, and press the button on the back until the LED flashes white.
Now, check if they appear in your Bluetooth device list.
2. Reconnect AirPods
If AirPods were previously paired but aren’t working, re-pair them:
- Press Win + I → Bluetooth & devices > Devices.
- Remove AirPods if listed.
- Click Add device > Bluetooth.
- Select your AirPods from the list.
Re-pairing clears old settings that may be blocking the connection.
3. Set AirPods as the Default Audio Device
Sometimes AirPods connect but no sound plays because the wrong output device is selected.
- Right-click the speaker icon on the taskbar → Sound settings.
- Under Choose where to play sound, select AirPods.
- For extra assurance:
- Click More sound settings > Playback tab.
- Right-click AirPods → Set as default.
4. Run the Bluetooth Troubleshooter
Windows has built-in troubleshooters that fix common hardware issues.
- Go to Settings > System > Troubleshoot > Other troubleshooters.
- Run the Bluetooth troubleshooter and apply the suggested fixes.
5. Update Bluetooth Drivers
Faulty or outdated drivers are a major cause of connection failures.
- Press Win + X > Device Manager.
- Expand Bluetooth.
- Right-click your Bluetooth adapter → Update driver → Search automatically.
If Windows doesn’t find updates, check your PC manufacturer’s website for the latest Bluetooth driver.
6. Update Windows 11
Outdated system files can also break Bluetooth pairing.
- Press Win + I > Windows Update > Check for updates.
- Install all available updates, including optional driver updates.
7. Restart Bluetooth Services
Background services manage Bluetooth connections. Restarting them often helps:
- Press Win + R, type
services.msc, press Enter. - Locate Bluetooth Support Service, double-click it.
- Set Startup type to Automatic.
- Click Start if the service isn’t running.
- Apply changes and restart your PC.
8. Disable Wireless iAP Service (Advanced)
Windows sometimes mismanages the Wireless iAP service, which allows voice commands but can interfere with AirPods.
- Open Control Panel > Hardware and Sound > Devices and Printers.
- Right-click AirPods → Properties.
- In the Services tab, uncheck Wireless iAP → OK.
9. Reset Your AirPods
If nothing works, reset them:
- Place AirPods in the case, close the lid for 30 seconds.
- Open the lid, press and hold the back button until the LED flashes amber, then white.
- Reconnect to Windows 11.
10. Consider a Bluetooth Dongle
Some older laptops and PCs have weak Bluetooth chips. A Bluetooth 5.0 USB dongle improves stability and reduces audio lag when using AirPods.
Do AirPods Work Better on Windows 11?
Yes. Microsoft has added wideband speech support in Windows 11, which enhances AirPods’ sound quality by expanding the audio frequency range. Make sure you keep your system updated to take advantage of these improvements.
Most AirPods connection issues in Windows 11 are caused by outdated drivers, incorrect sound settings, or Bluetooth service glitches. Start with basic steps like re-pairing and setting AirPods as the default audio device, then move on to updating drivers and restarting services.
With the fixes above, your AirPods or AirPods Pro should connect and work smoothly on Windows 11.

