GTA 6 has launched on consoles, and the default setup works fine for most people. Still, a few menu changes and a few TV changes make a real difference in how the game looks and feels. Rockstar locks every console to 30fps, so your goal is control, clarity and comfort. You cannot unlock more frames, but you can make every frame easier to read and every input feel sharper.
This guide walks through the settings worth changing, in the order that gives you the biggest payoff.
Best GTA 6 Settings for PS5 and Xbox (Quick Setup)
Use these values if you want to start playing right away:
- Targeting: Partial
- Aim Assist Strength: 4
- Look Sensitivity (horizontal and vertical): 7
- Aim Sensitivity (horizontal and vertical): 6
- Aim Response Curve: Standard
- Stick Deadzones: The lowest value that causes no drift
- Motion Blur Strength: 0 for sharpness, or 1 to 3 for a softer look
- Camera Shake: Off
- Camera Bob: 0 to 2
- Minimap: Always On
- Subtitles: On, Medium or Large, with background
- HDR: On, with proper calibration
- TV Picture Mode: Game Mode, with motion smoothing off
Treat these as starting points. Adjust them after a few hours of driving, exploring and fighting.
Does GTA 6 Have a 60fps Mode? What Each Console Runs At
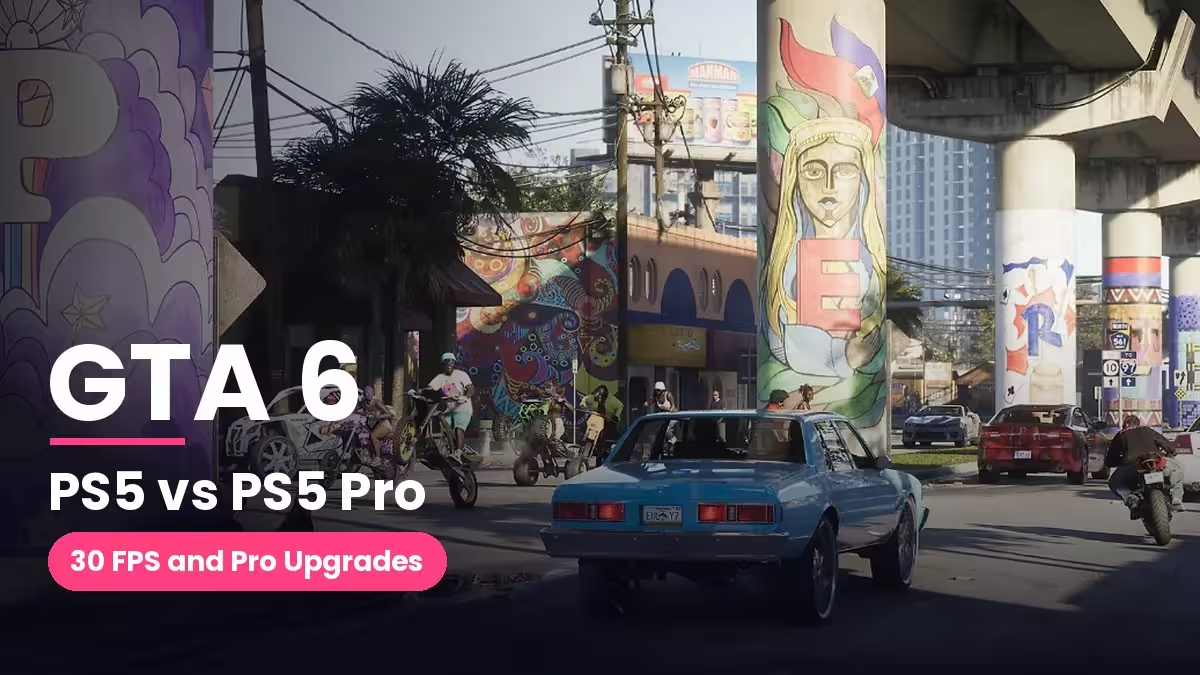
Rockstar offers no Fidelity or Performance mode. The Display tab has no resolution or frame rate option, and every console targets 30fps. The PS5 Pro runs at 30fps too.
Each console renders and upscales the image in its own way, and no menu lets you override that:
- PS5: 1440p internal resolution, upscaled to 4K with Rockstar's own TAA.
- PS5 Pro: 1440p internal resolution, reconstructed to 4K with PSSR, plus ray-traced shadows that no other console gets.
- Xbox Series X: 1440p internal resolution, upscaled to 4K with Rockstar's TAA.
- Xbox Series S: 720p internal resolution, upscaled to 1080p with AMD FSR 4.
In the PS5 vs PS5 Pro matchup, the Pro gives the cleanest picture and the steadiest frame pacing. The PS5 and Series X look and run in a similar way, with small dips in very busy scenes. The Series S makes the biggest compromises and drops into the mid 20s during long stretches of normal play.
Keep this in mind as you tweak. Motion blur, HDR, deadzones and TV modes change how the game feels, but none of them add frames.
Best TV and Console Settings for GTA 6 (HDR, Game Mode, VRR)
Your display setup affects every minute you play, so start here before you open the game menu.
Turn on Game Mode. Most TVs add image processing that increases input lag. Game Mode strips most of it out. LG calls it Game Optimizer, and other brands use names like Low Latency Mode. If your console and TV both support ALLM, the TV switches to Game Mode on its own.
Turn off motion smoothing. Features like TruMotion, Motionflow and Auto Motion Plus invent extra frames, and they add delay and visual artifacts. They cannot make GTA 6 run faster.
Calibrate HDR on the console, then in the game. On PS5, go to Settings, Screen and Video, Video Output, then Adjust HDR. On Xbox, open Settings, General, TV & display options, then Calibrate HDR for games. After that, run the HDR calibration inside GTA 6's Display tab.
Use your own TV's real limits for these values. Do not copy numbers from a video, because a budget LCD and a premium OLED need very different settings. Set black levels so night streets keep their detail without turning into flat black patches, and pick a paper white level that feels comfortable. If HDR looks washed out on a weak display, compare it with a well-tuned SDR picture and keep the one you like better.
Check your resolution and refresh options.
- On PS5, set Resolution to Automatic, HDR to On When Supported, ALLM to Automatic and VRR to Automatic.
- On Xbox Series X, choose 4K UHD, then enable Allow 4K, Allow HDR10 and Auto Low Latency Mode. Turn on VRR if your TV supports it.
- On Series S, match your TV's native output. A 4K output does not raise the game's internal resolution.
Plug the console into an HDMI 2.1 port when your TV has one, and leave RGB Range on Automatic.
Skip the 120Hz chase. A 120Hz output setting does not turn GTA 6 into a 60fps or 120fps game. VRR also has limited value at a locked 30fps. Leave them on if you like, but do not buy a new TV for them.
Best GTA 6 Controller and Aim Assist Settings
GTA 6 separates look sensitivity from aim sensitivity, which gives you better control than past games. You want a fast camera for turning around during a police chase, and a calmer one for lining up a shot.
Use these values as a starting point:
- Horizontal Look Sensitivity: 7
- Vertical Look Sensitivity: 7
- Horizontal Aim Sensitivity: 6
- Vertical Aim Sensitivity: 6
- Look Acceleration: 7 (default)
- Aim Acceleration: 5 to 7
- Aim Response Curve: Standard
Change one value at a time, then test it in the same situation. If the camera feels slow, raise horizontal look sensitivity to 8 or 9. If your crosshair keeps flying past targets, drop aim sensitivity by one step.
Response curve. Standard works well for most players. Linear gives a more direct link between stick movement and aim, and Precision helps if you overshoot during small corrections. No curve is best for everyone, so give each a fair test before you decide.
Deadzones. Both sticks default to 4. Lower values feel more responsive, but a worn stick can start to drift. Drop the value a step at a time, and raise it again if the camera moves when you let go of the stick. Zero is not automatically better.
Targeting. You get three modes:
- Lock-On snaps to the nearest target and gives the most help.
- Partial pulls your aim toward nearby enemies without locking, and it is the default.
- Free Aim never locks and gives you full control.
Partial suits most players. Pair it with Aim Assist Strength 4 (the slider runs from 0 to 4) if you want steadier tracking, or lower the slider if the pull feels intrusive. Keep Shooting Assist and Drive-By Assist on unless you want a harder game. Quick Draw is worth keeping on for faster weapon swaps.
Movement. Sprint sits on a click of the left stick by default, and constant clicking tires your thumb. Set Movement Speed to Jog so your character covers ground faster without extra clicks, and set Combat Movement Speed to Fast Walk if that suits your aim setup. Cover Selection works well on Camera & Movement.
Accessibility assists. Hold Assist at 2x halves the time you need to hold a button, which helps during long sessions. Leave Tap Assist off if you like to control your own taps, since it counts one press as several. Leave Auto Drive on Restricted if you enjoy driving yourself.
DualSense and Xbox feedback. On PS5, adaptive triggers and haptics run throughout the game. Keep them on if you enjoy them, and lower the resistance if your fingers tire during long shootouts. On Xbox, use the Vibration & Haptics Strength slider the same way.
Best GTA 6 Motion Blur, Camera and Driving Settings
Motion blur starts at 3 on a slider from 0 to 10. At a locked 30fps this setting is a matter of taste, so test it yourself.
- 0: The sharpest picture, which helps you read signs and track enemies during fast camera turns. Movement can look choppier because each frame stays crisp.
- 1 to 3: A balance between clarity and smoothness.
- Higher values: A softer, more cinematic look that hides some of the judder at 30fps.
Drive down a busy road, spin the camera sideways, and compare 0 with 3. Keep whichever your eyes prefer. Players who get motion sickness usually do better at the low end.
Camera Shake. Turn it off if you want a steadier image, especially when you drive fast or play on a big TV. Leave it on if you like the extra drama in crashes and explosions.
Camera Bob. Lower it to 0 to 2 for less movement while you walk and run. This helps players who feel uncomfortable with a swaying view.
Camera height. Medium works well on foot and in cars and vehicles. Switch vehicles to High if traffic and corners block your view during chases.
Cinematic cameras. Reduce the crash camera and kill camera frequency if the game keeps pulling the view away mid-action. The crash camera does the most damage during a police chase, because it takes your view away while you try to recover.
Screen effects. The Player Status, Hit and Awareness effect sliders all default to 5. Lower them if flashes and screen distortion make fights hard to read. Switch Flashbang to Dark if bright flashes bother you. High Contrast Shaders outline characters and objects in flat colors, which helps if you struggle to separate targets from the background.
Dismemberment and Blood & Gore Intensity do not affect performance. Turn them down for a younger player, or leave them on default.
Best GTA 6 HUD, Subtitle and Audio Settings
Minimap. The game asks you to pick a navigation style at first boot. Dynamic works well for a clean screen, but Always On makes it much easier to catch junctions and follow routes in a chase. Change it any time under UI, then Navigation. Keep GPS Route on while you learn the map.
Subtitles. Switch them from Mission Only to On, pick Medium or Large, and add a background. Dialogue plays in English only, and lines get buried under gunfire, radio and traffic. Turn on Speaker Names if you want to follow conversations more easily.
Reticle. Persistent Center Dot, Reticle Hit Markers and Reticle Messages help with shooting, and the dot can also help with motion sickness. Projectile Arc shows where a throwable will land, so turn it on if you struggle with grenades.
Volume mix. Raise Dialogue above Music and Effects. If voices still disappear in busy scenes, lower music a little instead of pushing up the TV volume.
Other audio options.
- Tinnitus Reduction cuts the ringing after nearby explosions.
- Mono Audio helps if you play with one earbud.
- GPS Voice is off by default, and it helps if you want spoken directions while you drive.
- Mute Licensed Music keeps licensed tracks out of streams and recordings. It reduces the risk of copyright claims, but it does not guarantee against every claim.
For headphones on PS5, set up a profile under Settings, Sound, then 3D Audio (Headphones). On Xbox, pick the spatial format that matches your headset, such as Windows Sonic or Dolby Atmos.
Best GTA 6 Settings for PS5 Pro and Xbox Series S
PS5 Pro. You do not need to switch anything on. PSSR and the extra ray-traced shadows apply automatically. Put your effort into HDR calibration and TV Game Mode, since those two changes shape the Pro's image the most.
Xbox Series S. No hidden setting turns this version into the Series X version. Use the right TV output, enable Game Mode, and keep your TV's sharpness near neutral. Too much sharpening adds halos and makes the picture look artificial. Lower motion blur, shake and bob for a cleaner image. Keep the game updated, because only patches from Rockstar can improve the frame drops.
How to Make GTA 6 Feel Smoother at 30fps
A 30fps game delivers a new frame about every 33 milliseconds, compared with about 17 milliseconds at 60fps. You feel the gap most during quick camera turns. You cannot change the frame rate, but these steps help:
- Cut TV input lag. Turn on Game Mode and switch off motion smoothing.
- Tune your sensitivity. A value that is too high feels abrupt, and one that is too low feels sluggish.
- Test motion blur. Some players find a little blur makes 30fps feel gentler, and others prefer a sharp picture.
- Trim camera movement. Lower shake and bob so busy scenes stay readable.
- Keep everything updated. Install game and console updates, because Rockstar can patch bugs and performance issues.
- Give your console room to breathe. Keep the vents clear. This is good care for your hardware, but it will not raise the frame rate.
Common GTA 6 Settings Mistakes to Avoid
- Treating 4K output as native 4K. Every console upscales GTA 6, so the output signal tells you nothing about the internal resolution.
- Copying HDR numbers from someone else. Your TV decides what works.
- Maxing every sensitivity slider. Higher speed does not give better control, and it hurts precise aiming.
- Setting deadzones to zero without a test. Stick drift can appear.
- Expecting 120Hz or VRR to unlock 60fps. They do not.
- Blaming settings for frame drops. No menu option fixes engine performance dips, especially on Series S.
Once you find a setup that feels right, stop tweaking and play. The best settings are the ones that keep you in control while you enjoy Leonida.
Frequently Asked Questions
Does GTA 6 have a 60fps mode on PS5 or Xbox?
No. Every console targets 30fps, and the game has no selectable Performance or Fidelity mode.
Can the PS5 Pro run GTA 6 at 60fps?
No. The PS5 Pro keeps the same 30fps target. It adds PSSR image reconstruction, ray-traced shadows and steadier frame pacing.
What is the best aim assist setting in GTA 6?
Start with Partial targeting and Aim Assist Strength 4. Lower the strength if the pull feels too strong, or switch to Lock-On if gunfights frustrate you.
Should I turn motion blur off?
Try 0 if you want the sharpest image. If camera movement looks choppy at 30fps, raise it to 1 to 3 and see if it feels better.
What are the best sensitivity settings for GTA 6?
Start with 7 for look sensitivity and 6 for aim sensitivity. Raise look sensitivity if the camera feels slow, and lower aim sensitivity if you overshoot targets.
Is HDR worth turning on?
Yes, if your TV handles HDR well and you calibrate it. On a weak HDR display, a properly set SDR picture can look better.
Do 120Hz output and VRR improve GTA 6?
Not in a major way. GTA 6 renders at 30fps, so neither setting adds frames. Leave them on if your TV supports them, but do not expect a big change.
Is the Series S version worse than the Series X version?
Yes. The Series S renders at a lower resolution, upscales to 1080p and shows more frame drops than the other consoles.
Can I change settings after I start the story?
Yes. Open the pause menu, choose Settings, and adjust controls, display, UI, camera and audio at any time without restarting.