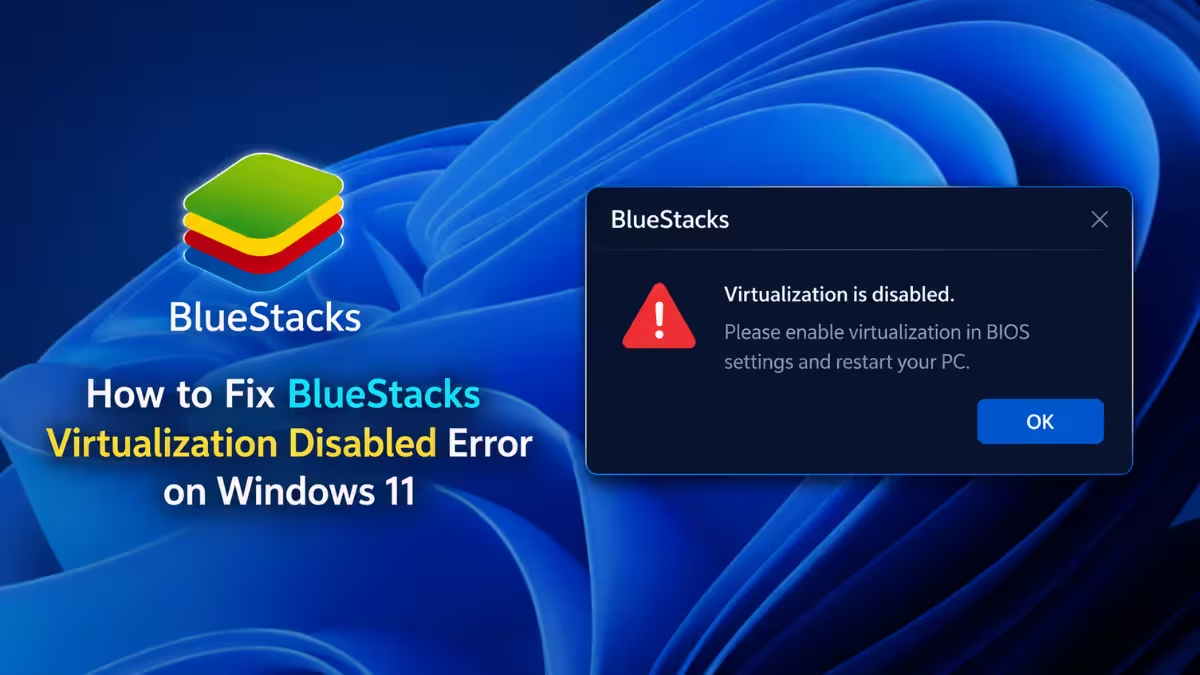
BlueStacks throws the Virtualization Disabled error when your CPU’s hardware virtualization feature is turned off or blocked somewhere in the Windows 11 stack. The emulator needs direct access to Intel VT-x or AMD-V to run Android smoothly, and Windows 11 adds extra layers like Hyper-V and Virtualization-Based Security that can quietly get in the way. This guide starts with a quick check, then walks through each fix in the order that actually applies to your situation.
What Causes the Virtualization Disabled Error
Before jumping into fixes, it helps to know why this happens on Windows 11 specifically.
- Hardware virtualization (VT-x or AMD-V) is switched off in BIOS or UEFI firmware.
- Hyper-V, Windows Hypervisor Platform, or Virtual Machine Platform is claiming the CPU’s virtualization layer, leaving nothing for BlueStacks.
- Virtualization-Based Security and Memory Integrity are active, which silently keeps Hyper-V running even when it looks disabled.
- BlueStacks is missing administrator rights or its installation is corrupted after a Windows update.
Fix 1: Confirm Virtualization Status in Task Manager
Start here since it takes seconds and tells you exactly which fix to try next.
- Press
Ctrl + Shift + Escto open Task Manager. - Click the Performance tab, then select CPU.
- Look at the Virtualization field at the bottom right.
If it reads Disabled, the CPU setting itself needs to be turned on, so go straight to Fix 2. If it already reads Enabled, the CPU is fine and something in Windows is blocking BlueStacks from using it, so skip ahead to Fix 4.
Fix 2: Enable Virtualization in BIOS or UEFI
This is the root cause for most readers who saw “Disabled” in Fix 1, since BlueStacks cannot bypass a firmware-level block no matter what else you change.
- Restart the computer and press the manufacturer’s BIOS key during boot. Common keys are
F2,F10,F12,Del, orEsc, and they vary by OEM. - Once inside, go to the Advanced tab and open CPU Configuration.
- On Intel systems, set Intel Virtualization Technology or VT-x to Enabled.
- On AMD systems, set SVM Mode to Enabled.
- Save changes and exit to let the system reboot fully.
Fast Startup can sometimes mask a firmware change, so a complete shutdown and cold boot confirms the setting actually took effect. Relaunch BlueStacks after this reboot. If the error is gone, you’re done. If it still shows up, continue to Fix 3.
Fix 3: Run BlueStacks as Administrator
With the CPU setting confirmed enabled, permissions are the next thing to rule out. BlueStacks installs kernel-level drivers that need elevated access to start correctly, and without them the app can misreport a virtualization error even though the hardware setting is fine.
- Search for BlueStacks in the Windows search bar.
- Right-click the result and choose Run as administrator.
- Approve the User Account Control prompt.
If this resolves the launch, edit the shortcut properties so it always runs elevated. If the error persists, move on to Fix 4.
Fix 4: Disable Hyper-V and Related Windows Features
Windows 11 can activate Hyper-V through Docker, WSL 2, or Windows Sandbox even if you never installed it directly. When Hyper-V holds the CPU’s virtualization extensions, BlueStacks cannot access them, which is why this step matters even when Task Manager already shows virtualization as Enabled.
- Press
Win + R, typeoptionalfeatures, and press Enter. - Uncheck Hyper-V, Virtual Machine Platform, and Windows Hypervisor Platform.
- Restart the computer for the change to apply.
If you actively use WSL or Docker Desktop, keep these features on and install the Hyper-V compatible BlueStacks build instead of disabling them. If BlueStacks still won’t launch after this restart, continue to Fix 5.
Fix 5: Turn Off Memory Integrity and Core Isolation
Virtualization-Based Security runs on top of Hyper-V internally, so it can block BlueStacks even after you disable Hyper-V manually in Fix 4. This is common on new OEM systems where VBS ships enabled by default.
- Open Windows Security and go to Device Security.
- Select Core isolation details.
- Turn off Memory integrity and restart the system.
If BlueStacks launches now, the fix is complete. If it still fails after all four Windows-level checks, the installation itself may be the problem, covered in Fix 6.
Fix 6: Repair or Reinstall BlueStacks
A misaligned installation from before your virtualization changes can keep throwing the same error even after BIOS, Hyper-V, and VBS are all fixed correctly.
- Go to Settings > Apps > Installed apps, find BlueStacks, and select Modify.
- Run Repair first and reboot afterward.
- If the error persists, uninstall BlueStacks, run the official BlueStacks Cleaner tool as administrator, reboot, then reinstall the version that matches your virtualization mode. Check the BlueStacks system requirements before downloading.
Fix 7: Fall Back to the 32-bit Build
If your CPU genuinely does not support hardware virtualization, or company policy blocks it on a managed device, BlueStacks still offers a Nougat 32-bit instance that runs without VT-x or AMD-V. Performance drops noticeably, but it lets you keep using the emulator while you sort out the underlying hardware or policy limitation.
Frequently Asked Questions
Can I use BlueStacks without enabling virtualization?
Yes, but only through the Nougat 32-bit instance. The 64-bit Nougat and Pie instances require virtualization to be enabled.
My laptop boots too fast to press the BIOS key. What now?
Disable Fast Startup from Windows power options, or use the UEFI Firmware Settings option through Windows Recovery, which lets you boot straight into BIOS without timing a key press.
I enabled VT-x in BIOS but the error is still there. What’s next?
Task Manager should now show virtualization as Enabled, which means Hyper-V or Virtualization-Based Security is the remaining blocker. Work through Fix 3 through Fix 5 in order rather than jumping straight to a reinstall.
Does disabling Hyper-V affect WSL or Docker Desktop?
Yes. Both rely on the Virtual Machine Platform feature, which activates Hyper-V at boot. If you use either tool, keep Hyper-V enabled and install the Hyper-V compatible BlueStacks build instead of turning these features off.
Will a clean reinstall delete my BlueStacks apps and data?
A standard Repair keeps your installed apps and data intact. A full uninstall using the BlueStacks Cleaner removes everything, so back up any important app data first if you reach Fix 6.

