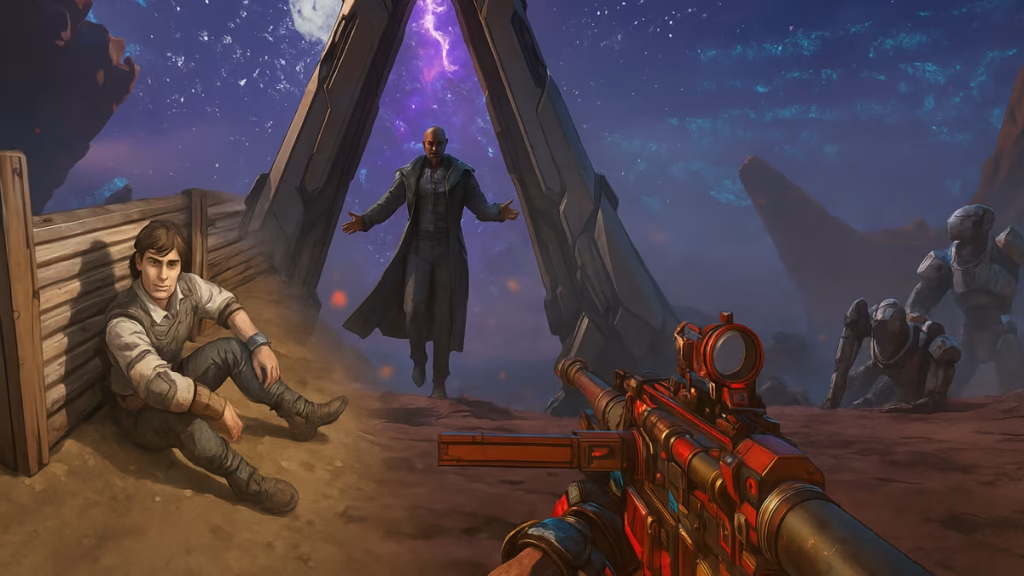
Guns Blazing is the opening mission in Borderlands 4, serving as both a narrative introduction and a gameplay tutorial. It throws you straight into the action with minimal gear, teaching you how to survive, loot, and fight alongside your first companion, Arjay. This guide will take you step by step through the mission, explain the new mechanics, and provide tips for the boss fight against Warden Scathe.

Mission Overview
- Quest Giver: Arjay (Crimson Resistance)
- Starting Location: Timekeeper’s Prison, Welcome Center
- Recommended Level: 1
- Rewards:
- XP and Cash
- Green-rarity Pistol
- Vault Hunter cosmetics (Prison Cut Head, Prison Outfit Body, The Great Escape Style & Paint Job)
Part 1: Prison Escape in Borderlands 4 Guns Blazing Mission
Follow Arjay
After the opening cutscene, Arjay helps you escape captivity. He’ll hand you a basic pistol and soon after, your first Repkit. This new healing tool works on cooldown and is essential for early survival. Bind it somewhere easy to press, as you’ll rely on it often.
Enemies here are mostly Synth Armatures—low-level robotic guards. Aim for headshots to deal critical damage and conserve ammo. If you’re playing in co-op, loot is instanced, so each player gets their own drops.
Enter the Security Room
Follow Arjay up the stairs into the security control room. Loot every container marked with green lights, then open the large chest for your first green-rarity pistol. After arming up, interact with the red console to release prisoners and lift the lockdown.
From this point onward, Do-Over Stations (respawn points) will activate. If you’re downed, you can either kill an enemy for a Second Wind or respawn at these checkpoints.
Part 2: Using the Grapple-Grabber
Rooftop Skirmish
Once you exit the prison interior, you’ll fight larger groups of Synths on the roof. Stay behind cover and manage ammo carefully. After clearing them, Arjay introduces the Grapple-Grabber, a new traversal tool in Borderlands 4. Grapple points appear as circular markers—use your melee button (R3 or equivalent) when targeting them.
Into the Jungle
Use the Grapple-Grabber to escape over a wall and slide down into a pond. You can swim but not shoot while in water, so get to shore quickly. Enter a nearby cave, then climb up to regroup with Arjay.
Here, you’ll encounter Manglers, fast melee beasts similar to Skags from earlier games. Use melee counters when they rush or kite them with pistols. They don’t drop much loot, so don’t waste time farming them—push forward.
Part 3: The Crimson Resistance Stash
After descending waterfalls and reaching an Order-controlled facility, Arjay begins hacking a locked door. While he works, you’re tasked with recovering a hidden Crimson Resistance stash nearby.
Use the Grapple-Grabber to climb ledges to the east, cross logs, and grapple again toward a clearing with a camp. Inside the stash, you’ll usually find:
- A Shield (equip immediately for survivability)
- Extra pistols or SMGs
- Ammo and cash
Once looted, return to Arjay. By now you should have a shield equipped, which will regenerate after a delay when taking cover—crucial for the upcoming boss.
Part 4: Boss Fight – Warden Scathe
As you and Arjay reach the supposed getaway vehicle, Warden Scathe arrives, destroying your escape and triggering the mission’s first boss battle.
Boss Mechanics
- Health Bars: Scathe has an armor bar (yellow) before his actual health. Burn through armor first.
- Attacks: He fires streams of energy projectiles. Use nearby crates and walls for cover.
- Summons: At low health, Scathe spawns additional Synths. Clear these quickly or use one weakened enemy as a “Second Wind target” if you get downed.
Tips for Victory
- Stay mobile—retreat when your shield is down and re-engage once it recharges.
- Aim for headshots to deal critical hits.
- If struggling, use Synth reinforcements tactically: leave one with low HP for an emergency revive.
- Don’t forget Repkits—they can be used multiple times with cooldown.
Defeat Scathe, loot everything he drops, and then revive Arjay to trigger the end cutscene.
Rewards for Guns Blazing
Completing the mission grants you:
- XP & Cash (automatically awarded)
- Green-rarity Pistol
- Prison Cut (Head), Prison Outfit (Body)
- The Great Escape Style and ECHO-4 Paint Job
You’ll also unlock your first Skill Tree and level up, allowing you to experiment with Action Skills.
Related Guides You Might Like:
- How to Complete TASK Master Quest and Replace Power Core
- Borderlands 4 Class Mod Drops Broken for Most Players
- Borderlands 4 Vault Hunters Guide: Best Classes, Skills, and Builds Explained
- Oddman in Borderlands 4: Should You Punch or Shoot Him?
- How to Level Up in Borderlands 4 – Fast XP Farming & Leveling Guide
- SHiFT User Guide Borderlands 4 – Redeem Codes & Link Accounts
- Borderlands 4 Quick Tips – Beginner Guide to Survive on Kairos
The conclusion of Guns Blazing leads directly into the next main quest, Recruitment Drive, as the story expands into the wider regions of Kairos. From here, you’ll have access to side missions, vendors, and new gear that set the pace for the rest of your Borderlands 4 adventure. Play Now!

