Condition Overload (CO), is one of the most powerful ways to boost your weapon damage in Warframe—especially if you like stacking status effects. It started as a melee mod but has grown into a wider mechanic that now works on ranged weapons too. While it sounds simple at first, there are a few things that make it a bit tricky, especially with certain weapon types.
What Is Condition Overload?
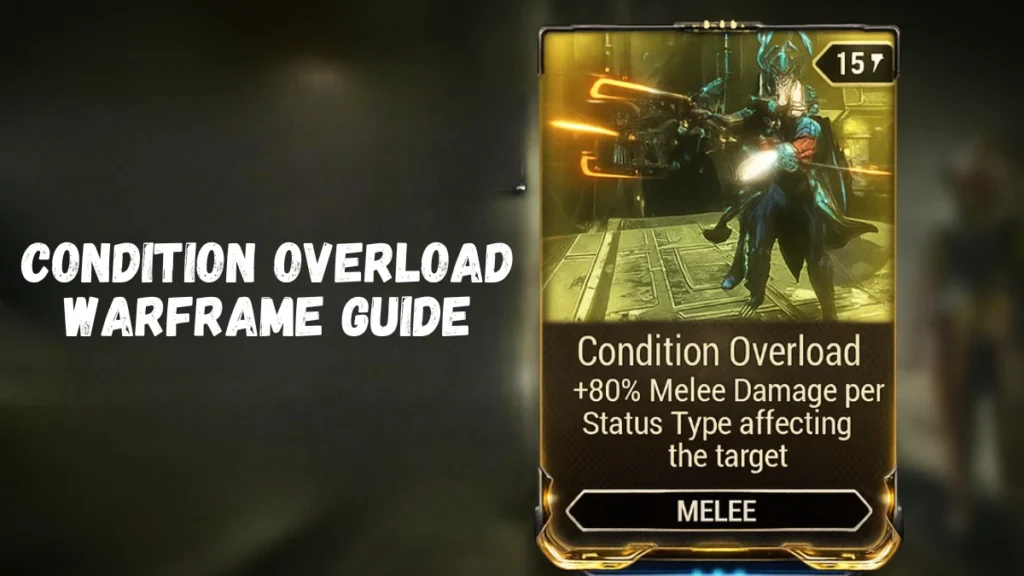
Condition Overload is a mechanic that gives your weapon extra damage for every unique status effect on the enemy. These effects include things like Heat, Slash, Cold, Viral, and others. The more different procs on an enemy, the more damage you do.
For melee weapons using the Condition Overload mod:
- You get +80% extra melee damage per status effect.
- So, if an enemy has 3 procs on them, you’ll deal +240% extra damage.
This bonus adds on top of other damage mods like Pressure Point, but it’s generally better. In fact, many players remove Pressure Point entirely to make space for stronger mods because CO scales much higher when status is involved.
As of Update 31.1, this damage bonus is calculated more accurately for most melee weapons, but ranged weapon interactions can still behave inconsistently—especially with projectiles or weapons that use unique damage sources.
What Counts as a Status Effect?
Not all effects are equal, but here’s what adds to the CO bonus:
- Physical effects: Impact, Slash, Puncture
- Basic elements: Heat, Cold, Electricity, Toxin
- Combo elements: Viral, Corrosive, Magnetic, Blast, Gas, Radiation
- Others: Void, Tau, Knockdown, and Lifted
Remember, it only counts once per effect. Having two Heat procs still counts as one.
CO bonuses are applied only if the effect is already on the enemy when the hit lands—so fast-hitting weapons get more value out of it.
GunCO: The Ranged Weapon Version
Mods like Galvanized Aptitude, Galvanized Shot, and Galvanized Savvy are known as GunCO mods. They work the same way as CO, just for guns instead of melee.
Here’s how much extra damage they add:
- Galvanized Aptitude (rifles) – +40% per status, stacks twice (max +80%)
- Galvanized Savvy (shotguns) – same as above
- Galvanized Shot (pistols) – +40% per status, stacks three times (max +120%)
Unlike the melee version, GunCO mods only reach full power after you get a kill. Once activated, they can boost your damage a lot—if your weapon applies status effects reliably.
However, projectile weapons may still calculate their CO bonuses from the wrong damage field—something that was partially fixed in Update 31.1. Weapons like the Astilla or projectile-based Incarnons used to read the damage from their “impact behavior” instead of the actual projectile, massively reducing bonus scaling.
When Condition Overload Applies (and When It Doesn’t)
Condition Overload kicks in only if the enemy already has status effects. The hit that causes the proc won’t benefit—it’s the follow-up hit that deals extra damage. So, it works best on weapons that hit fast and often.
That said, it doesn’t work everywhere. For example:
- Area-of-effect (AoE) damage from explosions doesn’t count
- Radial clouds, like from Torid or Castanas, also don’t trigger CO
- Some weapons like Stug or Balefire Charger don’t apply CO at all due to how their damage is calculated
- Also, bow weapons and some beam chains apply only partial CO bonuses—often scaling from uncharged or incorrect base values.
Weird Interactions with Projectiles
Some weapons, especially those that fire projectiles instead of bullets, don’t handle Condition Overload the way you’d expect. This is mostly due to how the game stores their damage data. A great example is the Astilla shotgun.
Before an update in 2022, Astilla’s CO bonus was calculated off a hidden 3 damage corrosive value instead of its main 70 impact damage. As a result, players were doing less than half the damage they should have been getting with CO. That bug was later fixed, but some projectile weapons still show weird behavior, especially when it comes to GunCO mods.
Sometimes the bonus damage stacks additively like intended, but other times it multiplies with other bonuses, creating much higher damage numbers. These inconsistencies make some guns amazing with CO and others not worth the mod slot.
Weapons with radial or cloud-only damage often won’t benefit from CO at all, even if the mod is installed correctly.
Melee vs Ranged: How the Bonus Is Calculated
For most melee weapons, CO adds its bonus to your normal damage mods like Pressure Point or Condition Overload. This is the expected behavior and works consistently.
For ranged weapons, the stacking can go two ways:
- Additive stacking – the bonus gets added like any normal mod. This is how it’s supposed to work.
- Multiplicative stacking – the bonus stacks on top of all other damage, making it much stronger. This is usually not intended but happens with some projectile weapons.
This difference in stacking behavior is why some ranged builds see huge damage spikes while others feel underwhelming—even with the same number of status effects applied.
Building Around Condition Overload
If you want to get the most out of CO, your build needs to focus on spreading multiple status effects quickly.
For melee:
- Choose weapons with high status chance
- Add dual-stat element mods (like Volcanic Edge, Virulent Scourge)
- Focus on fast hits or weapons with multi-strike combos
- Replace Pressure Point with Condition Overload to free up space
For ranged:
- Use weapons that apply status often (beams, multi-projectile, etc.)
- Include Galvanized mods and multishot to boost your spread
- Test your setup—some guns gain more from GunCO than others
Frames like Saryn, Ember, or Xaku can also help spread procs across enemies, making Condition Overload even more powerful.
Additionally, using Melee Influence or frame passives that spread status effects (like Whispers or Gruzzlings) can improve CO performance dramatically, especially in crowded maps.
Bonus Effects from Arcanes and Incarnons
Some other gear and upgrades also work like Condition Overload:
- Secondary Shiver (Arcane) – adds bonus damage to enemies with Cold procs
- Shattering Frost (Decree) – adds up to +240% vs frozen enemies
- Incarnon Weapons – many get bonus per status effects (e.g. Latron, Dread, Dual Toxocyst)
These all stack with Condition Overload and can push your damage even higher when combined correctly.
Just be aware that some Incarnon bonuses also suffer from the same stacking oddities, especially when projectile logic is involved.
Final Thoughts
Condition Overload is one of the best ways to scale your damage in Warframe, especially if your setup can spread lots of procs quickly. It works great on melee weapons and can be super strong on guns, depending on how the bonus stacks.
Just remember: not all weapons work the same way with CO. Some might not benefit at all, while others could deal massive extra damage. If you’re unsure, test it out in missions and adjust your build based on what gives you the biggest boost.
Whether you’re slicing with a melee weapon or firing beams and bullets, knowing how Condition Overload works will help you melt enemies faster and hit a lot harder.
Read More:
Grow a Garden Codes June 2025: How to Redeem & Claim Free Seed Packs
How to Get Free Seeds in Grow a Garden (Pets, Quests & More)
Deltarune: How to Find and Use Mike’s Room Code in Chapter 4
LEGO Fortnite Expeditions Quests: Full Rewards Guide
How to Fix “An Error Occurred in e4mc” in Minecraft: Full Troubleshooting Guide

