At first glance, Escape From Duckov may look like a quirky indie game with adorable ducks and bright colors—but don’t be fooled. Beneath that cartoonish shell lies a brutally challenging survival looter-shooter inspired by Escape from Tarkov. Every decision matters, every bullet counts, and every mistake can cost you your hard-earned gear.
1. Meet Jeff — Your Lifeline in Duckov
The first NPC you’ll meet at your base is Jeff, a white duck who practically runs your early game. Talking to him unlocks essential starter quests such as Basic Construction and Startup Capital.
These missions teach you the fundamentals: using vending machines, crafting, managing inventory, and building facilities like the Workbench and Warehouse. Don’t rush past his dialogue — it’s your tutorial disguised as conversation.
2. Prioritize the Right Upgrades
Early progression in Escape From Duckov depends on smart upgrades. Focus your resources on:
- Workbench: Unlocks crafting, dismantling, and weapon repair.
- Warehouse: Expands your storage for loot and crafting materials.
- Skill Enhancements: Especially “Backpack Expert I” to increase your carrying capacity.
Avoid spending on weapons or armor early unless you plan long raids — you’ll find plenty through scavenging.
3. Manage Storage and Weight
Inventory space is your biggest limitation. You start with a small backpack, and once it’s full, movement slows and extraction becomes risky.
- Use Storage Expansion items at your Warehouse to increase capacity.
- Store heavy loot in your dog’s bag — items inside remain safe even if you die.
- Extract immediately when you find rare containers or heavy crafting items.
Every kilogram counts in Duckov, so balance what you carry and what you stash before heading out.
4. Don’t Hoard — Sell and Craft Wisely
Vending machines are your main selling point. Anything with a coin symbol can be sold directly from your inventory or stash.
Keep crafting materials like eco lamps, CD drives, wrenches, and IV medicine, as they’re needed for upgrades. Sell junk, duplicate gear, and broken weapons to free space.
Crafting isn’t optional—it’s survival. Many quest items can be built using base materials, saving time and trips into dangerous zones.
5. Stay Away from the Night — For Now
Night raids might sound tempting, but they’re far more dangerous. The darkness hides tougher enemies, including Spider-Bots that hit incredibly hard. Until you’ve geared up with stronger weapons and armor, sleep through the night using your bed in the Hideout.
Once you’re more experienced, night runs can yield better loot—but early on, they’ll only drain your progress.
6. Use the Teleporter and Beacons for Safer Travel
After completing a few quests, you’ll unlock the Teleporter, which lets you fast-travel between activated beacons across the map.
To activate a beacon, interact with it (press F) in each zone. This saves enormous time and reduces the risk of dying on your way back to base with valuable loot. Use it often for safe extractions and resource runs.
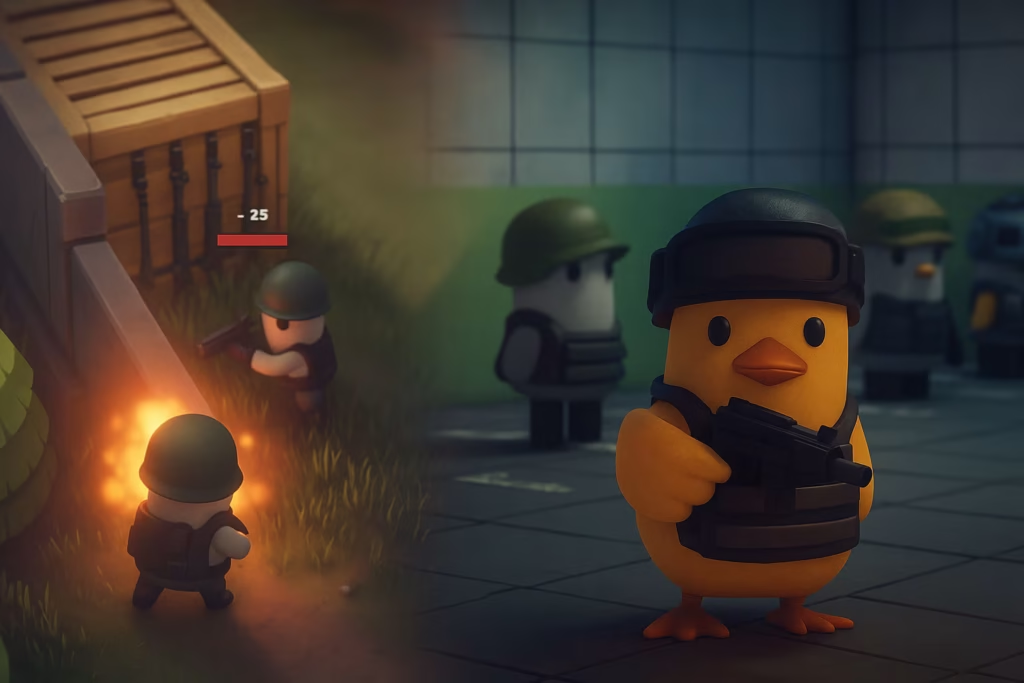
7. Learn When to Fight — and When to Wait
In Duckov, running into every firefight is a rookie mistake. Enemy factions frequently battle each other, creating perfect opportunities for you to loot corpses after the chaos.
If you hear gunfire nearby, wait for the fight to end, then move in carefully to collect gear. Patience often pays more than bravery.
When you must fight, use cover and stealth. Silenced or short-burst weapons conserve ammo and attract less attention.
8. Train Regularly — The Gym Matters
Later, you’ll unlock Mud, the Gym Coach NPC, through a few small fetch quests (Duck Egg, Soda Cracker, Cigarettes). Once he joins your base, the Gym becomes one of the best facilities for long-term stat boosts.
Training increases HP, stamina, and max carry weight — all permanent improvements that make raids far more manageable.
9. Use Totems and Skills Strategically
Totems near your base can be activated with Feathers to gain passive buffs. Prioritize:
- Marathon Totem for longer sprint time
- HP Totem for survivability
Avoid wasting feathers on minor boosts until you’ve secured these two.
For skill progression, unlock Gun Mastery I, Survival Instinct, and Quick Reload early for immediate combat and survival benefits.
10. Accept Death — But Protect Your Loot
Death in Escape From Duckov is punishing. If you die, all carried items are lost—but there’s a catch.
You can recover your lost loot by revisiting the spot where you died and interacting with a mural-like marker nearby. However, if you die again before retrieving it, the items are gone permanently.
To minimize loss, always store rare or critical items in your dog’s bag before entering combat-heavy areas.
See also: How to Get Cash Fast in Escape From Duckov: Best Farming Routes and Selling Tips
Escape From Duckov may look like a parody of Tarkov, but it’s every bit as demanding. Early on, focus on learning systems instead of chasing loot. Upgrade your Workbench and Warehouse, manage inventory smartly, and lean on Jeff’s quests for structure. Play Now!
With patience and planning, your duck won’t just survive — it’ll thrive in the wasteland of Duckov.

