The Dreglord is the final wall of Nightreign: The Forsaken Hollows—a two-phase boss who mixes unpredictable melee swings, arena-wide Scarlet Rot, and dangerous mobility. The fight is long, punishing, and built to overwhelm players who rely only on burst damage. Success comes from preparation, pattern recognition, and smart ultimate usage.
Dreglord: What Makes This Boss Difficult
The Dreglord stands out because almost none of the usual Nightreign tricks—weakness exploitation, ranged kiting, or brute defense—work consistently. Although he technically takes additional damage from Fire, Holy, Bleed, and Frost, none of these behave like true “weaknesses,” and their procs are slow. Meanwhile, he saturates the arena with Scarlet Rot, summons undead, and forces players into tight dodge windows.
The learning curve is steep, but once you understand his flow, the fight becomes surprisingly manageable.
Best Preparation Before Entering the Arena
Recommended Party Composition
While many Nightfarers are viable, two compositions shine most:
1. Two Undertakers + Ironeye (Best Overall)
- Undertaker’s frequent Ultimate resets (“Confluence”) create repeated interruptions and safe burst windows.
- Ironeye provides long-range revives and constant marking uptime, letting melee characters score stagger opportunities.
- This team handles both phases smoothly because you’re never short on ultimates or safe revivals.
2. Guardian + Wylder + Scholar (Safe, Tanky, Reliable)
- Guardian can block or cancel several of the boss’s most dangerous AOEs in late phase.
- Wylder’s Fire scaling benefits from Dreglord’s elemental susceptibility.
- Scholar’s debuffs and fire pots are particularly effective early in phase one.
Gear, Relics, and Consumables
Bring these every time:
- Preserving Boluses – Scarlet Rot will hit you eventually. Boluses prevent slow chip deaths.
- Fire or Holy weapons – They give the best damage return over time.
- Frost + Bleed on melee weapons – Don’t rely on them, but consider them bonus damage tools.
- Damage negation / healing Relics – Especially anything that boosts survivability during Rot exposure.
Flask count and level cap matter much more here than in previous Nightlords. Aim for Level 14–15 and maximum flask capacity.
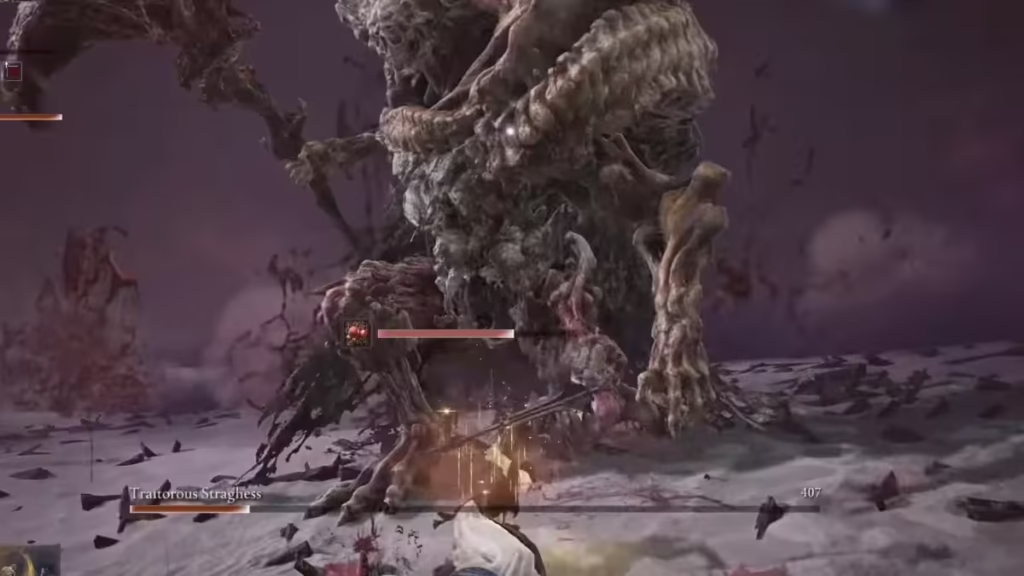
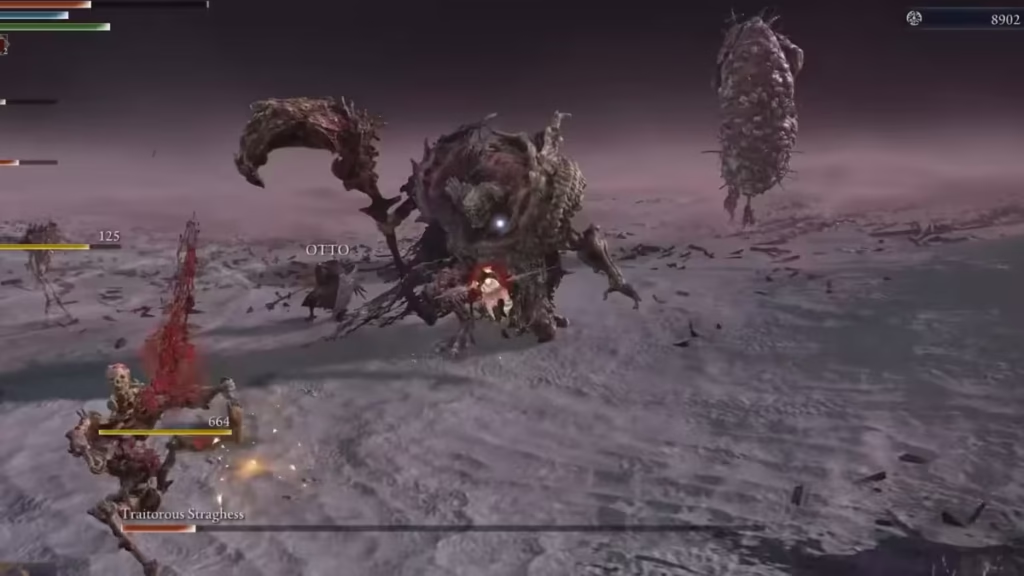
Phase 1: Traitorous Straghess
This phase teaches you the “language” of the boss—big swings, delayed timings, and the first appearance of Rot.
The Key Rule: Always Play Near His Sides or Rear
Most of Dreglord’s big swings travel forward in wide arcs. Staying behind him invalidates half his kit.
Major Attacks and How to Counter Them
1. Slow Twin Swings (Horizontal → Horizontal)
He winds up with his club at his hip.
Dodge timing: Roll inward on each swing.
Punish window: After the second swing as he resets.
2. Slam and Drag Combo
He slams his club forward, then drags it backward, catching greedy attackers.
Counter: Don’t chase his rear. Instead, strafe and wait for the backward drag to finish.
3. Gap-Closing Club Run
He drags the club behind him, then charges in a straight line.
Swing rhythm is predictable.
Counter: Roll with the rhythm and stay glued to him—he pauses afterward, giving a large punish window.
4. Scarlet Rot Boulder (Throw or Ground Burst)
This is the first Rot-inflicting mechanic.
Tell: Red tendrils gather in his hand.
- If thrown: Roll just before impact.
- If slammed: Sprint away, then roll the shockwave.
5. Rot Clouds + Zombie Spawns
At ~75% HP, undead begin emerging from the ground. Some can merge into massive Wormface-like creatures if ignored.
Counter: Have secondary damage players wipe them quickly. If they fuse, their explosion or buff transfer to Dreglord becomes extremely dangerous.
6. Massive Rot Tower Explosion (Around ~50% HP)
He rises on a mound of rot and detonates a huge AOE.
Counter: Full sprint away. This attack has excellent visual telegraphing—use it to heal afterward.
How to Play This Phase Effectively
Melee Strategy
- Stick to his rear hip.
- Dodge sideways instead of backward—his hitboxes favor chasing retreating players.
- Save big skills only for obvious punish windows.
Ranged Strategy
- Maintain medium distance; too far triggers boulder throws, too close risks knockdowns.
- Focus fire on the boss, not the adds—unless running a two-Undertaker comp where burst clearing is easy.
Phase 1 ends when the first health bar breaks. You get a brief healing window before the real test begins.
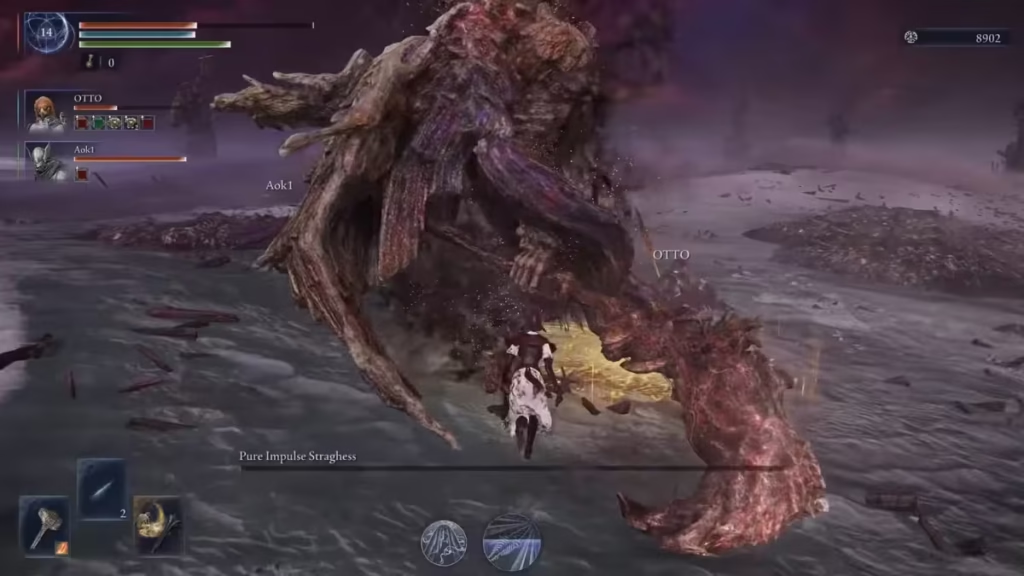
Phase 2: Pure Impulse Straghess
The boss becomes faster, more aggressive, and far more unpredictable. Add summons disappear, but his own movement triples in speed.
Don’t run to him after the transition—he begins the phase with Rot eruptions triggered by repeated roars.
New Attacks and How to Survive Them
1. Enhanced Slashes + Body Feints
Everything is quicker and more angular than in Phase 1.
Rule: Always expect a second hit. Every combo is extendable now.
2. Jumping Lunge → Hand Swipe → Double Slam Chain
This is his signature new chain.
Dodge sequence:
- Roll toward him on the first leap.
- Roll again as he pivots.
- Roll under the air leap.
Once he whiffs, you get a long punish window.
3. Rot Projectile Wave (Modified Strafe Throw)
He sidesteps and instantly flicks a Rot projectile.
Counter: Roll inward the moment he moves sideways.
4. Pillar Dash Attack
He leaps onto a corpse pillar and launches across the arena—twice.
Counter: Roll into his dash path, not away from it (rolling back almost always gets you hit).
5. Final Rot Pillar Ultimate (Arena-Wide Hazard)
One of Nightreign’s most lethal mechanics:
- Multiple pillars erupt around the arena.
- Dreglord leaps high into the air.
- He slams down with a massive Rot burst that covers nearly the entire arena.
Best counter: Use Guardian’s Ultimate the moment he jumps. It fully negates the blast for your entire team.
If Guardian isn’t available, time an invulnerability ultimate or sprint away and dodge the fissures on impact.
Winning Strategy: How to Actually Beat the Fight
1. Stay Close—Oddly, It’s Safer
Both phases become dramatically more chaotic at long distance. Up close, you can read his swings and avoid the majority of his damage.
2. Save Ultimates for Emergencies, Not Damage
Interrupting or surviving his major AOEs is far more valuable than squeezing extra DPS.
- Undertaker should always use her free Ultimate the moment an ally triggers theirs.
- Guardian should hold Ultimate strictly for the final pillar attack.
3. Manage Rot Smartly
Use Boluses only when needed. Rot buildup is inevitable; don’t panic-consume.
4. Punish Only After Full Chains
Dreglord constantly delays swings or hides extra hits. The safest punish windows are:
- After the Rot boulder ground slam
- After the club charge ends
- After aerial slam chains in Phase 2
5. Do Not Tunnel Vision
Scarlet puddles, late explosions, and floor fissures are easy to forget during long runs. Keep track of your feet.
Rewards: What You Get for Beating the Dreglord
Beating the Dreglord rewards:
- Multiple Relics
- Large amounts of Murk
- The Night of Dregs Boss Relic, which enhances attack power through status buildup, provides healing near Rot, and inflicts Rot on attackers.
A triumphant ending to one of Nightreign’s toughest encounters. Play Now!
Read More:
- Elden Ring Nightreign Scholar Build: Best Relics and Passives
- Elden Ring Nightreign Undertaker Remembrance quest [Full Guide]
- Elden Ring Nightreign Sentient Pest Bug Fix: Patch 1.01.5 Solves Major Boss Fight Issues
- How to Get Sovereign Sigils in Elden Ring Nightreign and Unlock Collector Signboard Rewards
- Elden Ring Nightreign Relic Storage Limit Explained: Why Players Are Hitting a Hidden Cap
- How to Get and Use the Wraith Calling Bell in Elden Ring Nightreign
- How to Beat Augur in Elden Ring Nightreign: Strategy, Builds & Sleep Counters

