Installing PIP for Python 3.12 on Windows 10/11 is a straightforward process. Here are the steps you need to follow:
Step 1: Download Python 3.12
If you haven’t already, download and install Python 3.12 from the official Python website. During the installation process, ensure to check the option that says “Add Python 3.12 to PATH”. This will add Python to your system environment variables, allowing you to run it from the command line.
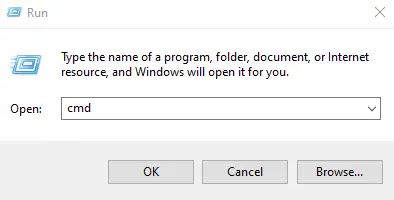
Step 2: Open Command Prompt
You can open the Command Prompt by searching for “cmd” in the Windows search bar and clicking on “Command Prompt”.
Step 3: Check Python Installation
To verify that Python is correctly installed, type the following command in the Command Prompt and press Enter:
python --version
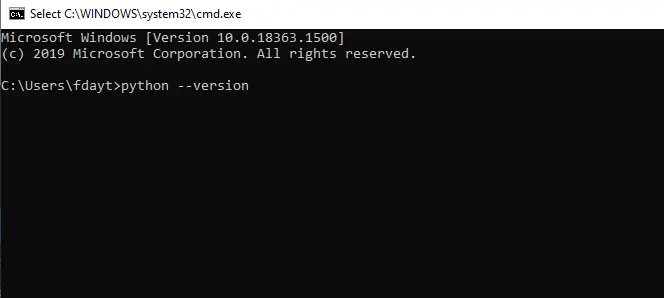
You should see an output like Python 3.12.x.
Step 4: Upgrade pip (Optional)
It’s a good practice to ensure that you have the latest version of pip. You can upgrade pip by running the following command:
python -m pip install --upgrade pip
Step 5: Verify pip Installation
Once pip is installed or upgraded, you can verify the installation by running:
pip --version
And that’s it! You’ve now successfully installed pip for Python 3.12 on your Windows 10/11 system. You can use pip to install Python packages and manage your Python environments.

