The Raspberry Pi 5 is a powerful and versatile device that can run various operating systems, including Windows 11. However, installing Windows 11 on a Raspberry Pi 5 is not officially supported by Microsoft, and requires some extra steps and tools. This guide will walk you through the process of installing Windows 11 on your Raspberry Pi 5.
Prerequisites
Before we begin, make sure you have the following:
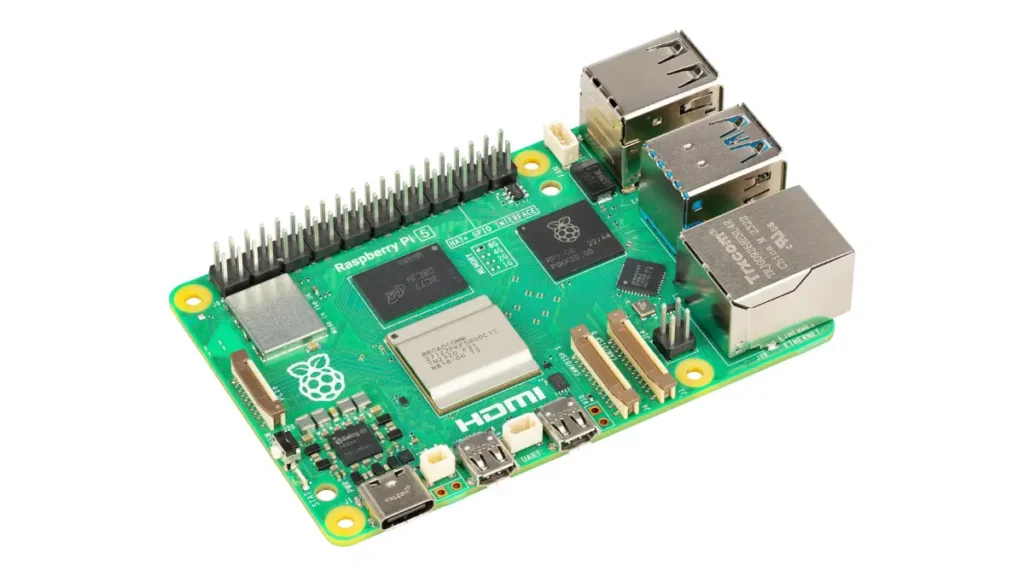
- A Raspberry Pi 5 with at least 8GB of SDRAM.
- An empty micro SD card with at least 16GB of storage.
- A stable internet connection.
- A Windows 11 ISO file from Microsoft’s website
- A Raspberry Pi Imager tool from Raspberry Pi’s website
- A Windows on Raspberry (WoR) tool from WoR’s website
Step-by-Step Guide
Step 1: Write the Windows 11 Image to the SD Card
First, you need to write the Windows 11 image to your micro SD card. This can be done using the Raspberry Pi Imager tool, which can format and write any image to the SD card in one step. Follow these steps:
- Launch the Raspberry Pi Imager tool on your computer.
- Click on “Choose OS” and select “Use custom”.
- Browse to the location of your Windows 11 ISO file and select it.
- Click on “Choose SD Card” and select your micro SD card.
- Click on “Write” and wait for the process to finish.
Step 2: Configure Your Raspberry Pi
Next, you need to configure your Raspberry Pi to boot from the SD card and load the Windows 11 installer. This can be done using the Windows on Raspberry (WoR) tool, which can modify the firmware and drivers of your Raspberry Pi. Follow these steps:
- Launch the Windows on Raspberry (WoR) tool on your computer.
- Click on “Select device” and select your Raspberry Pi 5.
- Click on “Select image” and select your micro SD card.
- Click on “Select drivers” and select the drivers for your Raspberry Pi 5 from the WoR website
- Click on “Deploy” and wait for the process to finish.
Step 3: Install Windows 11 on Your Raspberry Pi
Finally, you need to install Windows 11 on your Raspberry Pi. This can be done by following the on-screen instructions of the Windows 11 installer. Follow these steps:
- Insert the micro SD card into your Raspberry Pi and power it on.
- Wait for the Windows 11 installer to load.
- Select your language and region, and click “Next”.
- Click on “Install now”.
- Enter your product key, or click “I don’t have a product key” if you don’t have one.
- Select the edition of Windows 11 you want to install, and click “Next”.
- Accept the license terms, and click “Next”.
- Select “Custom: Install Windows only (advanced)”.
- Select the partition where you want to install Windows 11, and click “Next”.
- Wait for the installation to complete.
Successfully Installed
Congratulations! You have successfully installed Windows 11 on your Raspberry Pi 5. You can now go through the final setup process, which includes creating a user account, configuring your settings, and signing in with a Microsoft account or a local account.
Please note that this guide is intended for educational purposes only. Always backup your data and proceed with caution. Installing Windows 11 on a Raspberry Pi 5 is not officially supported by Microsoft and may not work as expected.
- How to Fix Outlook Stuck in Sign-In Loop (12 Working Fixes)
- Palworld 1.0 New Pals: Full List of Every Creature in the World Tree Update
- Phone Link Not Receiving Messages? 9 Fixes for Windows 11
- How to Fix “The Emulator Process for AVD Has Terminated” Error
- How to Clone a Mac Drive with Disk Utility on Any macOS

