Git is an essential tool for version control. Developers use it to track code changes, collaborate with teams, and manage projects efficiently. On Windows 11, Git installs smoothly if you follow the correct steps and default recommendations.

This guide walks you through installing Git on Windows 11, choosing the right options during setup, and verifying that Git works correctly after installation.
Step 1: Download Git for Windows

- Open any web browser on your Windows 11 PC.
- Visit the official Git website: git-scm.com
- Click Download for Windows.
- The Git installer (
.exefile) downloads automatically.
Always download Git from the official website to avoid outdated or unsafe installers.
See also: How to Install OpenClaw on Windows Using WSL2 (Official Local Setup Guide)
Step 2: Start the Git Installer
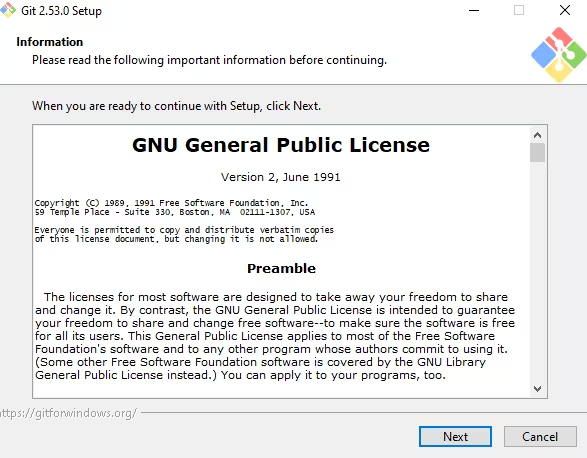
- Open the downloaded installer file.
- Accept the license agreement.
- Keep the default installation location.
- Click Next to continue.
The default install path works best for most users and avoids permission issues.
Step 3: Select Git Components
On the Select Components screen:
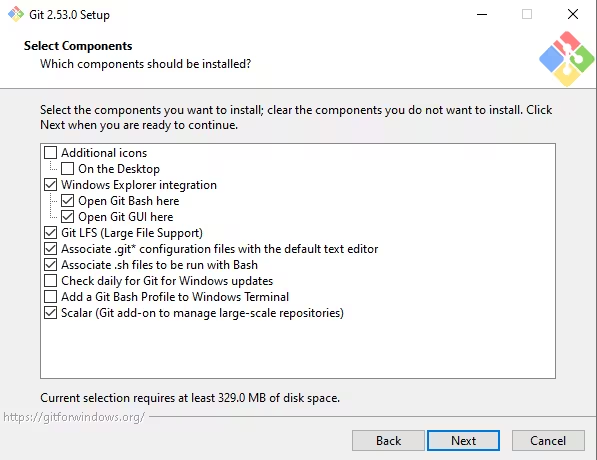
- Keep all default options selected.
- Do not remove Git Bash or Git GUI.
These components provide command-line access and basic Git tools.
Click Next.
Step 4: Choose Default Editor for Git
Git asks you to select a text editor for commit messages.
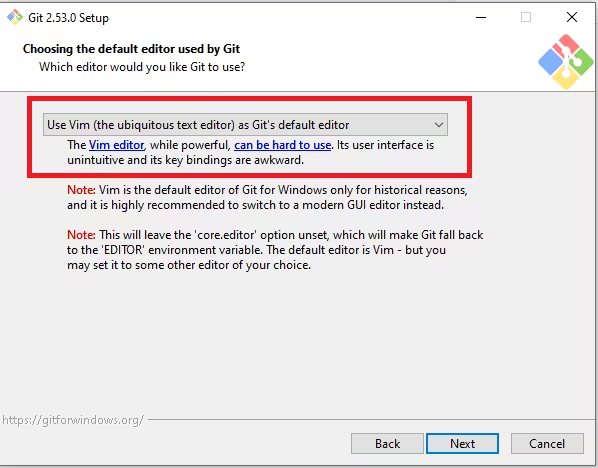
Recommended options:
- Vim (default) – safest option for beginners
- Visual Studio Code – choose this only if you already use VS Code
If unsure, keep the default editor and continue.
See also: How to Install Moltbot on QNAP NAS Using Ubuntu Linux Station (Step-by-Step Guide)
Step 5: Set Git PATH Environment Option
Select:
“Git from the command line and also from 3rd-party software”
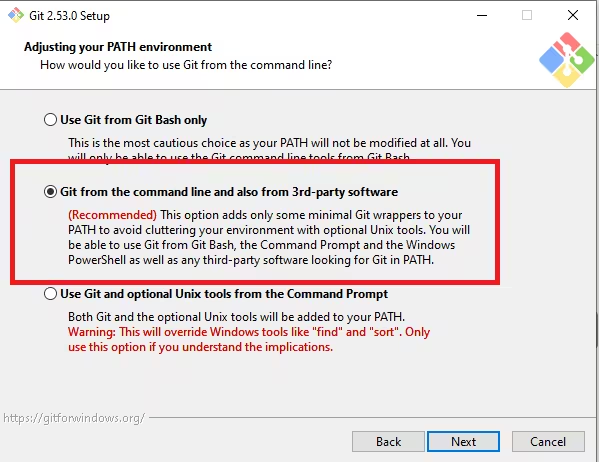
This option allows Git to work in:
- Command Prompt
- PowerShell
- Git Bash
- IDEs like VS Code
This setting prevents “git is not recognized” errors later.
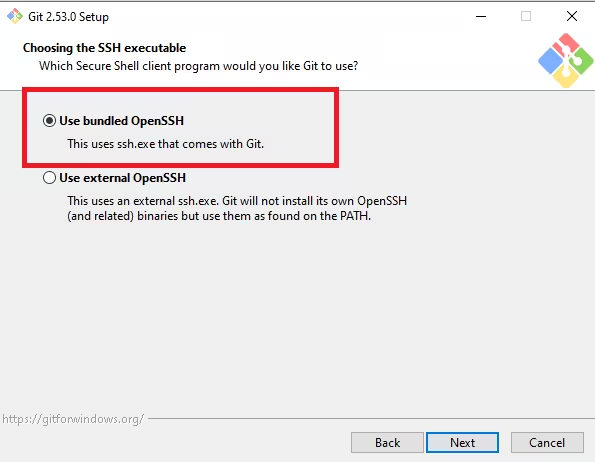
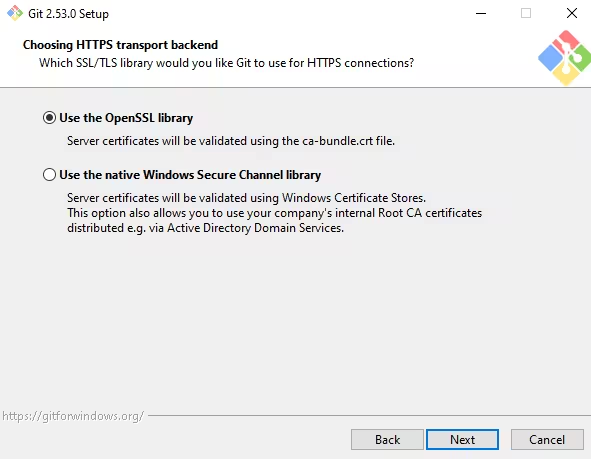
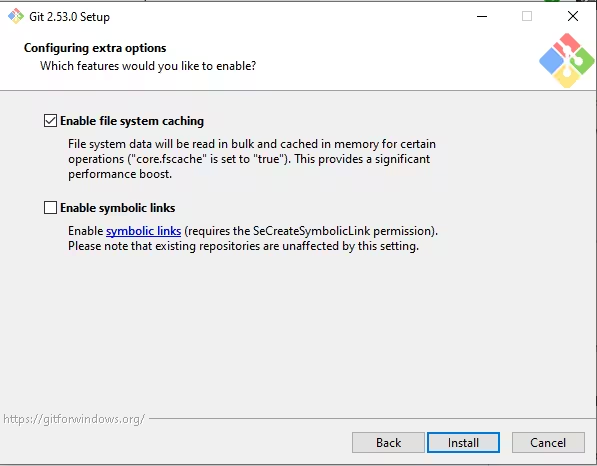
Step 6: Configure HTTPS and Line Endings
Use these recommended options:
- Choosing the SSH executable– Use bundled OpenSSH
- Choosing HTTPS transport backend– Use the OpenSSL library
- Configuring the line ending conversions– Checkout Windows-style, commit Unix-style line endings
- Configuring the terminal emulator to use with Git Bash– Use MinTTY (the default terminal of MSYS2)
- Choose the default behavior of git pull– Fast-forward or merge
- Choose a credential helper– Git Credential Manager
- Configuring extra options– Enable file system caching
These settings ensure compatibility with most Git repositories.
Step 7: Complete the Installation
- Click Install.
- Wait for the setup to finish.
- Leave Launch Git Bash checked.
- Click Finish.
Git is now installed on your Windows 11 system.
Step 8: Verify Git Installation
- Open Git Bash, Command Prompt, or PowerShell.
- Run this command:
git --version- If Git works correctly, it displays the installed version number.
This confirms that Git installed successfully and works from the command line.
Step 9: Configure Git Username and Email
Git uses your name and email for commit history.
Run these commands:
git config --global user.name "Your Name"
git config --global user.email "[email protected]"
Check your configuration:
git config --listThis step ensures proper commit attribution.
Default Git Installation Location
Git installs by default at:
C:\Program Files\Git\You can launch Git Bash anytime from the Start Menu.
Common Problems and Fixes
1. Git is not recognized as a command
- Restart Command Prompt or PowerShell
- Reinstall Git and confirm PATH option selection
2. Editor opens and feels confusing
- Change editor anytime:
git config --global core.editor "code --wait"3. Line ending warnings appear
- Keep the default line-ending settings during installation
FAQs
How do I install Git on Windows 11?
You can install Git on Windows 11 by downloading the official installer from git-scm.com, running the setup file, keeping the recommended default options, and completing the installation. After setup, verify the installation by running git --version in Command Prompt, PowerShell, or Git Bash.
Is Git free to install on Windows 11?
Yes, Git is completely free and open-source. You can download and install Git on Windows 11 without any cost, subscriptions, or license keys, as long as you use the official Git for Windows installer.
Where is Git installed by default on Windows 11?
By default, Git installs in C:\Program Files\Git\. This location works best for most users and ensures Git integrates correctly with Command Prompt, PowerShell, and third-party tools.
Which PATH option should I choose while installing Git?
You should select “Git from the command line and also from 3rd-party software.” This option allows Git commands to work across Command Prompt, PowerShell, Git Bash, and development tools like VS Code.
How do I check if Git is installed correctly on Windows 11?
Open Command Prompt, PowerShell, or Git Bash and run git --version. If Git is installed correctly, the command displays the installed Git version number without errors.
Do I need Git Bash on Windows 11?
Git Bash is not mandatory, but it is highly recommended. It provides a Unix-like terminal environment that makes Git commands easier to use and more consistent with Linux and macOS systems.
Can I use Git with Visual Studio Code on Windows 11?
Yes, Git works seamlessly with Visual Studio Code on Windows 11. Once Git is installed, VS Code automatically detects it and enables built-in source control features without extra setup.
Why does Windows say “git is not recognized” after installation?
This usually happens if the PATH option was not selected during installation or the terminal was not restarted. Reinstall Git and choose the correct PATH option, then reopen Command Prompt or PowerShell.
Should beginners change default Git installation settings?
Beginners should keep the default installation settings. The recommended options provide the best compatibility and reduce common errors related to line endings, terminal usage, and editor configuration.
Is Git required to use GitHub on Windows 11?
Git is not strictly required to browse GitHub, but you need Git installed on Windows 11 to clone repositories, commit changes, push code, and work with GitHub projects locally.
Installing Git on Windows 11 is straightforward when you use the recommended defaults. Once installed, Git works across terminals, editors, and automation tools without extra configuration. This setup suits beginners and experienced users alike.

