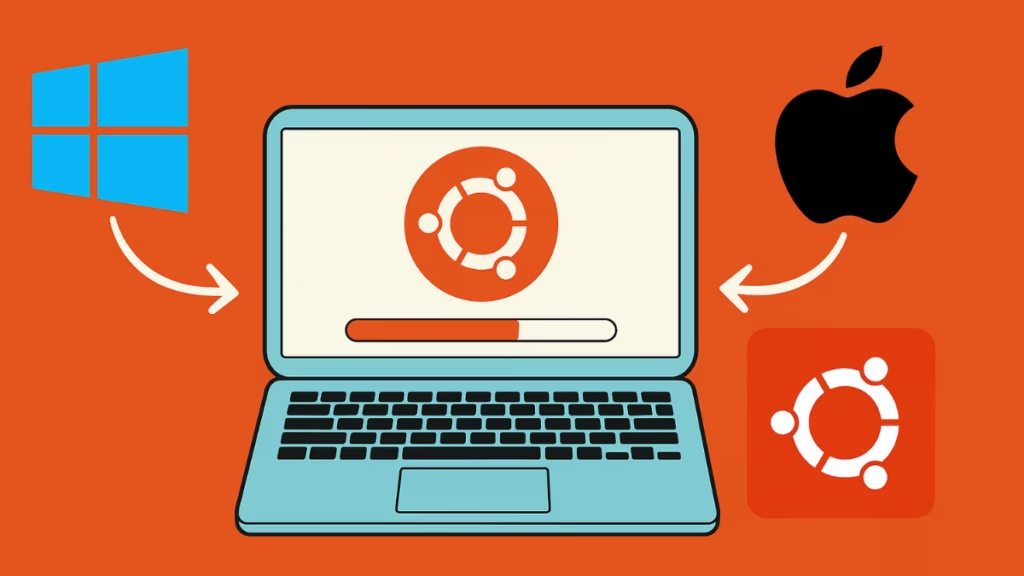
If you want to try Ubuntu on your Windows 11 PC but aren’t sure how to start, you’re not alone. Many users get confused between terms like WSL, dual boot, and bootable USB.
This guide will walk you through the process clearly, with two simple installation methods:
- Install Ubuntu using WSL (Windows Subsystem for Linux) – easiest, runs inside Windows.
- Install Ubuntu alongside Windows 11 (dual boot) – gives you the full Ubuntu desktop experience.
Follow the method that best fits your needs.
Method 1: Install Ubuntu on Windows 11 using WSL (Easiest Way)
This method lets you run Ubuntu inside Windows—just like any other app. You don’t need to replace or partition your hard drive.
Step 1: Enable WSL
- Press Win + X → select Terminal (Admin).
- Type the following command and press Enter:
wsl --install- This installs WSL 2 and Ubuntu automatically.
- If you already have WSL, update it with:
wsl --updateStep 2: Restart Your Computer
Once installation finishes, restart your PC.
Step 3: Launch Ubuntu
- After reboot, search Ubuntu in the Start menu and open it.
- It will take a few minutes to set up the first time.
- Create your username and password when prompted.
Step 4: Update Ubuntu Packages
Run these commands inside Ubuntu:
sudo apt update && sudo apt upgrade -yDone! You now have Ubuntu running inside Windows 11. You can install software, use Linux commands, and even run development tools without leaving Windows.
See also: Windows 11 24H2 Update KB5064081 Fails to Install? How to Fix It
Method 2: Dual Boot Ubuntu and Windows 11 (Full OS Install)
If you want the complete Ubuntu desktop experience with full system performance, dual boot is the way to go. This means when you start your PC, you can choose Windows 11 or Ubuntu.
Note: This requires more steps. Backup your files before starting.
Step 1: Download Ubuntu ISO
- Visit Ubuntu Downloads.
- Download the latest Ubuntu Desktop ISO (usually LTS version is recommended).
Step 2: Create a Bootable USB
- Insert a USB drive (at least 8GB).
- Download Rufus (Windows tool) or balenaEtcher.
- Open Rufus → Select your USB drive → Choose the Ubuntu ISO → Click Start.
- For Windows 11 PCs, select GPT + UEFI in Rufus.
Step 3: Free Up Space in Windows 11
- Press Win + X → Disk Management.
- Right-click your main drive (C:).
- Select Shrink Volume → free at least 30 GB for Ubuntu.
Step 4: Boot from USB
- Restart your PC and press F12 / F2 / Del (depending on your laptop/PC) to enter the boot menu.
- Choose your USB drive to boot.
Step 5: Install Ubuntu
- On the Ubuntu menu, select Install Ubuntu.
- When asked about installation type, choose:
- Install Ubuntu alongside Windows Boot Manager (safest option for beginners).
- Assign the free space you created earlier.
Step 6: Complete Setup
- Enter your username and password.
- Wait for installation to finish, then restart.
- On reboot, you’ll see a menu (GRUB) where you can pick Windows 11 or Ubuntu.
Done! You now have both Windows 11 and Ubuntu installed on the same PC.
Which Method Should You Choose?
- Choose WSL if:
- You only need Ubuntu for coding, testing, or learning Linux commands.
- You don’t want to change your hard drive partitions.
- You want an easy setup with no risk to Windows.
- Choose Dual Boot if:
- You want the full Ubuntu desktop environment.
- You plan to use Ubuntu daily for productivity or development.
- You want maximum performance for Linux apps.
Pro Tips After Installing Ubuntu
- Update regularly:
sudo apt update && sudo apt upgrade -y- Install software easily from the Ubuntu Software Center.
- Learn basic commands like
ls,cd,pwd, andapt install. - Don’t panic if you see the GRUB boot menu—that’s how you choose Windows or Ubuntu.
Installing Ubuntu on Windows 11 isn’t as scary as it looks. Beginners can start with WSL to try Ubuntu safely. If you like it and want the full Linux experience, move on to dual boot.
Both methods let you explore Ubuntu without losing access to your Windows system.

