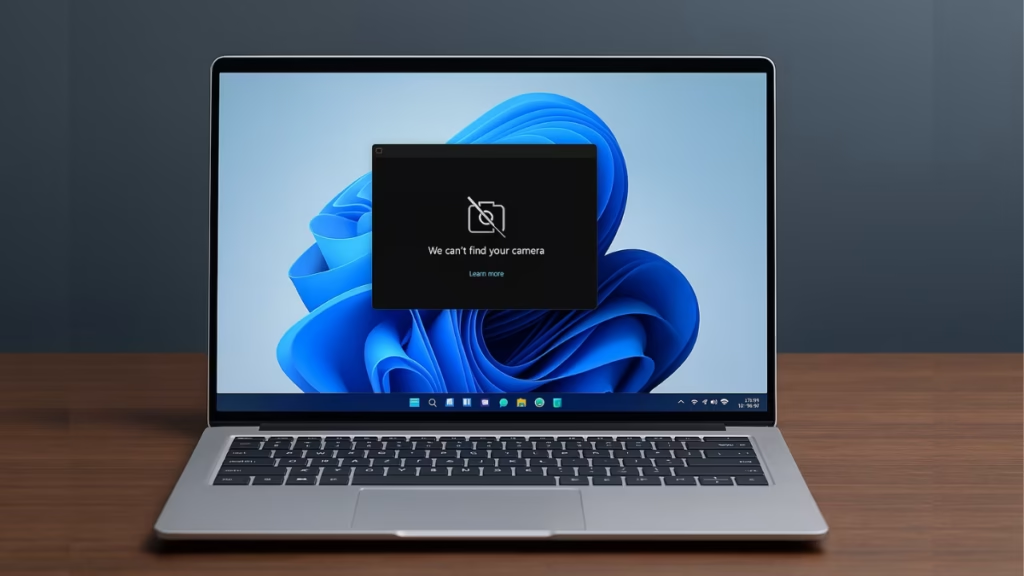
If your laptop camera is not working in Windows 11, shows errors like “We can’t find your camera”, or fails to open in apps like Zoom, Microsoft Teams, or the Camera app, you’re not alone. This issue commonly appears after Windows updates, driver changes, or privacy setting resets.
In most cases, the problem is software-related, not a hardware failure. Below are proven fixes to help you restore your webcam step by step, whether Windows 11 can’t detect the camera or apps are blocked from using it.
Why Laptop Camera Is Not Working in Windows 11
Before jumping into fixes, it helps to understand what usually causes webcam issues in Windows 11:
- Camera access disabled in privacy settings
- Webcam driver outdated, missing, or corrupted
- Windows update breaking camera compatibility
- Camera app malfunction or cache corruption
- Antivirus or security software blocking access
- OEM firmware or utility missing (HP, Dell, Lenovo, Asus)
- Rarely, a physical hardware failure
Common Windows 11 Camera Error Messages
You may see one of these messages when your camera fails:
- “We can’t find your camera”
- “No cameras attached”
- Camera not detected in Device Manager
- Camera works in browser but not in Zoom or Teams
- Laptop camera stopped working after Windows 11 update
Each fix below addresses one or more of these issues.
Fix 1: Check Camera Privacy Settings in Windows 11 (Most Common Fix)
Windows 11 has strict privacy controls that can block webcam access.
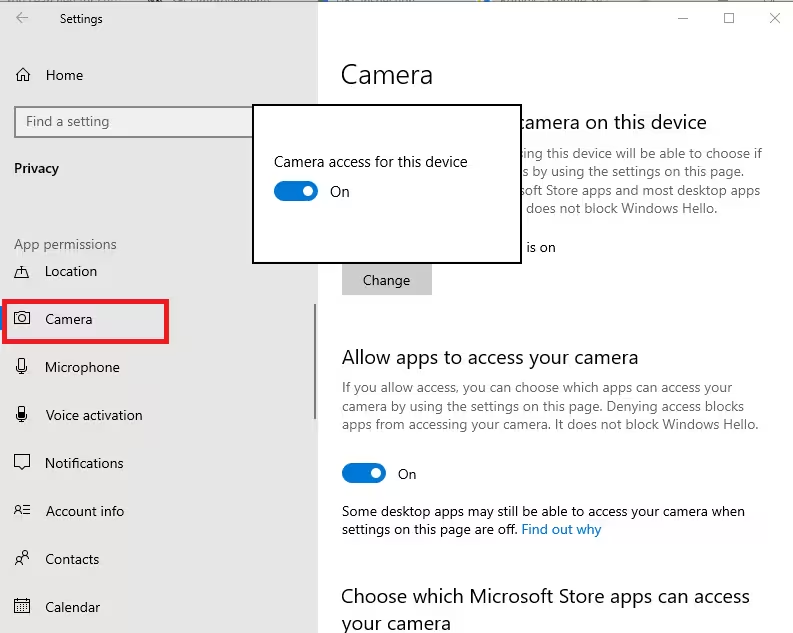
- Press Win + I to open Settings
- Go to Privacy & security → Camera
- Turn Camera access ON
- Enable Let apps access your camera
- Scroll down and allow apps like Zoom, Teams, Skype, and browsers
If this option is OFF, Windows will act as if no camera exists.
Fix 2: Select the Correct Camera Device
Windows 11 supports built-in, USB, and network cameras. Sometimes the wrong device is selected.
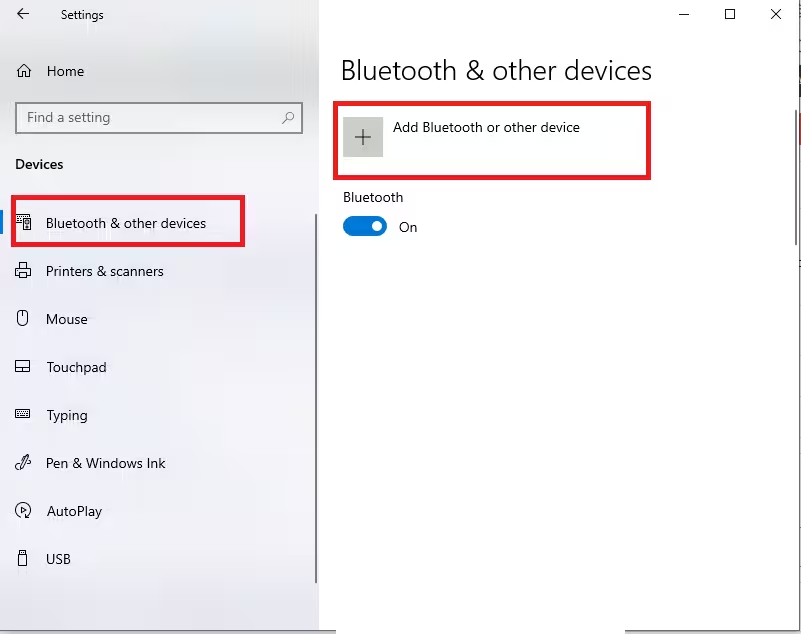
- Open Settings → Bluetooth & devices → Cameras
- Check which camera is listed
- Select your built-in webcam if multiple devices appear
This is especially important if you’ve used an external webcam before.
Fix 3: Test the Built-In Camera App
This helps confirm whether the issue is system-wide or app-specific.
- Press Start
- Search for Camera
- Open the Camera app
If it shows “We can’t find your camera”, continue with driver and system fixes below.
Fix 4: Repair or Reset the Camera App
The Camera app itself may be broken after updates.
- Go to Settings → Apps → Installed apps
- Find Camera
- Click Advanced options
- Select Terminate, then Repair
- If it still fails, click Reset
This restores the app to default settings.
Fix 5: Run the Windows 11 Camera Troubleshooter
Windows includes an advanced camera diagnostic tool.
- Open Settings → Bluetooth & devices → Cameras
- Select your built-in camera
- Click Troubleshoot
- Follow on-screen instructions
This tool can restart camera services and fix hidden conflicts.
Fix 6: Update Windows 11 (Critical After Major Updates)
Camera issues often appear after partial updates.
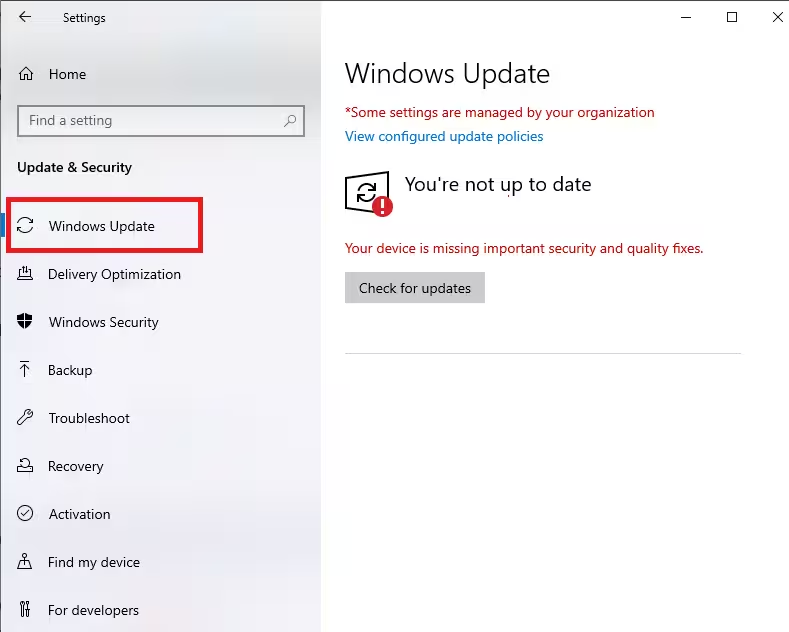
- Go to Settings → Windows Update
- Install all pending updates
- Restart your laptop
Many webcam bugs are resolved silently through cumulative updates.
Fix 7: Update or Roll Back the Camera Driver
Driver problems are a top reason Windows 11 cameras stop working.
- Right-click Start → Device Manager
- Expand Cameras
- Right-click your webcam → Update driver
- Choose Search automatically
If the camera stopped working after an update:
- Go to Properties → Driver → Roll Back Driver
Fix 8: Re-Enable the Camera in Device Manager
Sometimes Windows disables the camera without warning.
- Open Device Manager
- Right-click your webcam
- Select Disable device
- Restart your laptop
- Re-enable the device
This refreshes hardware detection.
Fix 9: Reinstall the Camera Driver
If updates fail, reinstalling the driver often fixes corruption.
- In Device Manager, right-click the camera
- Select Uninstall device
- Restart your system
Windows will reinstall the driver automatically.
If it doesn’t, download it from your laptop manufacturer’s support site.
Fix 10: Install OEM Camera Firmware or Utilities (HP, Dell, Lenovo, Asus)
Many laptops require brand-specific camera software.
- Visit your manufacturer’s official support page
- Download the latest camera driver or firmware for Windows 11
- Install and restart your laptop
OEM utilities often restore camera functionality after updates.
Fix 11: Check Antivirus or Security Software
Some antivirus tools block camera access silently.
- Temporarily disable your antivirus
- Test the camera again
- If it works, add the Camera app to allowed programs
Fix 12: Test With an External Webcam
Plug in a USB webcam.
- If the external camera works, your built-in webcam may be faulty
- If neither works, the issue is system-level, not hardware
Laptop Camera Not Working After Windows 11 Update?
If your webcam stopped working right after an update:
- Roll back the camera driver
- Check privacy permissions again
- Install OEM drivers
- Update Windows fully (don’t skip optional updates)
Updates often reset permissions or drivers.
FAQs Laptop Camera Not Working in Windows 11
Why does Windows 11 say “We can’t find your camera”?
This usually means camera access is disabled, the driver is missing, or Windows cannot detect the device.
Why is my laptop camera missing from Device Manager?
The driver may be corrupted, uninstalled, or blocked by firmware or BIOS settings.
Why does my camera work in browser but not Zoom?
Zoom may not have camera permission enabled in Windows privacy settings.
Can Windows updates disable my webcam?
Yes. Updates can reset drivers, permissions, or OEM utilities.
How do I know if my laptop camera is physically damaged?
If no camera appears in Device Manager and an external webcam works, hardware failure is likely.
Most Windows 11 laptop camera issues are caused by privacy settings, driver conflicts, or update-related changes—not hardware failure. Following these fixes step by step usually restores webcam functionality without repairs.
If none of the solutions work, contact your laptop manufacturer or service center.

