The Tech Tree in SAND: Raiders of Sophie is where your trampler goes from a fragile desert crawler to a raid-ready war machine. Spread across three vendor factions and four upgrade tiers, it controls everything from engine health and chassis weight to heavy cannons and cargo capacity. Knowing which upgrades to unlock first saves you Crowns, prevents costly run failures, and keeps your trampler moving deeper into the sand.
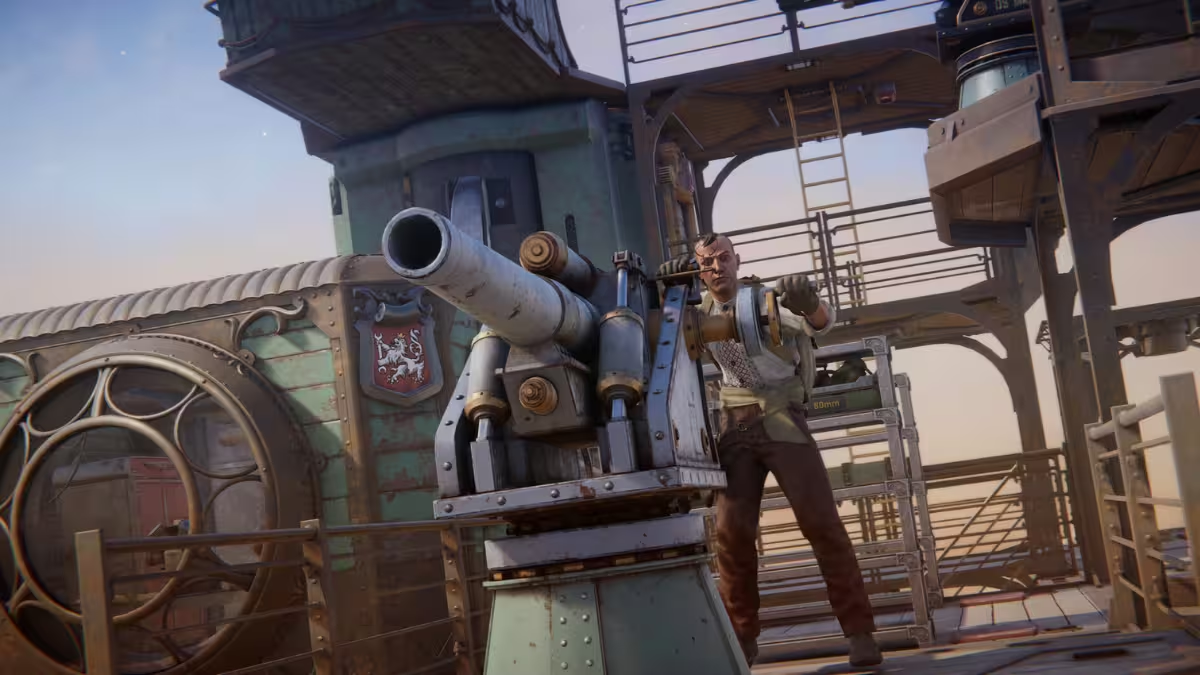
This guide covers the best early upgrades to prioritize, a full breakdown of each faction’s unlock table, and a materials stockpile list so you are never caught short mid-progression.
How the Tech Tree Works in SAND: Raiders of Sophie
The Tech Tree splits across three factions: Godlewski’s Expedition, K.K. Landwehr, and Kaiser’s Friends. Each one handles a different part of your trampler’s development.
Godlewski’s Expedition covers structural upgrades including engines, chassis, crew facilities, and utility tools like the Shovel. This faction forms the backbone of your trampler build and is where most players should spend their first Crowns.
K.K. Landwehr handles combat. You unlock weapons, armor plating, artillery decks, and throwable equipment like Grenades and Time Bombs here. The Battering Ram also sits in this faction at Tier II.
Kaiser’s Friends focuses on firepower and cargo. Cannons, Autocannons, Shotgun Cannons, Cargo Holds, and Cargo Bays all live here. The Tier I entry cost is the cheapest in the entire tree, with Wooden Decks at just 600 Crowns.
The tier structure runs four levels deep. Tier I upgrades cost low Crowns and mostly require no special materials. By Tier IV, you are spending 9,000 to 12,000 Crowns per unlock plus rare materials like Ficus, Crystal, and Black Box items before you even begin crafting. That cost gap matters when you are planning your progression path early.
Best Tech Tree Upgrades to Unlock First
Your trampler needs three things before anything else: a reactor that stays alive, crew support to manage damage, and enough cargo space to make each sortie worth running. Build in that order and the rest of the tree opens up naturally.
| Upgrade | Why It Matters |
|---|---|
| Engine Upgrades (Motor-Reactor) | Reactor destruction ends the run. Any health increase here directly increases your survival rate in combat. |
| Improved Reactor | The follow-up to the base engine upgrade. Invest here as soon as you have the materials to extend your trampler’s combat durability. |
| Crew Room | Crew members manage damage across the trampler that you cannot handle alone. Unlocking Crew Rooms is also the stepping stone to the Captain’s Cabin. |
| Captain’s Cabin | Positioned near the front of the trampler, it adds an extra health buffer between enemies and your core systems. |
| Cargo Decks and Wooden Decks | More cargo space means more loot per run. These compartments also add HP and function as passive armor around the reactor. |
| Shovel | A Tier II unlock that lets you dig up buried items in the sand. It pays back its cost quickly through extra resource income. |
| Battering Ram | Roughly 8,000 HP of defensive value at Tier II. It absorbs collision damage and repairs without much material investment. |
| Chassis Upgrades | A better chassis increases weight capacity, opens slots for more modules, and allows wider trampler layouts that better protect the reactor. |
| Small Armament Workshop | The cheapest way to get into weapon crafting at 700 Crowns. Lets you produce ammunition from raw materials instead of relying on loot drops. |
| Cannons | Strong offensive firepower but expensive to unlock and build. Save these for after your defensive and cargo foundation is set. |
The short priority order is: Engine and Reactor health first, Crew Room, Cargo and Wooden Decks, Shovel, Battering Ram, Chassis expansion, Workshop, then heavy weapons.
Godlewski’s Expedition Upgrades: All Tiers and Costs
This faction handles your trampler’s core structure. Prioritize the Motor-Reactor line and chassis upgrades from here before branching into either combat or cargo factions.
| Upgrade | Tier | Crown Cost | Key Materials |
|---|---|---|---|
| Crew Room | I | 700 | None |
| Motor-Reactor | I | 1,000 | None |
| Small Chassis | I | 900 | None |
| Energy Rod | I | 1,500 | 150 Coral Chunk, 15 Weird Coal |
| MedKit | I | 1,500 | 15 Weird Coral, 400 Mixtures |
| Captain’s Cabin | II | 2,800 | 75 Coral Chunk |
| Middling Chassis | II | 3,200 | 375 Mixtures |
| Motor-Reactor (II) | II | 3,250 | 4 Raw Aurogen Crystal, 375 Mixtures, 15 Alloy Steel |
| Shovel | II | 5,000 | 30 Weird Coral, 2 Raw Aurogen Crystal, 400 Coral Dust |
| Small Engine | II | 4,900 | 550 Mixtures, 5 Raw Aurogen Crystal |
| Metal Corridor | III | 5,500 | 360 Leviathan Skin, 150 Coral Chunk |
| Great Chassis | III | 5,700 | 150 Coral Chunk, 5 Alloy Steel, 360 Leviathan Skin |
| Medium Engine | III | 6,300 | 750 Mixtures, 40 Weird Coral, 360 Coral Dust |
| Crafting Materials | III | 8,000 | 100 Optic Lenses, 40 Weird Coral, 750 Coral Dust |
| Smoke Grenade | III | 8,000 | 3 Raw Aurogen Crystal, 200 Coral Chunk, 750 Leviathan Skin |
| Royal Chassis | IV | 9,000 | 150 Optic Lenses, 50 Crystal, 2 Ficus, 5 Raw Aurogen Crystal |
| Smokeless Rod | IV | 12,000 | 1 Ficus, 750 Coral Dust, 150 Optic Lenses, 3 Raw Aurogen Crystal |
Raw Aurogen Crystal starts appearing at Tier II in this faction and remains a requirement through Tier IV. Start collecting it early.
K.K. Landwehr Upgrades: All Tiers and Costs
K.K. Landwehr is your combat faction. Tier I entries are light on materials and unlock your core fighting capability for a small Crown investment. The Battering Ram at Tier II stands out as the best defensive purchase in this faction.
| Upgrade | Tier | Crown Cost | Key Materials |
|---|---|---|---|
| Small Armament Workshop | I | 700 | None |
| Artillery Decks | I | 1,000 | None |
| Weapons (I) | I | 1,500 | 200 Scrapped Ammo |
| Armor | I | 1,500 | 200 Scrap Metal |
| Large Framed Steering | I | 2,000 | 225 Scrap Metal |
| Armor Plate (II) | II | 3,500 | 30 Weird Coral, 475 Scrap Metal |
| Armored Artillery Decks | II | 4,000 | 2 Black Box, 475 Scrapped Ammo, 5 Alloy Steel |
| Weapons (II) | II | 4,000 | 1 District Officer’s Portable Safe, 1 Black Box, 450 Weapon Parts |
| Time Bomb | II | 4,000 | 450 Gunpowder, 1 Black Box, 1 District Officer’s Portable Safe |
| Battering Ram | II | 4,500 | 360 Weapon Parts, 40 Alloy Steel, 2 District Officer’s Portable Safe |
| Embrasure | III | 6,000 | 270 Gunpowder, 270 Weapon Parts, 500 Scrapped Ammo |
| Armor (III) | III | 6,000 | 750 Scrapped Ammo, 2 Black Box, 750 Scrap Metal |
| Grenade | III | 7,500 | 400 Gunpowder, 3 Black Box, 350 High-Grade Gunpowder |
| Improved Ammo | IV | 9,000 | 70 Weird Coral, 350 High-Grade Gunpowder, 1,000 Scrapped Ammo |
| Enclosed Artillery Compartment | IV | 9,000 | 350 High-Grade Gunpowder, 5 Black Box, 2 Ficus, 50 Crystal |
| Weapons (IV) | IV | 12,000 | 750 Weapon Parts, 3 Black Box, 15 Crystal, 1 Ficus |
District Officer’s Portable Safe becomes mandatory at Tier II in this faction. Hold onto every one you find from early runs.
Kaiser’s Friends Upgrades: All Tiers and Costs
Kaiser’s Friends offers the cheapest Tier I entry in the game. The cargo upgrades here double as passive armor around your reactor and dramatically increase the loot you extract from each run.
| Upgrade | Tier | Crown Cost | Key Materials |
|---|---|---|---|
| Wooden Decks | I | 600 | None |
| Cargo Deck | I | 1,400 | None |
| Small Chassis (I) | I | 1,700 | 200 Fabric Scraps |
| Auto Cannon (I) | I | 1,500 | 150 Fabric Straps |
| Shotgun Cannon (I) | I | 1,500 | 150 Threads |
| Cannon (II) | II | 5,000 | 2 Crate of 1889 Chardonnay, 300 Metal Rods, 10 Alloy Steel, 300 Fabric |
| Shotgun Cannon (II) | II | 5,000 | 10 Alloy Steel, 300 Leviathan Skin, 300 Gunpowder, 2 Canned Sea Deer XL |
| Autocannon (II) | II | 5,000 | 2 District Officer’s Portable Safe, 300 Gunpowder, 300 Metal Rods, 10 Alloy Steel |
| Cargo Bay (II) | II | 6,000 | 300 Leviathan Skin, 1 Canned Sea Deer XL, 500 Fabric Scraps |
| Great Chassis (III) | III | 6,000 | 360 Fabric, 750 Fabric Scraps |
| Cannon (III) | III | 9,000 | 1,100 Fabric Scraps, 2 Black Box, 500 Gunpowder, 20 Alloy Steel |
| Shotgun Cannon (III) | III | 9,000 | 40 Weird Coral, 2 Black Box, 500 Metal Rods, 1,100 Threads |
| Autocannon (III) | III | 9,000 | 2 Black Box, 500 Leviathan Skin, 150 Reinforced Leather Strips, 70 Weird Coral |
| Royal Chassis (IV) | IV | 9,000 | 2 Ficus, 1,200 Fabric Scraps, 450 Metal Rods, 150 Reinforced Leather Strips |
| Cargo Bay (IV) | IV | 9,000 | 450 Metal Rods, 15 Crystal, 2 Crate of 1889 Chardonnay, 2 Canned Sea Deer XL |
| Cannon (IV) | IV | 12,000 | 150 Reinforced Leather Strips, 5 Black Box, 2 Ficus, 30 Crystal |
| Shotgun Cannon (IV) | IV | 12,000 | 5 Black Box, 150 Reinforced Leather Strips, 80 Weird Coral, 2 Ficus |
| Autocannon (IV) | IV | 12,000 | 150 Reinforced Leather Strips, 5 Black Box, 2 Ficus, 75 Alloy Steel |
All three Tier IV cannons in this faction cost 12,000 Crowns and share Ficus and Black Box requirements. Avoid running all three cannon lines simultaneously or you will burn through rare materials faster than you can recover them.
Best Materials to Farm Early in SAND: Raiders of Sophie
Several materials appear across multiple factions and tiers. Stocking these before you need them prevents progression stalls at key unlock points.
Coral Chunk and Coral Dust appear throughout Godlewski’s Expedition from Tier I through Tier III. Pick them up on every run even before you need them.
Scrap Metal and Scrapped Ammo drive the K.K. Landwehr progression from base tier through Tier III armor and weapon upgrades.
Fabric Scraps, Threads, and Metal Rods are the core Kaiser’s Friends materials. Wooden Decks cost nothing but Crowns, but the cannon and chassis lines above Tier I need these in volume.
Alloy Steel appears in mid-to-high tier upgrades across all three factions. It becomes a shared bottleneck as you push into Tier II and III on multiple tracks simultaneously.
Black Box items and District Officer’s Portable Safes become mandatory from Tier II onward in both K.K. Landwehr and Kaiser’s Friends. Never sell these when you find them.
Ficus and Crystal gate every Tier IV unlock across all three factions. These two materials are the hardest to acquire and the most expensive to run short of. Start watching for them from mid-game onward.
Raw Aurogen Crystal appears in Godlewski’s Expedition from Tier II onward and continues through the Royal Chassis and Smokeless Rod at Tier IV. Hoard it early.
Frequently Asked Questions
What should I upgrade first in SAND: Raiders of Sophie?
Start with the Motor-Reactor from Godlewski’s Expedition. Reactor destruction ends a run completely, so protecting engine health is the highest priority before any other upgrade. Follow that with the Crew Room and Cargo Decks to improve your survivability and haul size.
How do Tech Tree upgrades affect trampler performance?
Each upgrade shifts the risk calculation on every raid. A better Chassis lets you install more modules. The Crew Room allows your crew to absorb damage you cannot manage alone. The Workshop converts raw materials into reliable ammo and guns so you are not dependent on loot drops to stay armed.
How do I unlock Tech Tree upgrades efficiently?
Focus only on the upgrade categories that match your current build. Several Tier I unlocks across all three factions cost nothing but Crowns. Grabbing all of them immediately spreads your Crowns thin without moving your trampler forward. For combat builds, start with K.K. Landwehr Tier I at 700 Crowns for the Small Armament Workshop. For cargo and mobility builds, grab Wooden Decks from Kaiser’s Friends at 600 Crowns and pair it with Godlewski’s Crew Room at 700 Crowns.
Is it worth going into all three factions early?
Not all at once. Tier IV upgrades across all three factions share Ficus, Crystal, and Black Box items. Running all three simultaneously at high tiers depletes these materials faster than you can restock them. Pick a primary faction based on your playstyle, fully develop it, then branch into the others with leftover resources.
The Tech Tree in SAND: Raiders of Sophie rewards structured thinking over impulse spending. Start with Reactor health, add Crew support, build cargo capacity, then move into offensive upgrades once your trampler can survive long enough to use them. Track your key materials across all three factions before you commit to Tier III and IV unlocks, and never burn your Ficus or Black Box items without a plan. Follow this order and your trampler stays in the fight longer, extracts more loot per run, and scales into the heavier combat tiers without losing expensive sorties to easy damage. Play Now!
Read More:
- Calamity Mage Guide: Best Weapons, Armor and Accessories
- Calamity Rogue Guide: Best Weapons, Armor and Builds
- Deltarune Chapter 5 Recruits: All 8 Enemies and How to Get Them
- Where Is Olivia Rodrigo in Fortnite Chapter 7 Season 3? Location and Free Rewards Guide
- FC 26 Net Breaker Evolution: Requirements, Upgrades, and Best Players

