Shadow of the Mountain is the 11th main mission in Borderlands 4, and it marks a difficulty spike compared to earlier quests. Expect longer combat sequences, heavier enemy spawns, and a challenging mid-game boss. This guide walks you through every step of the mission—from reaching Terminus Range to defeating Skyspanner Kratch and retrieving the Eridian relic.
Mission Details
- Quest Giver: Zandra
- Starting Location: Kairos – Dissected Plateau – The Stubs
- Unlock Requirement: Complete “A Lot to Process”
- Recommended Level: 15–20
- Rewards: XP, Cash, Eridium, Rare/Epic Pistol, Solar Flair weapon skin
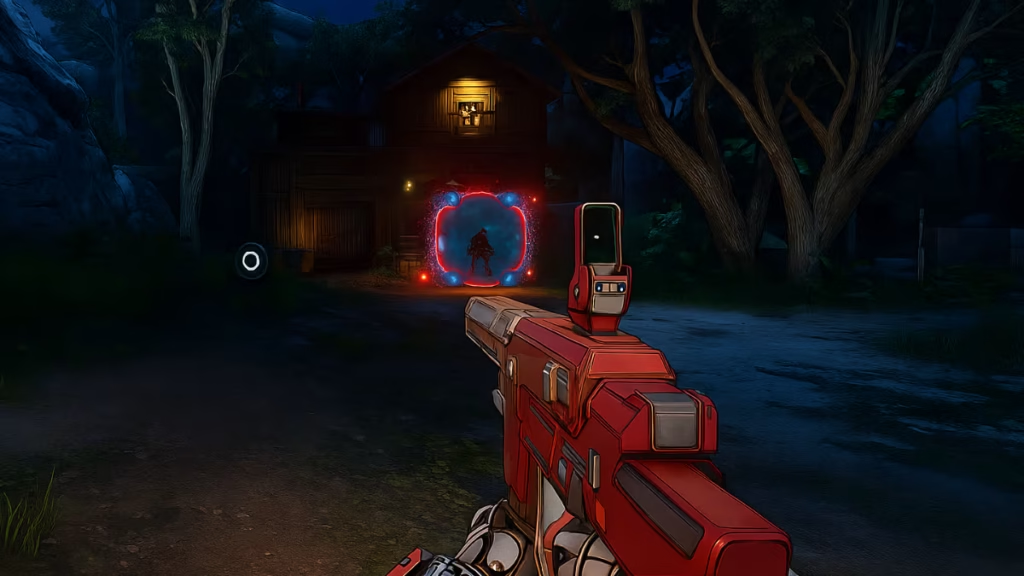
Step 1: Enter Terminus Range and Belton’s Bore
After accepting the quest, travel north into the frozen Terminus Range. The route is long and guarded by Order checkpoints filled with Synths and Badasses. If you’re under-leveled, it’s better to drive past rather than clear every fight. Along the way, unlock nearby Safe Houses like Grey Havenage for faster respawns.
Eventually, you’ll reach Belton’s Bore, where Auger fighters are pinned down by Order forces. Clear the area and speak to Joyless Stellan, who directs you toward Defiant Calder.
Step 2: Finding Defiant Calder
Calder is hiding deeper east in Cuspid Climb, inside the Lambent Mines. Use your vehicle to cover distance quickly, but be prepared—Order patrols here often include Bulkheads. Activate the Heritage Opus Safehouse nearby to save travel time.
When you arrive, Calder is under attack. Help him fend off the Order, then speak with him. He’ll agree to aid you but needs help accessing his base, Clavehome.
Step 3: Breaking Into Clavehome
Follow Calder to a blocked force field. Hack the nearby terminal to bring it down, then enter Clavehome. Inside, combat intensifies with larger enemy packs and more Kratch.
Collecting Signal Beacons
- In the first chamber, defeat the Order soldiers and grab the Signal Beacons.
- Place one beacon on the nearby bridge and another by the power console near the force field.
- Hack each console to deactivate the shields and progress deeper.
Step 4: Navigating the Mines
Clavehome is a maze of platforms, blocked doors, and grapple points. Keep an eye on the green shimmer quest markers to place and hack additional beacons.
Key points to note:
- Grappling hooks are essential. Look for climbable platforms near dead ends.
- Some terminals are guarded by Bulkheads or Pinheads, so clear enemies before hacking.
- The Dig Chamber ahead is filled with Kratch, including a Badass variant—take your time clearing them.
After several beacon placements and hacks, you’ll reach a prep area with vending machines. Stock up here—the boss fight is next.
Step 5: Boss Fight – Skyspanner Kratch
The Skyspanner Kratch is your first major airborne boss. The arena is large and filled with grapple points, so movement is critical.
Attack Patterns
- Kratch Bombs: Drops explosive “balloon” enemies that detonate on contact.
- Mini-Kratch Swarms: Summons smaller versions that chase you.
- Beam Attack: Fires a multicolored energy beam that knocks you back—often into bombs or toxic pools.
- Ground Crawlers (25% HP): Releases explosive Kratch that crawl toward you.
Strategy
- Stay Mobile: Use grapple points to reposition constantly.
- Clear Adds Quickly: Kill smaller Kratch first to avoid being overwhelmed.
- Use Elemental Weapons: Shock and Corrosive work well, especially if you can detonate Kratch bombs near the boss.
- Avoid Green Pools: Toxic waste on the floor deals constant shield damage.
Defeating Skyspanner Kratch may also net you one of the first Class Mods drops in the game.
Step 6: Calder’s Office and the Relic
Once the boss is down:
- Hack the console above Calder’s office door.
- Enter and retrieve the glowing Eridian Relic.
This triggers the final sequence of the mission.
Step 7: Returning to Belton’s Bore
Fast travel (if unlocked) or backtrack to Belton’s Bore. Follow Calder inside his stronghold, watch the cutscene, and place the relic in its altar to complete the mission.
Mission Rewards
Completing Shadow of the Mountain grants:
- Experience Points (XP)
- Cash
- Eridium
- Rare/Epic Pistol (random roll)
- Solar Flair Weapon Skin
It also unlocks new Augur mine activities across the map and sets you up for the next story mission, Crystal Brawl.
Related Guides You Might Like:
- Borderlands 4: His Vile Sanctum Walkthrough & Boss Guide
- Top 10 Legendary Shields in Borderlands 4 (Farming Guide)
- How to Complete TASK Master Quest and Replace Power Core
- Borderlands 4 Class Mod Drops Broken for Most Players
- Borderlands 4 Vault Hunters Guide: Best Classes, Skills, and Builds Explained
- Oddman in Borderlands 4: Should You Punch or Shoot Him?
- How to Level Up in Borderlands 4 – Fast XP Farming & Leveling Guide
- SHiFT User Guide Borderlands 4 – Redeem Codes & Link Accounts
- Borderlands 4 Quick Tips – Beginner Guide to Survive on Kairos
Quick Tips for Shadow of the Mountain
- Level Up First: Attempt this mission around level 18+ to handle the swarms comfortably.
- Carry Shock or Corrosive Weapons: Essential for dealing with Kratch and enemy shields.
- Upgrade Before Boss: Use vending machines in the prep room for ammo and shields.
- Use Kratch Bombs Against the Boss: Exploding them near Skyspanner applies elemental effects.
Shadow of the Mountain is a true test of endurance in Borderlands 4. Between multiple beacon puzzles, swarms of Order forces, and the chaotic Skyspanner Kratch fight, it demands mobility, strong elemental weapons, and patience. Finishing it not only rewards powerful loot but also advances the story with Calder and the Augers, setting the stage for the battles to come. Play Now!

