Silent Hill f wastes no time throwing players into unsettling challenges, and one of the most memorable is the Shrine Vault Puzzle in the Shrine Path (also called the Dark Shrine Path). This puzzle blends folklore, environmental storytelling, and survival horror tension. Solving it is mandatory to progress, and your reward is the Stone Key (also known as the Jade Key), which unlocks the way to the next major area.
What is the Shrine Vault Puzzle?
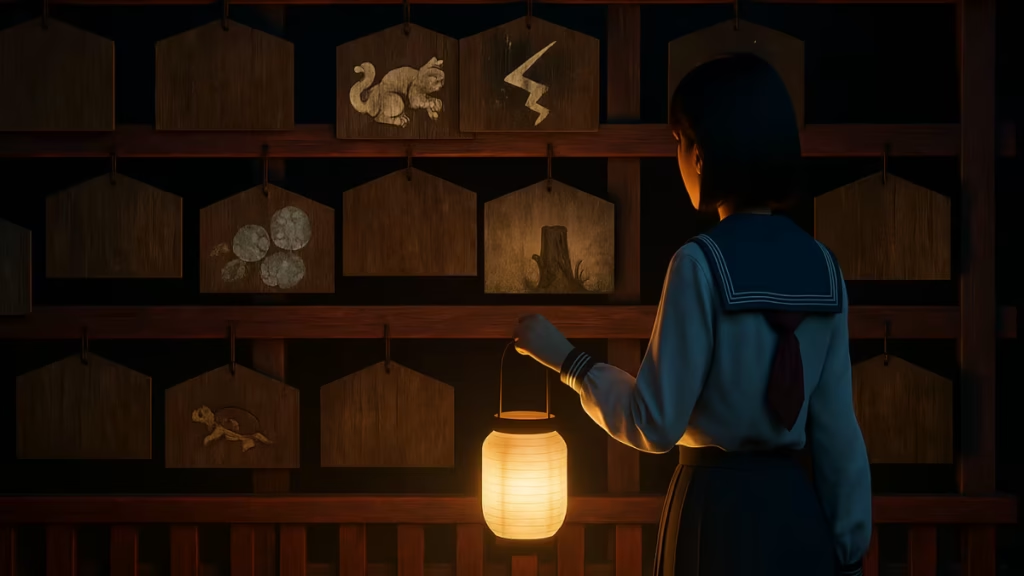
After following Fox Mask into the Shrine Path and picking up the ceremonial knife (Kaiken), Hinako encounters a large shrine door sealed with a combination lock. To open it, you need three correct symbols hidden on ema (wooden prayer plaques) scattered around the area.
- One ema contains the missing Combination Lock Dial—without this, the vault cannot be unlocked.
- Once collected, the correct ema symbols are automatically recorded in Hinako’s journal, always in the right order.
- The catch? A shackled monster spawns during this sequence. It cannot be killed—only knocked down temporarily—and it relentlessly patrols the area.
Puzzle Clues in the Journal
Each difficulty provides a different riddle written as folklore. These lines are literal hints pointing you to specific ema designs.
- Story Difficulty
- “Send forth to the sky a crane; to the earth, a serpent; and to the spring, a tortoise. Pray for the prosperity of our clan.”
- Correct ema: Crane, Serpent, Tortoise
- Hard Difficulty
- “Lightning cast down from the heavens split asunder the decayed tree. From the earth grows kudzu, the prophet of eternal prosperity.”
- Correct ema: Lightning, Decayed Tree, Kudzu
- Lost in the Fog Difficulty
- “The Yokai of the Carriage had their heads removed. The Yokai of the Umbrella, their arms. And the Yokai of the Kettle, their legs. Only the losses of each shall purify this corruption.”
- Correct ema: Yokai of the Carriage, Yokai of the Umbrella, Yokai of the Kettle
Where to Find the Correct Ema
There are three ema boards scattered across the Shrine Path: northwest, south, and inside the long ema tunnel. Each correct ema is found on one of these boards.
Important: On repeat playthroughs, ema locations and code symbols are randomized. You can’t rely on static placements—each run will differ.
- Story Difficulty
- Crane: Often near the upper-left side of the map; also hides the missing lock dial.
- Serpent: Found on the left-hand ema racks.
- Tortoise: Harder to see due to faded colors. Adjust brightness/contrast if needed.
- Hard Difficulty
- Lightning: Bright yellow bolt, stands out clearly.
- Decayed Tree: A withered tree design with background detail.
- Kudzu: A leafy vine with white flowers. This ema also contains the missing lock dial.
- Lost in the Fog Difficulty
- Each yokai ema shows a detailed monster merged with an object:
- Carriage: Look for a wagon wheel design.Umbrella: Shows a yokai with multiple arms.Kettle: Small figure with a hat and several legs.
- Each yokai ema shows a detailed monster merged with an object:
Extra step: Each ema has four symbols. To choose the correct one, count the yokai’s emphasized body parts:
- Carriage = 2 heads → 2nd symbol
- Umbrella = 4 arms → 4th symbol
- Kettle = 3 legs → 3rd symbol
Solving the Vault Lock
Once the correct ema are flipped:
- Return to the Shrine Vault door.
- Insert the missing Combination Lock Dial (if you haven’t already).
- Open Hinako’s journal to confirm the symbols.
- Rotate the dials to match the recorded order.
- Unlock the Shrine Vault to progress.
Rewards for Completing the Puzzle
Inside the vault, you’ll claim the Stone Key (Jade Key) resting on the altar. This triggers an immediate danger sequence:
- The shrine fills with red mist that drains Sanity.
- Multiple faceless monsters spawn. Fighting wastes time—run directly back to the shrine with the dog statues.
- Place the Stone Key into the statue’s mouth to unlock the way forward.
- Completing the puzzle unlocks the path to Ebisugaoka Fields, where you reunite with Shu.
Extra Achievements and NG+
- Untouchable Trophy/Achievement – Awarded if you open the Shrine Vault without taking damage from the shackled monster. This requires mastering the counterattack system.
- New Game+ Benefit – On subsequent runs, the missing dial complication is removed. You can save outside the vault and skip the search on replays for faster progression.
Related Guides You Might Like:
- Megabonk All Characters: How to Unlock Every Playable Character
- How to Solve the Silent Hill f Light Puzzle in the Worship Hall
- Silent Hill f Game Length: How Long to Beat & Endings
- Best Settings for Silent Hill f on PC to Boost Performance
- All Silent Hill f Hinako Costumes and Outfits
- How to Heal and Restore Sanity in Silent Hill f | Full Survival Guide
- Silent Hill f Consumables Guide: All Items and Effects
- Silent Hill f New Game Plus: Unlockables, Endings & Weapons
- Shimizu Residence Silent Hill f: All Puzzles, Crests & Boss Guide
- Silent Hill f All Endings List: How to Unlock All 5 Endings
- Silent Hill f Sacred Sword Guide – How to Find All Jizo Statues and Offerings
- Silent Hill f Middle School Locker Puzzle – All Codes & Rewards
- How to Solve Shrine Vault Puzzle Silent Hill f (All Difficulties)
- Silent Hill f Memories Puzzle: Shu’s Possessions Locations
Best Tricks for Shrine Vault Puzzle Silent Hill f
- Stealth First: Move slowly—the shackled monster has no eyes and relies on sound.
- Counter Wisely: Knock it down once for breathing room, then resume searching.
- Brightness Boost: Raise brightness/contrast to better spot faded ema like the tortoise.
- Journal Reliance: Don’t guess—the journal records symbols in the correct order.
- Speedrunning Tip: Use NG+ save points to bypass the full search.
The Shrine Vault puzzle is a defining moment in Silent Hill f. It blends tension, folklore-inspired imagery, and relentless pursuit to create a true survival horror test. By interpreting the riddles, hunting down the right ema, and braving the chase sequence, players unlock the Stone Key and advance the story.
With Story, Hard, and Lost in the Fog solutions now covered, this updated guide ensures you won’t miss a detail—even if your ema placements shift across playthroughs. Play Now!

