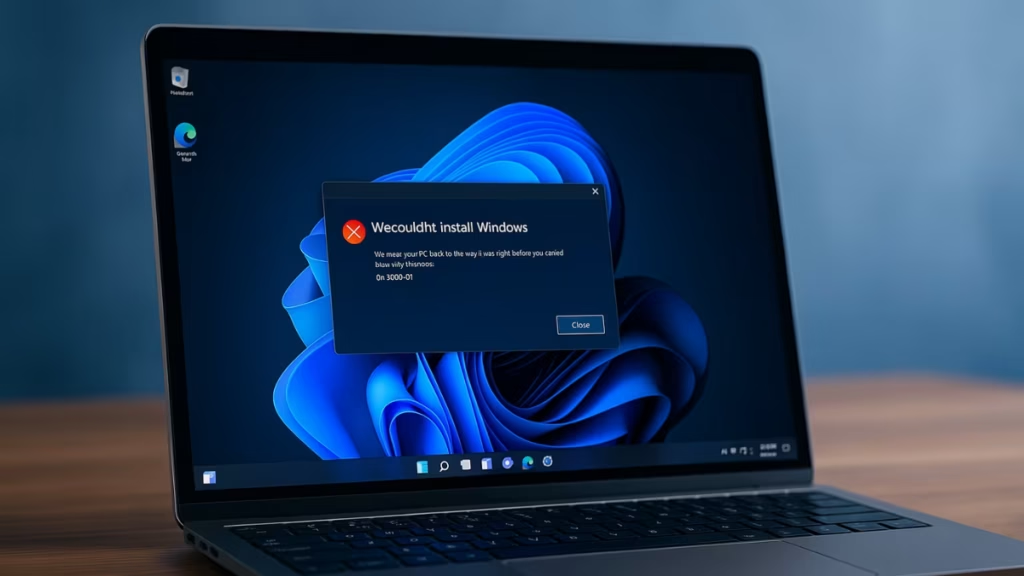
The Windows 11 installation error 0xc1900101 usually appears during an upgrade or clean install with the message “We couldn’t install Windows.” This is one of the most common setup failures and is often linked to driver conflicts, storage problems, or external device issues.
What Causes Error 0xc1900101?
Before fixing the problem, it’s useful to understand the possible reasons:
- Outdated or incompatible drivers (graphics, storage, network, etc.).
- Insufficient free disk space on the C: drive.
- External devices interfering with installation.
- Corrupted system files or Windows Update components.
- Third-party antivirus or firewall blocking setup.
- BIOS/UEFI firmware that needs an update.
1. Free Up Disk Space
Windows 11 requires enough space for installation files and temporary data.
- Ensure at least 25–30 GB free space on C: drive.
- Use Disk Cleanup or Storage Sense (
Settings > System > Storage). - Delete old update files and temporary system files.
2. Disconnect External Devices
Unnecessary peripherals can cause driver conflicts.
- Remove USB drives, printers, external HDDs, and Bluetooth dongles.
- Keep only essential devices (keyboard, mouse, monitor).
3. Update or Reinstall Drivers
Driver issues are the most common reason for error 0xc1900101.
- Open Device Manager (
Win + X> Device Manager). - Focus on Display adapters, Network adapters, and Storage controllers.
- Update drivers from the manufacturer’s official site (NVIDIA, AMD, Intel, Realtek, etc.).
- If update doesn’t help, temporarily uninstall the device driver and retry installation.
4. Disable or Uninstall Antivirus
Third-party security software often blocks system changes.
- Temporarily disable antivirus/firewall.
- If the error persists, uninstall antivirus software completely.
- Windows Defender will remain active by default.
5. Repair System Files
Corrupt files can interrupt installation.
Run the following commands in Command Prompt (Admin):
sfc /scannow
DISM /Online /Cleanup-Image /RestoreHealth- SFC repairs damaged system files.
- DISM restores the Windows image.
6. Reset Windows Update Components
If the upgrade fails repeatedly, reset update services:
net stop wuauserv
net stop cryptSvc
net stop bits
net stop msiserver
ren C:\Windows\SoftwareDistribution SoftwareDistribution.old
ren C:\Windows\System32\catroot2 catroot2.old
net start wuauserv
net start cryptSvc
net start bits
net start msiserver
Restart your PC and try installing again.
7. Run Windows Update Troubleshooter
- Go to Settings > System > Troubleshoot > Other troubleshooters.
- Run Windows Update Troubleshooter and apply recommended fixes.
8. Perform a Clean Boot
Disabling background apps prevents conflicts.
- Open msconfig > Services > Check Hide all Microsoft services > Click Disable all.
- Open Task Manager > Startup tab > Disable startup items.
- Restart and retry Windows 11 installation.
9. Use Installation Assistant or Bootable USB
If Windows Update continues to fail:
- Download Windows 11 Installation Assistant from Microsoft.
- Or create a bootable USB with the Media Creation Tool and perform an in-place upgrade.
10. Update BIOS/UEFI Firmware
Sometimes outdated firmware causes 0xc1900101.
- Visit your motherboard or laptop manufacturer’s support site.
- Update to the latest BIOS/UEFI version.
- Reset BIOS settings to default if the system fails to boot after update.
Last Resort: Clean Installation
If none of the above works:
- Backup your files.
- Create bootable USB with Media Creation Tool.
- Perform a clean install of Windows 11.
Note: This erases data on the system drive.
Quick Tips: Windows 11 0xc1900101
- Keep at least 8 GB RAM and 64 GB storage free.
- Always backup before advanced fixes.
- Try Installation Assistant or ISO upgrade if Windows Update fails.
The Windows 11 error 0xc1900101 is usually linked to drivers, storage space, or system file issues. Start with simple fixes like updating drivers and freeing disk space, then move to advanced steps such as CHKDSK, BIOS update, or a clean install if needed. With these methods, you can resolve the error and complete your Windows 11 installation successfully.

