When Windows 11 fails to load and shows the message “Your PC did not start correctly,” it drops you onto a blue recovery screen with a few limited options. Most users click Restart repeatedly, hoping the problem clears itself. It rarely does.
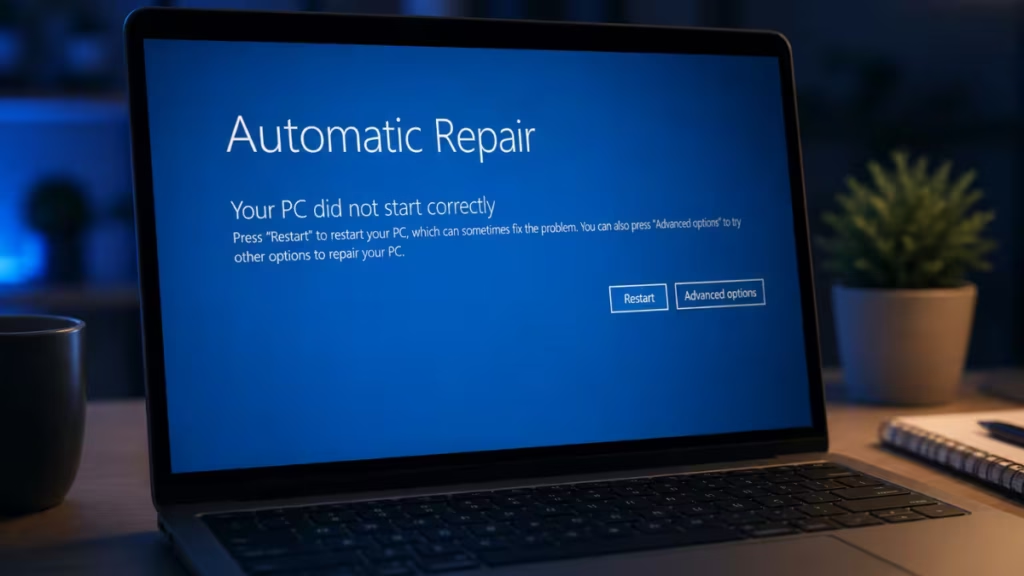
This error appears when Windows detects something went wrong during the previous startup attempt. Common triggers include a bad Windows update, a corrupted system file, a recently installed driver, or an unexpected power cut while Windows was writing to disk. The fixes below walk you through every recovery option, starting with the least destructive.
How to Enter the Windows Recovery Environment
If your PC loops back to this screen on every boot, you are already inside the Windows Recovery Environment (WinRE). If the error appears once and then Windows loads, you need to force your PC into WinRE manually.
To force WinRE manually:
- Start your PC normally.
- As soon as Windows begins loading (you will see the spinning dots), press and hold the Power button for 5 to 10 seconds to perform a hard shutdown.
- Repeat this process twice.
- On the third startup, Windows will boot directly into the Recovery Environment.
Once inside WinRE, click Advanced options to access the full set of repair tools.
Fix 1: Uninstall the Latest Windows Update
A faulty update is one of the most common causes of this error. If Windows installed an update shortly before the problem started, removing it is the fastest way to get back to a working state.
- From the WinRE main screen, click Advanced options.
- Select Uninstall Updates.
- Choose Uninstall latest quality update first. If that does not fix the problem, return and select Uninstall latest feature update.
- Follow the on-screen prompts and let Windows restart.
If your PC boots correctly after this, go to Settings > Windows Update > Update history and pause updates temporarily while Microsoft releases a corrected version.
Fix 2: Run Startup Repair
Startup Repair scans Windows boot files and attempts to fix anything it finds broken. It cannot repair all issues, but it works well for corrupted BCD (Boot Configuration Data) entries and missing system files.
- From Advanced options, select Startup Repair.
- Windows will scan your system automatically. This process can take several minutes.
- If Startup Repair finds and fixes a problem, your PC will restart and attempt a normal boot.
If Startup Repair completes but reports that it could not fix the problem, move to Fix 3.
Fix 3: Use System Restore
System Restore rolls Windows back to a previous state using a saved restore point. It does not affect your personal files, but it will remove apps and driver updates installed after the restore point date.
- From Advanced options, select System Restore.
- Click Next on the first screen.
- Select a restore point from the list. Choose one dated before the startup problem started.
- Click Next, then Finish to confirm.
Windows will restart and apply the restore. The process takes around 10 to 20 minutes.
No restore points available? If the list is empty, System Restore was not enabled on your system before the problem occurred. Skip to Fix 4.
Fix 4: Boot into Safe Mode
Safe Mode starts Windows with only the essential drivers and services running. If Windows boots successfully in Safe Mode, the problem comes from a third-party driver, a startup program, or a recent software install.
Step 1: Enter Safe Mode
- From Advanced options, select Startup Settings.
- Click Restart.
- On the Startup Settings screen, press 5 (or F5) to select Enable Safe Mode with Networking.
Windows will boot into Safe Mode. The desktop background will be black and the corners will show “Safe Mode” in text.
Step 2: Back Up Your Data
Before you make any further changes, back up your important files.
- Open File Explorer and copy your Documents, Desktop, Downloads, and Pictures folders to an external drive or USB stick.
- If you use OneDrive, confirm that your files are synced before proceeding.
Step 3: Update or Roll Back Drivers in Device Manager
A bad driver update, especially for your graphics card, chipset, or storage controller, can prevent Windows from starting correctly.
- Right-click the Start button and select Device Manager.
- Look for any device with a yellow warning triangle. Right-click it and select Update driver > Search automatically for drivers.
- If no warnings are visible, expand the Display adapters and IDE ATA/ATAPI controllers sections and check each driver individually.
- To roll back a recently updated driver, right-click the device, select Properties, go to the Driver tab, and click Roll Back Driver.
Step 4: Reboot Normally
After updating or rolling back drivers, restart your PC. Windows should now boot without the error screen.
If the problem returns after rebooting normally, the cause likely goes deeper than a driver issue. At that point, a Windows repair install using the Reset this PC option (keeping your files) is the next step.
Fix 5: Reset This PC (Keep Your Files)
If none of the above fixes work, use the Reset option to reinstall Windows while keeping your personal data intact.
- From Advanced options, select Troubleshoot.
- Select Reset this PC.
- Choose Keep my files.
- Select Cloud download for the most reliable reinstall, or Local reinstall if your internet connection is slow.
- Follow the prompts to complete the reset.
The reset takes 30 to 60 minutes depending on your hardware. Windows will reinstall itself and return your PC to a clean working state while leaving your files where they were.
FAQs
What causes the “Your PC did not start correctly” error on Windows 11?
The most common causes are a failed Windows update, a corrupted system file, a bad driver install, or an unexpected power loss while Windows was writing data to disk.
Will fixing this error delete my files?
Most fixes like Startup Repair, System Restore, and Safe Mode do not delete personal files. Only Reset This PC makes changes, and even then the “Keep my files” option preserves your data.
How do I get into the recovery environment if the error screen is not showing?
Force your PC to hard shut down twice during the Windows loading screen by holding the power button for 5 to 10 seconds. On the third boot, Windows automatically opens the recovery environment.
What if Startup Repair says it cannot fix the problem?
Move to System Restore next and roll back to a restore point dated before the problem started. If no restore points exist, boot into Safe Mode and update or roll back your drivers from Device Manager.
Can a Windows update cause this error?
Yes. A faulty quality update or feature update can corrupt boot files during installation and trigger this error on the next startup. Uninstalling the latest update from the recovery environment usually resolves it.

