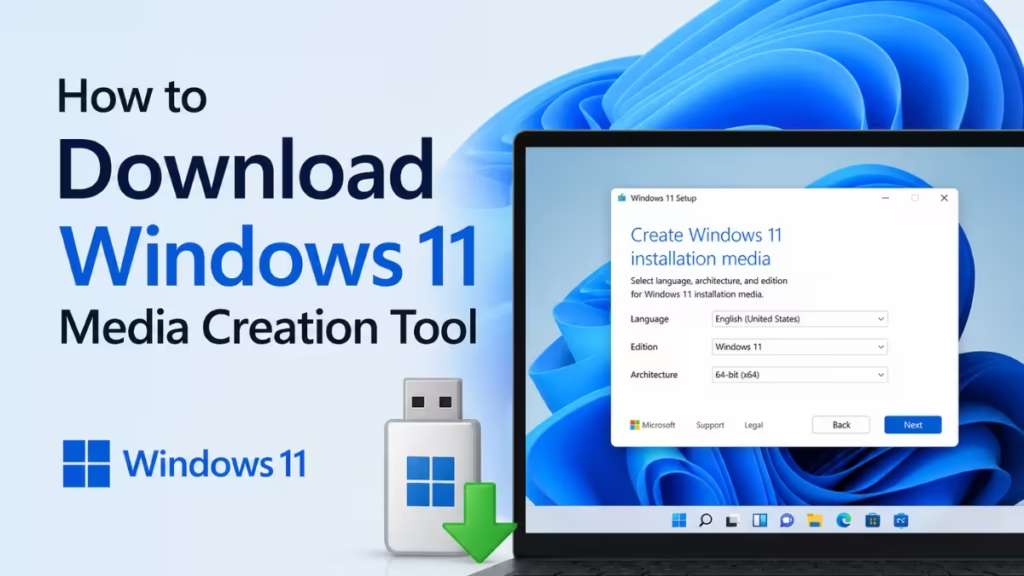
The Windows 11 Media Creation Tool is Microsoft’s official utility for downloading and preparing Windows 11 installation media. You can use it to create a bootable USB drive, save an ISO file, or perform a direct upgrade on the PC you are using. This guide walks you through the full process: downloading the tool, creating your installation media, and using it to install Windows 11.
What the Windows 11 Media Creation Tool Does
Microsoft offers three download methods on its official Windows 11 page: the Installation Assistant for in-place upgrades, the Media Creation Tool for building bootable media, and a direct ISO download. The Media Creation Tool is the right choice when you want to clean install Windows 11 on a new or existing PC, reinstall Windows on a system that stopped working, or build reusable installation media for multiple machines.
The tool also gives you a reliable path to recovery when standard update channels fail. If your PC gets stuck in a boot loop after an update, bootable installation media lets you reinstall Windows without needing Windows to load first.
One important limitation: the Media Creation Tool only runs on x64 processors. It does not support Arm-based PCs.
What You Need Before You Start
Confirm you have the following before downloading the tool:
- A PC running Windows 10 or later (required to run MediaCreationTool.exe)
- A reliable internet connection (the tool streams Windows 11 during the process)
- A blank USB flash drive with at least 8 GB of storage (all existing data on the drive will be permanently deleted)
- Administrator access on the PC where you run the tool
If you plan to install Windows 11 on a different PC, verify that the target machine meets Windows 11 hardware requirements before you start. Run Microsoft’s PC Health Check app to confirm. If the target PC shows a message saying your PC is not compatible with Windows 11, resolve those compatibility issues first so the installation does not fail partway through.
How to Download Windows 11 Media Creation Tool
Microsoft hosts the tool on its official software download page. Follow these steps:
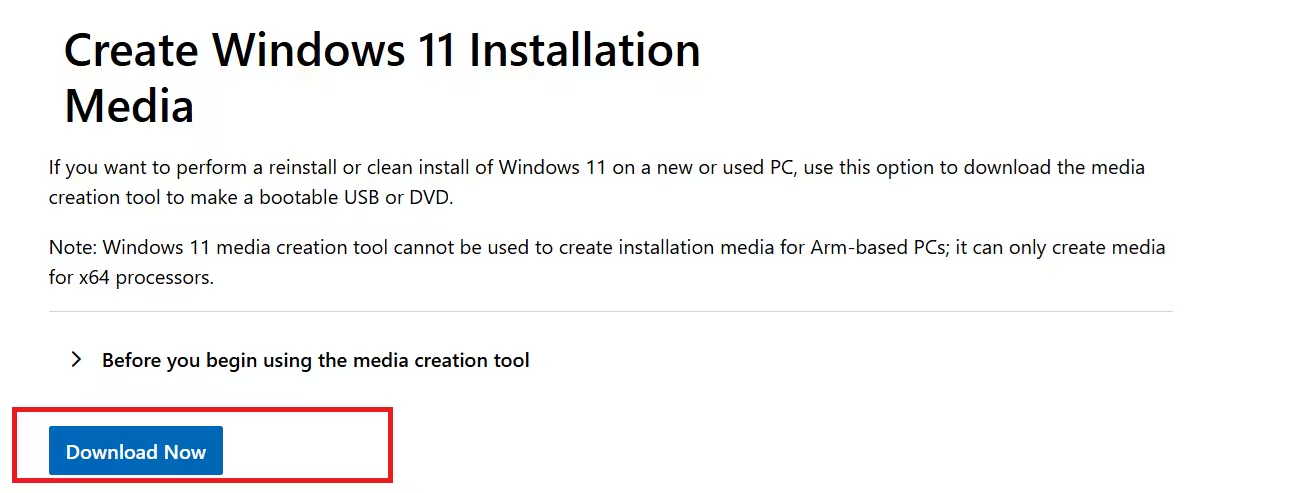
- Open a browser and navigate to microsoft.com/software-download/windows11.
- Scroll down to the Create Windows 11 Installation Media section.
- Click Download Now. Your browser downloads MediaCreationTool.exe to your PC.
- Open the downloaded file. When Windows asks for administrator permission, click Yes.
- Read the license terms, then click Accept to continue.
The tool will prepare itself and load the setup options. This may take a minute.
How to Create a Bootable USB Drive
After accepting the license terms, follow these steps to write Windows 11 to a USB drive:
- On the What do you want to do? screen, select Create installation media for another PC, then click Next.
- Choose your language, Windows edition, and architecture. Select 64-bit (x64) for most PCs. Click Next.
- Select USB flash drive and click Next.
- Choose your USB drive from the list. Double-check that you select the correct drive, because all data on it will be erased without warning.
- Click Next. The tool downloads Windows 11 and writes it directly to the USB drive. This step takes between 15 and 45 minutes depending on your internet speed.
- When setup finishes, click Finish. The bootable USB drive is ready to use.
For a more detailed walkthrough of USB setup options and troubleshooting, see how to create a Windows 11 bootable USB.
How to Create an ISO File Instead
If you want an ISO file rather than a USB drive, follow the same steps above through Step 2, then:
- Select ISO file instead of USB flash drive, then click Next.
- Choose a save location on your PC and click Save.
- The tool downloads and packages the ISO. This takes roughly the same time as the USB method.
- Once complete, you can burn the ISO to a DVD using Windows’ built-in disc burner, or mount it inside a virtual machine.
If you want the latest Windows 11 25H2 ISO specifically, you can also download it directly from Microsoft without using the Media Creation Tool. See the full Windows 11 25H2 ISO download guide for all three official methods.
How to Install Windows 11 Using the Bootable USB
After you create the bootable USB drive, follow these steps to install Windows 11 on the target PC:
- Plug the USB drive into the PC where you want to install Windows 11.
- Restart the PC.
- As the PC powers on, press the boot menu key. Common keys are F2, F12, Delete, or Esc. Check your PC’s manual or the manufacturer’s support site if you are not sure which key to use.
- In the boot menu, select your USB drive as the boot device.
- On the Install Windows screen, select your language, time format, and keyboard layout, then click Next.
- Click Install now and follow the on-screen prompts.
- When asked What type of installation do you want?, select Custom: Install Windows only (advanced) to perform a clean install.
- Select the partition where Windows should install, then click Next. Setup will begin copying files and restarting the PC several times.
Do not remove the USB drive until the installation finishes completely.
If the PC Does Not Boot from USB
If the PC ignores the USB drive and boots straight into the existing operating system, you need to adjust the boot order in BIOS. Restart the PC, enter BIOS using the same key you used for the boot menu, find the Boot Order or Boot Priority section, and move the USB drive to the top of the list. Save your changes and exit. If Secure Boot blocks the USB drive from appearing in the list, temporarily disable Secure Boot in BIOS settings, then retry.
What Happens After Installation
Once Windows 11 finishes installing, it will attempt to activate using your digital license. If your license is linked to a Microsoft account, signing in during setup activates Windows automatically. If you replaced major hardware such as a motherboard before reinstalling, automatic activation may fail. Check the guide on Windows 11 not activating after a hardware upgrade to fix activation errors without losing your license.
After setup, Windows will download additional updates in the background. If you encounter a Windows update install error during this phase, run the Windows Update troubleshooter from Settings before attempting to reinstall anything.
Frequently Asked Questions
Is the Windows 11 Media Creation Tool free?
Yes. Microsoft provides the tool at no cost directly from its official website. You do not need to pay anything to download or run it.
Can I use the Media Creation Tool without losing my files?
Yes. If you run the tool on a compatible Windows 10 PC and choose the upgrade option, it keeps your personal files, installed apps, and most settings intact. Always back up your files before starting regardless of which option you choose.
What size USB drive do I need for the Media Creation Tool?
You need a blank USB flash drive with at least 8 GB of storage. The tool will erase all existing content on the drive before writing the installation files.
Does the Windows 11 Media Creation Tool work on Arm-based PCs?
No. The tool only runs on x64 processors and cannot create installation media for Arm-based PCs. Microsoft offers separate Arm64 ISO downloads on its software download page.
Can I use the same bootable USB on multiple PCs?
Yes. Once created, the bootable USB drive works on any compatible PC that meets Windows 11 system requirements. You do not need to recreate the media for each machine.
Related Guides
Tech Guides
- How to Create a Windows 11 Bootable USB
- Windows 11 25H2 ISO Download – 3 Official Methods Explained
- Windows 11 Not Activating After Hardware Upgrade (0x803F7001 / Troubleshoot Loop)

