Taking a screenshot in Windows doesn’t require opening any app manually. A handful of keyboard shortcuts handle screenshots, screen recordings, and mode switching directly. This guide lists every Snipping Tool shortcut and what to do if one stops working.
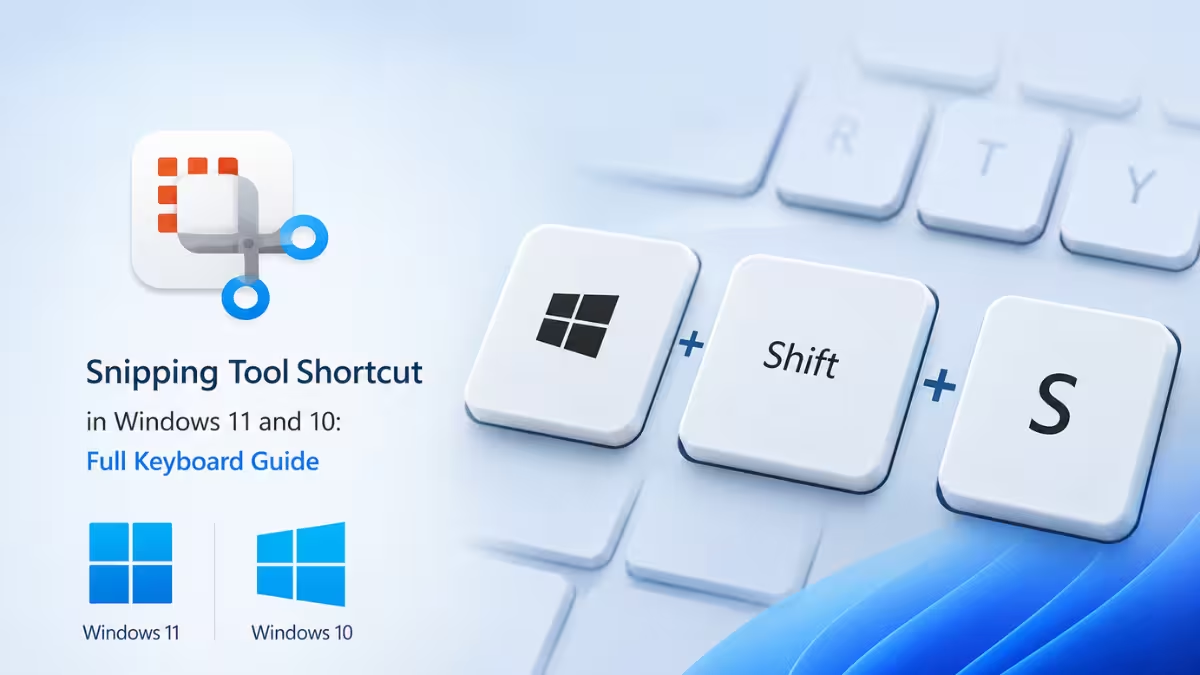
The Main Snipping Tool Shortcut
Press Win + Shift + S to open the Snipping Tool capture overlay instantly.
The moment you press it, your screen dims and a mode bar appears at the top, letting you choose between Rectangle, Window, Full screen, and Freeform. Once you make a selection, the screenshot copies to your clipboard automatically, and a notification pops up so you can jump straight into editing or saving it.
If you only remember one shortcut for taking screenshots in Windows, make it this one.
Screen Recording Shortcut
Press Win + Shift + R to open Snipping Tool directly in recording mode.
This shortcut works only on Windows 11 with the updated Snipping Tool app, since screen recording isn’t built into the Windows 10 version. Once the overlay opens, you can:
- Select an area of the screen to record.
- Select Start to begin recording.
- Select Stop to end and automatically save the video.
Snipping Tool Keyboard Shortcuts Inside the App
Once Snipping Tool is already open, these shortcuts speed up your workflow without touching the mouse.
| Shortcut | Action |
|---|---|
Alt + N | Create a new snip |
Alt + M | Change snip mode |
Ctrl + S | Save the screenshot |
Ctrl + C | Copy the snip |
Esc | Cancel the snip |
These are especially useful if you take screenshots often or prefer a keyboard-only workflow.
Complete Snipping Tool Shortcuts Cheat Sheet
| Shortcut | What It Does |
|---|---|
Win + Shift + S | Open the Snipping Tool overlay |
Win + Shift + R | Start screen recording (Windows 11) |
Alt + N | Create a new snip |
Alt + M | Switch snip modes |
Ctrl + S | Save the screenshot |
Ctrl + C | Copy the screenshot |
Esc | Cancel the snip |
PrtSc | Capture the full screen and copy it to clipboard |
How to Change Snip Mode Using the Keyboard
You can switch between Rectangular, Window, Full screen, and Freeform modes without touching the mouse.
- Open Snipping Tool, or press
Win + Shift + S. - Press
Alt + Mto open the mode selector. - Use the arrow keys to move between Rectangular, Window, Full screen, and Freeform.
- Press
Enterto confirm your selection.
This method works well for accessibility-focused workflows and for anyone who prefers not to break flow by reaching for the mouse.
Where Snipping Tool Screenshots Are Saved
By default, Snipping Tool copies every capture to the clipboard first. Clicking the notification that appears opens the built-in editor, but the file itself only saves to disk once you press Ctrl + S or select Save as.
Saved screenshots go to Pictures → Screenshots by default. Screen recordings save automatically, without a manual save step, to Videos → Screen Recordings.
Snipping Tool Shortcut Not Working: How to Fix It
If the main shortcut Win + Shift + S stops responding, work through these fixes in order.
- Restart Windows Explorer from Task Manager to refresh the shortcut handler.
- Update Windows and the Snipping Tool app through the Microsoft Store.
- Reset the app: go to Settings → Apps → Installed apps → Snipping Tool → Advanced options → Reset.
- Check for third-party screenshot tools running in the background, since they can override the default shortcut.
Most users resolve the issue with a simple reset or an app update.
Snipping Tool Shortcut vs Print Screen
| Feature | Snipping Tool Shortcut | Print Screen |
|---|---|---|
| Select a specific area | Yes | No |
| Capture a single window | Yes | No |
| Built-in editing | Yes | No |
| One-key instant capture | No | Yes |
Use Win + Shift + S when you need control over exactly what gets captured. Use PrtSc when you just need the full screen saved instantly.
Frequently Asked Questions
What is the shortcut key for Snipping Tool in Windows?
The main shortcut is Win + Shift + S, which opens the capture overlay from anywhere in Windows.
How do I screen record using Snipping Tool?
Press Win + Shift + R on Windows 11 to open Snipping Tool directly in recording mode.
Does Windows 10 support Snipping Tool shortcuts?
Windows 10 supports Win + Shift + S for screenshots, but the Win + Shift + R recording shortcut works only on Windows 11.
Where are Snipping Tool screenshots saved?
Screenshots copy to the clipboard automatically and save to Pictures → Screenshots once you save the file manually.
Why is Win + Shift + S not working?
The shortcut can stop responding if it has been disabled, if Windows or the Snipping Tool app is outdated, or if a third-party app has overridden it. Restarting Windows Explorer or resetting the app from Settings usually fixes it.
Can I use Snipping Tool without a mouse?
Yes. Most functions, including switching snip modes and creating new snips, work through keyboard shortcuts like Alt + M and Alt + N.

