Starlink no longer sells one dish for everyone. The lineup now covers the V4, V5, Mini, Performance Gen 2, Performance Gen 3, and Enterprise, and each one targets a different job, from a fixed home connection to an RV, a boat, or a remote worksite. The cheapest dish wastes your money if it cannot handle your setup, and the most expensive one wastes it if you never use the extra features. This guide compares size, power draw, speed, durability, and kit contents, so you can pick the dish that matches where and how you will use it.
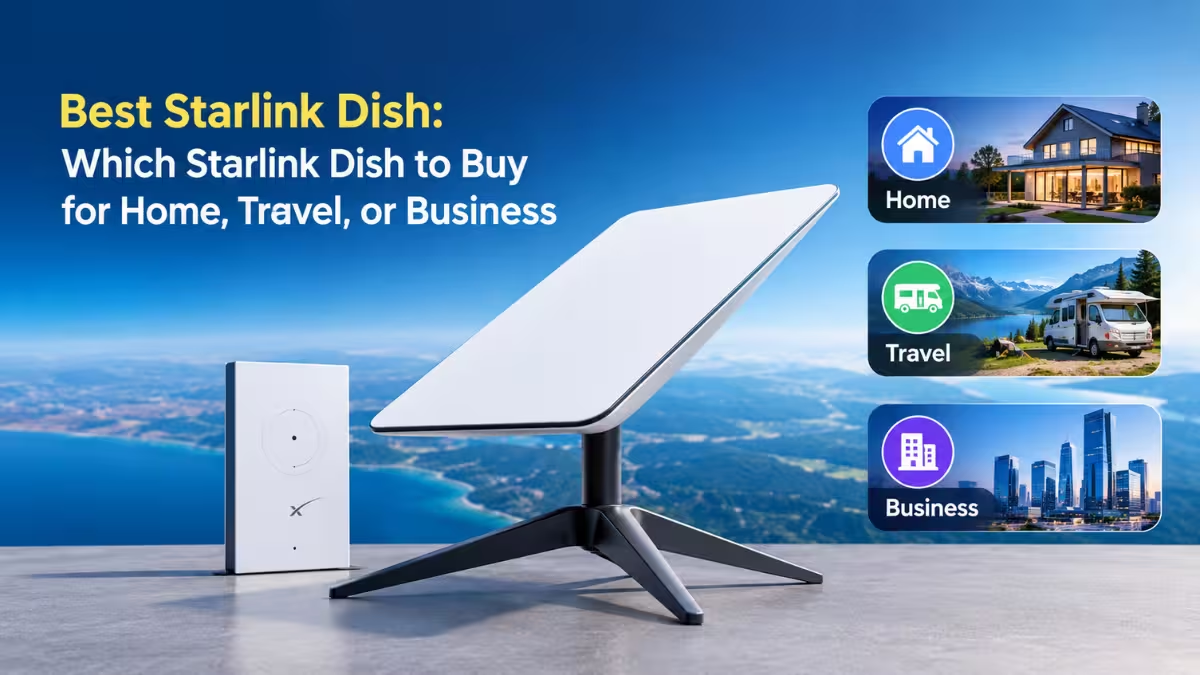
Which Starlink Dish Should You Buy?
The right Starlink dish depends on where you use it, so choose your situation below to see the match.
| Your situation | Best dish | Why it fits |
|---|---|---|
| Fixed home internet | V4 or V5 | Built for houses, with the best value for steady home use |
| Smallest, lowest-power home setup | V5 | Lightest residential dish, but limited availability |
| Travel, camping, or backup internet | Mini | Compact, built-in Wi-Fi, runs on very little power |
| RV, van, or boat in motion | Performance Gen 2 | Wide field of view for moving platforms |
| Harsh weather or remote worksite | Performance Gen 3 | Highest durability and speed |
| Business with its own network gear | Enterprise | Long cable and direct third-party router support |
Starlink V4 (Standard): Best for Most Home Internet Setups
The V4 suits most households that want steady internet for streaming, video calls, and gaming. Starlink sells it as its Standard dish, so you will see “Standard” used for the V4 throughout this guide.
- Size: about 23.4 by 15 inches
- Weight: 6.4 pounds
- Field of view: 110 degrees
- Average power use: 75 to 100 watts
- Peak download speed: 400+ Mbps
- Orientation: manual, with no motor, guided by the Starlink app
The V4 ships in two kits. The Standard 4 includes the compact Router Mini. The Standard 4 X includes the newer, faster Router 3. Both kits give you a kickstand, a power supply, and the cables you need, so most people can install the dish without extra purchases.
Choose the V4 if you live in a house, need fixed service, and have no special demand for portability or extreme durability.
Starlink V5: Smaller Home Dish With Lower Power Use
The V5 is the newest residential dish, and it trades a little speed for a much smaller footprint.
- Size: about 15.1 by 12 inches
- Weight: 2.4 pounds, compared with 6.4 pounds for the V4
- Average power use: 35 to 50 watts
- Peak download speed: up to 375 Mbps, slightly below the V4
- In the box: Router Mini, kickstand, pipe adapter mount, and a 15-meter cable
Starlink intends the V5 for fixed home use only, not for use on a moving vehicle. The company currently sells it in select areas while production ramps up, so check availability at your address before you plan around it.
Starlink Mini: Best for Travel, Camping, and Backup Internet
The Mini fits anyone who wants internet that travels with them.
- Size: about 11.75 by 10.2 inches
- Weight: about 2.4 pounds
- Router: built into the dish, so you carry one piece of hardware
- Average power use: 20 to 40 watts
- Power options: vehicle power, a portable battery, or a USB-C source with Starlink’s optional USB-C to barrel jack cable
- Peak download speed: up to 300 Mbps
- In the box: dish with integrated Wi-Fi, kickstand, pipe adapter and flat mount, 15-meter DC power cable, and power supply
- Price: $199 direct from Starlink, down from the original $599 (confirm the current price before you order)
The Mini does not require a residential subscription, which makes it workable at home too. It loses its IP67 rating if you connect a standard RJ45 Ethernet cable through its port.
Pick the Mini for camping, road trips, off-grid cabins, or a backup connection you can store and reactivate when you need it. For a permanent home setup, the Standard dish usually serves you better.
Starlink Performance Gen 2: Best for RVs and Boats in Motion
The Performance Gen 2, formerly called the Flat High Performance kit, targets RVs and boats.
- Field of view: 140 degrees, wider than the Standard dish
- Peak speeds: 450 Mbps down and 60 Mbps up
- Wind survival: above 174 mph
- Mount: wedge mount that tilts the dish 8 degrees so water runs off
- Installation: permanent
The wider field of view helps the dish hold a connection while a vehicle drives or a boat rocks. If your home is an RV or a boat, this dish handles motion better than the Mini or the Standard dish.
Starlink Performance Gen 3: Best for Extreme Weather and Remote Sites
The Performance Gen 3 serves remote areas and harsh environments where other dishes struggle.
- Operating temperature: minus 40 to 140 degrees Fahrenheit
- Wind survival: above 174 mph
- Durability rating: IP69K with cables installed, which covers water, dust, and high-pressure cleaning
- Field of view: 140 degrees
- Peak speeds: 475 Mbps down and 75 Mbps up
- Average power use: 70 watts
- Power input: AC and DC
Starlink currently aims this dish at Business and Enterprise customers. Most homeowners do not need it. The separate Enterprise kit below targets a narrower job: fixed business sites that need custom cabling and networking.
Starlink Enterprise: Best for Business and Fixed-Site Networks
The Enterprise kit gives businesses control over cabling and networking at a fixed location.
- Cable: 50 meters (164 feet), so you can place the dish far from the building or equipment it serves
- Ethernet cable: 5 meters, included
- Router support: connects straight to third-party routers
- Field of view: 110 degrees
- Orientation: manual
- Durability rating: IP67 Type 4
- Average power use: 75 to 100 watts
Starlink does not include a router, so buy one separately if you want Starlink’s own. A typical home user gets no benefit from this kit.
What Comes in Each Starlink Kit?
Kit contents change what you pay for mounts and cables, so compare them before you buy. The V5 and Enterprise contents appear in their sections above, so this list covers the other kits.
- Standard 4 X kit: dish, Router 3, kickstand, 15-meter Starlink cable, AC power cable, and power supply (the Standard 4 swaps in the Router Mini)
- Mini kit: dish with built-in Wi-Fi, kickstand, pipe adapter and flat mount, 15-meter DC cable, and power supply
- Performance kit: dish, Advanced Power Supply, 25-meter cable, AC and DC power cables, and a 5-meter Ethernet cable
Both the Standard and Mini kits include a kickstand, so you can set up on the ground without buying a mount. Starlink sells separate mounts for roofs, walls, and poles.
Which Starlink Plan Goes With Each Dish?
The dish and the plan work together, so choose both at the same time.
- Residential: fixed service tied to one registered address, best with the V4 or V5
- Residential Max: home service plus travel perks, including discounts on Roam
- Roam: service you can use in different locations, offered in tiers by data amount, including 100GB, 300GB, and Unlimited at the time of writing
If you travel full time, pair the Mini with a Roam plan that matches your data use. If you keep a home base and travel often, compare Residential Max first. Starlink changes plan names, tiers, and prices often, so verify them on Starlink’s site before you commit.
How to Set Up a Starlink Dish Step by Step
Once your dish arrives, every kit follows the same basic install flow, and the Starlink app guides you through it.
- Download the Starlink app and scan the QR code in the box.
- Pick a spot with a clear view of the sky. Trees, poles, and rooflines interrupt the connection, so run the app’s obstruction tool before you commit to a location.
- Plug the cable into the dish until the plug face sits flush with the surface, then connect the other end to the power supply or router.
- Join the STARLINK Wi-Fi network on your phone or laptop.
- Follow the app’s alert if the dish needs rotating, and use the alignment tool.
If you cannot find a clear view at ground level, move the dish to a roof, pole, or wall. When you drill, avoid studs, wiring, and water lines, and seal the hole well to keep out water and insects. Starlink warns that its mounts do not suit hurricane or tornado wind loads, so tether the dish in every case. Mount a dish on a vehicle or boat only on a firm, horizontal, structurally sound surface.
How to Use Your Own Router With a Starlink Performance Dish
If you skip Starlink’s router and use your own with a Performance or Enterprise dish, you may need one manual setting.
Plug the Ethernet cable from the Performance kit into your router’s WAN port. If the Starlink app then reports that Starlink is unreachable, add a static route in your router settings with these values from Starlink’s Performance setup guide:
- Network destination:
192.168.100.0 - Subnet mask:
255.255.255.0 - Gateway:
192.168.100.1 - Interface: WAN
Menu names differ by router brand, so check your router’s documentation for where to enter a static route.
Starlink Dish Not Working? Basic Troubleshooting Steps
Most connection problems on a new dish come from obstructions, loose cables, or a stuck unit.
- Open the Starlink app and check for alerts, outages, or obstructions.
- Check the status light. On the Mini, a slow blink means the dish is powered on, and no light means it has no power. On a Standard kit, read the Router 3 light instead: solid white means online, red means no internet connection, and violet means bypass mode, which only a factory reset clears.
- Confirm every cable sits fully inserted and shows no damage.
- Unplug the power, wait a moment, and plug it back in.
- Factory reset the unit. On the Mini, press the reset icon on the back until it clicks and hold it for 3 seconds. On a Standard kit, press the Router 3 reset button with a paper clip.
- Contact Starlink support through the app if nothing works.
Frequently Asked Questions
Which Starlink dish is best for home internet?
The V4 and V5 both suit home use. The V4 is the established choice, and the V5 is smaller and uses less power but sells only in select areas.
Can I use a Starlink Mini at home?
Yes. The Mini needs no residential subscription and reaches up to 300 Mbps. A Standard dish suits a permanent home setup better, while the Mini wins on portability.
Does Starlink work on a moving vehicle?
The Performance Gen 2 handles motion best because of its 140-degree field of view. Starlink designs the V5 for fixed home use only.
Do I need professional installation?
Starlink designs its hardware for self-installation. Professional help makes sense if you must drill, climb to a roof, or mount on a vehicle and feel unsure.
Which Starlink dish handles extreme weather best?
The Performance Gen 3 handles temperatures from minus 40 to 140 degrees Fahrenheit and carries an IP69K rating with its cables installed.
Is the most expensive Starlink dish worth it?
Only if you need what it adds. Most households get everything they need from the V4 or V5, and paying for Performance or Enterprise hardware wastes money without a mobile, harsh-weather, or business reason.
Read More
