An edited diagram can look brighter while making the answer harder to explain. If two parts differ only in notch position, smoothing their outlines can erase the distinction learners need. The revised image may attract attention to its colors instead of to the feature the exercise is meant to teach.
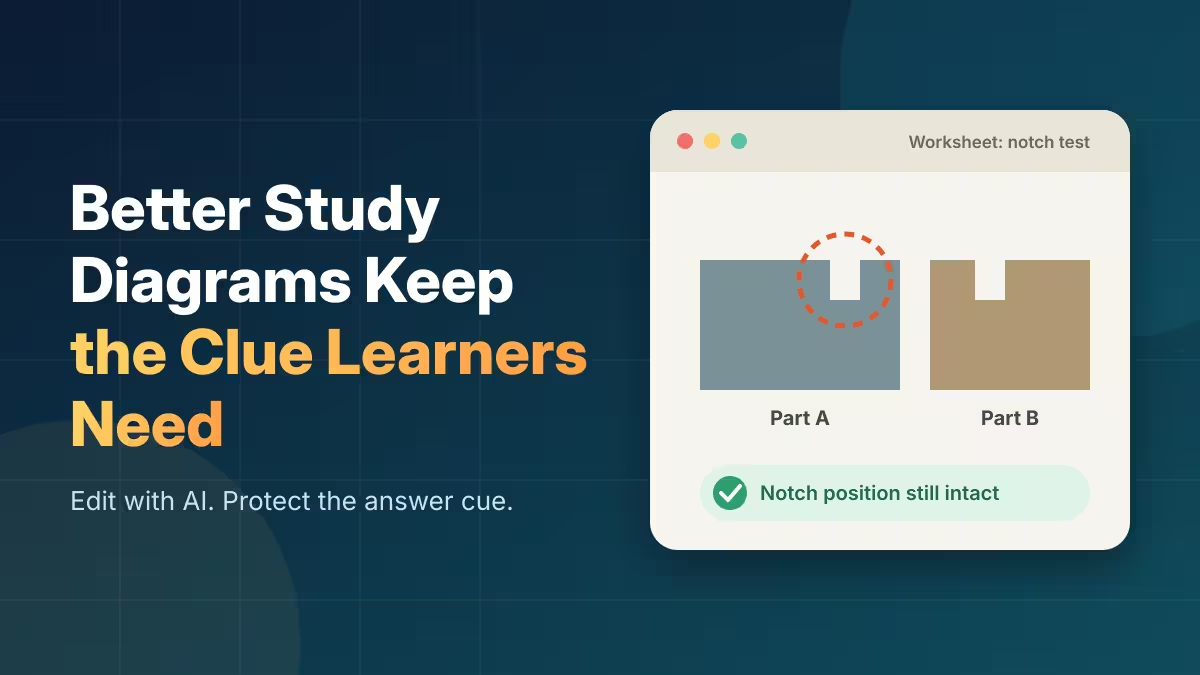
The right standard for an edited study diagram is the distinction it helps a learner make. Before adjusting style, background, or clarity, an educator should identify the clue that supports the intended answer. That clue needs to survive the edit, even if a cleaner-looking treatment would make the whole image more symmetrical.
Find the Difference the Exercise Is Testing
Consider a hypothetical worksheet in which learners classify simple mechanical parts by the position of a notch. One part has the notch near the end, another near the middle. A visual cleanup that smooths both outlines could make the parts look more consistent while erasing the difference the question was designed to test.
The educator should write the learning task in plain language before preparing an edit. “Notice the position of the notch” gives the reviewer a concrete feature to protect. “Make the diagram clearer” does not explain which information matters, so a candidate could appear cleaner while becoming less accurate as teaching material.
Keep the source worksheet and its intended answer together while reviewing the new image. If the original tests notch position, both notches must still sit where the lesson places them. A cleaner background is useful only after that relationship survives. Do not let a more attractive treatment quietly turn the exercise into a comparison of color, contrast, or size.
An AI photo editor is most useful here when the wanted change is incidental to the answer. Removing an unrelated background mark, for example, may help focus attention without changing the part itself. If the unclear area is the decisive notch, a careful redraw from verified material may be more appropriate than asking for a general enhancement.
Step One: Mark the Answer Cue and Distractor
Before editing the worksheet in PicEditor AI, identify the correct answer and the feature that makes a wrong answer plausible. Both belong to the exercise. If the correct part becomes brighter or larger than the others, a learner may choose it for that reason. The edit should clarify the intended distinction without supplying a new shortcut to the answer.
An AI Photo Editor can help create a candidate presentation, while the educator defines what the comparison must preserve. Keep the original task and the intended answer beside the source image. That prevents the review from drifting into a discussion of which version is more attractive without asking whether the exercise still works.
A short check can separate necessary and incidental details:
-
Necessary: notch position and any edge needed to locate it.
-
Incidental: a background stain unrelated to the classification.
-
Potentially misleading: a color or size difference that reveals the answer.
PicEditor AI may help reduce the incidental distraction, but the educator should not ask the tool to decide what counts as the answer cue. The subject and exercise determine which clue matters. A candidate that changes the task's logic needs revision even if it looks easier to read at first glance.

Step Two: Change the Context Around the Tested Feature
Describe the background mark you want to remove while keeping both part outlines and notches as supplied. After generation, compare the two examples before deciding that the card is clearer. If the notch has shifted or one outline has been smoothed into another shape, return to the source. The background can change without making the classification depend on a different feature.
After generating a candidate, compare the parts with the source. Check the notch position, the length of the nearby edge, and the relationship between the two examples. A small shift can matter when the lesson depends on a relative position. Do not dismiss it as a minor visual difference until the subject purpose has been considered.
The AI photo edit should also be checked for a new shortcut to the answer. If one part has gained a shadow, stronger contrast, or a more prominent placement, the exercise may now reward attention to styling. The image can remain technically recognizable while testing a different skill from the one intended.
Keep the original beside the AI photo edit so another teacher can compare the notch positions and part outlines. Check whether a new shadow or stronger color has made one answer stand out. If so, correct that cue before sharing the card. A second teacher should be able to see what the question tests without needing a separate explanation of what the edit was meant to preserve.
Step Three: Ask a Learner to Explain the Choice
Show the revised card without telling a learner which detail was edited. Ask for an answer and a brief explanation. The explanation matters more than a correct choice alone. A student who selects the right part because it is darker has not demonstrated the intended understanding, even though the worksheet appears to have worked.
Try the revised card with a learner and ask for an explanation before revealing the answer. If they say “the darker one,” return to the styling. If they point to the notch position, the image is supporting the intended comparison. A correct choice by itself is less informative: the learner may have followed an accidental visual cue rather than the concept you wanted to teach.
PicEditor AI can help explore a clearer presentation, but the learner's explanation determines whether the revised exercise is doing the same job. If the learner focuses on an incidental difference, revise the design or the question. Another generation is only useful if it addresses the specific source of confusion.
If practical, change the order of the examples when checking the card. A learner who follows the concept should still be able to explain the relevant notch position. A learner who simply remembers that the answer was on the left may struggle. This small variation can expose an accidental layout cue without requiring a new set of illustrations. Keep the wording and the underlying parts unchanged, so the educator knows which aspect of the presentation is being reconsidered.
The display context also matters. A notch that is visible on a laptop may disappear in a printed card or a small projected image. Review the intended format before distributing the material. That check distinguishes a problem in the edited diagram from a problem caused by scaling or reproduction, which may require a different fix.
Approve the Card That Still Tests the Intended Distinction
Keep the revised card when its essential features are accurate and the answer can be explained from the lesson. Compare it at the size students will see, whether that is a printed card or a projected slide. If the notch disappears when the image is reduced, fix that display problem before changing the question.
Then swap the examples' positions and look again. The correct choice should still depend on the notch, not on which part is on the left or which has the strongest shadow. That simple check keeps the attention on the distinction the lesson needs, while letting the background remain as clean or colorful as the exercise allows.