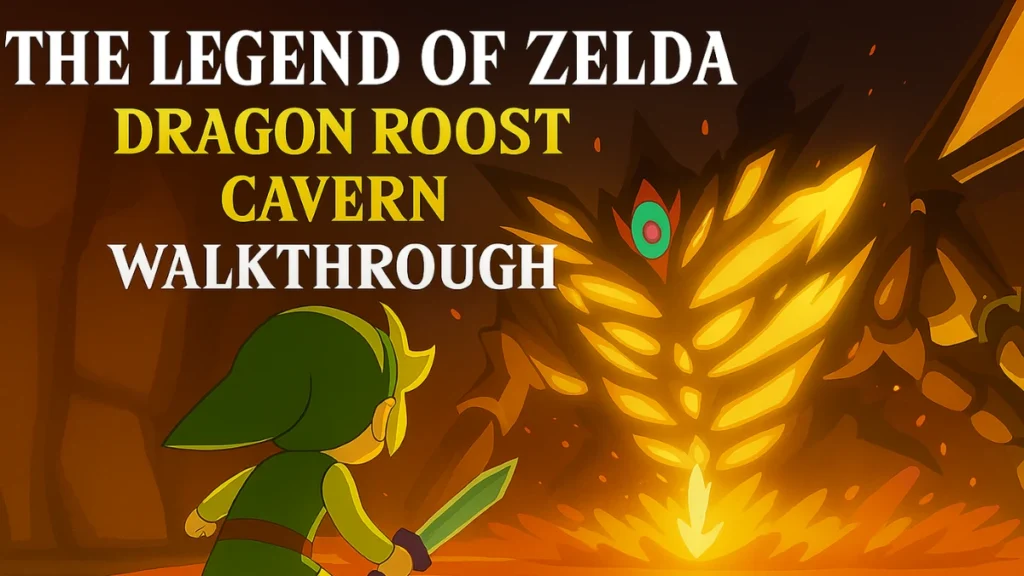
Dragon Roost Cavern is the first major dungeon in The Legend of Zelda: The Wind Waker. Located inside the volcanic peak of Dragon Roost Island, this dungeon introduces players to classic Zelda mechanics—torch lighting, puzzle solving, and combat trials—within a fire-themed labyrinth. Your goals are to rescue the dragon Valoo from disturbance, acquire the Grappling Hook, defeat the boss Gohma, and receive Din’s Pearl.

Entering the Cavern: Preparations and Setup
Before you enter the dungeon, you must assist Medli, the Rito attendant of Valoo. She’ll request help reaching a high ledge near the lava zone.
- Pick up Medli and toss her across when the wind is favorable. If you’ve learned the Wind’s Requiem, you can shift the wind direction directly.
- In return, Medli gives you an Empty Bottle.
- Use it to collect spring water and pour it on the dried Bomb Flowers, reviving them.
- Throw bombs into the statues’ pots to knock them over and create stepping stones across lava.
Before entering the dungeon, it’s also possible to:
- Visit Beedle’s Shop and purchase Hyoi Pears.
- Use a Seagull to detonate Bomb Flowers on the island wall to earn a Silver Rupee (200 Rupees).
Once you complete these tasks, the entrance to Dragon Roost Cavern becomes accessible.
First Chambers: Puzzles, Fire, and Navigation
The initial rooms serve as an introduction to dungeon logic. Pull statues and blocks to reveal doors, defeat Bokoblins to clear rooms, and light torches to spawn treasure chests.
- Small Key #1: Found after lighting two extinguished torches beside a platform.
- Warp Pot Activation: The first steaming cauldron you find acts as a dungeon shortcut.
- Destroy barricades with Bokoblin swords or fire sticks.
- Dungeon Map: Located in a lava room; throw water pots into bubbling magma to create stone platforms. These melt over time, so move quickly.
You’ll soon unlock a new door using the small key, leading further into the mountain.
Side Chambers, Compass, and Lava Navigation
In the next section:
- Face additional Bokoblins and ChuChus.
- Use a stolen stick to light fires and burn through wooden barriers.
- Solve a block puzzle to access:
- Compass, located in a chest behind a second barricade.
- Optional rupees, accessible through crawlspaces.
Look out for mischievous rats here. They’ll steal your rupees but can be bribed with bait for potion items.
Outdoor Cliff Route and Lava Challenges
A segment of the dungeon takes you outside along cliff ledges.
- Cross rope bridges while avoiding Kargaroks.
- Time your ladder climbs carefully to avoid flame spouts.
- Sidle along walls and ledges, using Bomb Flowers to blow open rock-blocked doors.
- Activate a second Warp Pot hidden under a boulder.
Mini-Boss Challenge and New Tool
At the summit of the dungeon:
- Defeat two Green Bokoblins followed by a Moblin.
- Use dodging, parry, or spin attacks to win.
- After the fight, speak to Medli again. She gifts you the Grappling Hook, which enables you to swing across gaps and steal items from enemies.
Practice swinging across grappling pegs to navigate back inside.
Deeper Caverns and Big Key Retrieval
New areas open once you have the Grappling Hook:
- Use it to cross lava shafts, trigger ceiling levers, and reach gated doors.
- A room with a hanging bridge requires you to sever ropes to drop down and access treasure.
- Defeat Bokoblins and Magtails.
To retrieve the Big Key:
- Stun a Magtail by attacking when its jaws are open.
- Place the curled-up enemy on a pressure switch.
- Flames surrounding the Big Key chest will dissipate temporarily.
Optional Loot and Bonus Challenges
Before heading to the boss door, consider picking up valuable optional items:
- Treasure Chart #11: Swing across a lava gap and destroy a barricade.
- Dragon Tingle Statue (GameCube only): Use the Tingle Tuner to bomb a special location. This is replaced with regular bombs in the HD version.
- Treasure Chart #39: Earned by defeating all Bokoblins in a torch-lit room.
- Joy Pendants: Stolen using the Grappling Hook or found in chests.
- Knight’s Crest: Found near the boss door.
- Fairies: Caught in bottles from nearby pots to revive Link upon death.
Boss Battle: Gohma
The confrontation with Gohma, a lava-dwelling scorpion, is split into two phases.
Phase 1 – Armor Shattering via Ceiling Trap
- Use your Grappling Hook to latch onto Valoo’s tail hanging from the ceiling. Swing away, causing a rock to crash down onto Gohma and damage her shell. Repeat this process three times while dodging her attacks.
Phase 2 – Eye Targeting
- With her armor gone, Gohma’s weak point is her glowing eye. Use the Grappling Hook to pull her close, then attack with your sword. Repeat until she’s defeated.
Avoid her flame-based AoE attacks by staying mobile.
Post-Battle Rewards and Next Steps
After victory:
- Collect your Heart Container.
- Step into the wind draft to exit the dungeon.
- Outside, you’ll receive Din’s Pearl from Prince Komali.
Optional side content includes:
- Return to Windfall to unlock the Swift Sail (HD only).
- Begin the Nintendo Gallery by photographing Gohma.
- Trade Golden Feathers to Rito characters for rewards.
Dragon Roost Cavern establishes the foundation for Wind Waker’s future dungeons by combining combat, exploration, and clever use of tools like bombs, torches, and the Grappling Hook. Mastering its logic prepares you for the greater challenges across the Great Sea.
Read More:
How to Get the Shadow Mantle and Beat Roaring Knight in Deltarune Chapter 3
Sonic Saves Robloxia Guide: How to Beat All Levels, Unlock Secrets, and Complete 6 Runs
Deltarune Egg Room Guide: How to Find All Hidden Eggs by Chapter
Crystal of Atlan Guide: Best Classes, Builds, Leveling & Combat Tips

