If your USB to serial adapter or development board uses the FTDI FT232R chip, Windows 11 needs the correct ft232r usb uart driver to recognize the device and assign it a COM port. Without the right driver, Device Manager shows a yellow warning, the COM port never appears, and tools like Arduino IDE, PuTTY, or Tera Term cannot connect. This guide walks through the official FT232R driver download, step by step installation on Windows 11, verification in Device Manager, and fixes for the most common errors.
The fastest fix for most users is letting Windows Update install the driver automatically, but that approach fails for many counterfeit chips and locked-down systems. The reliable method is downloading the official FTDI driver, which we cover below.
What Is the FT232R USB UART Chip
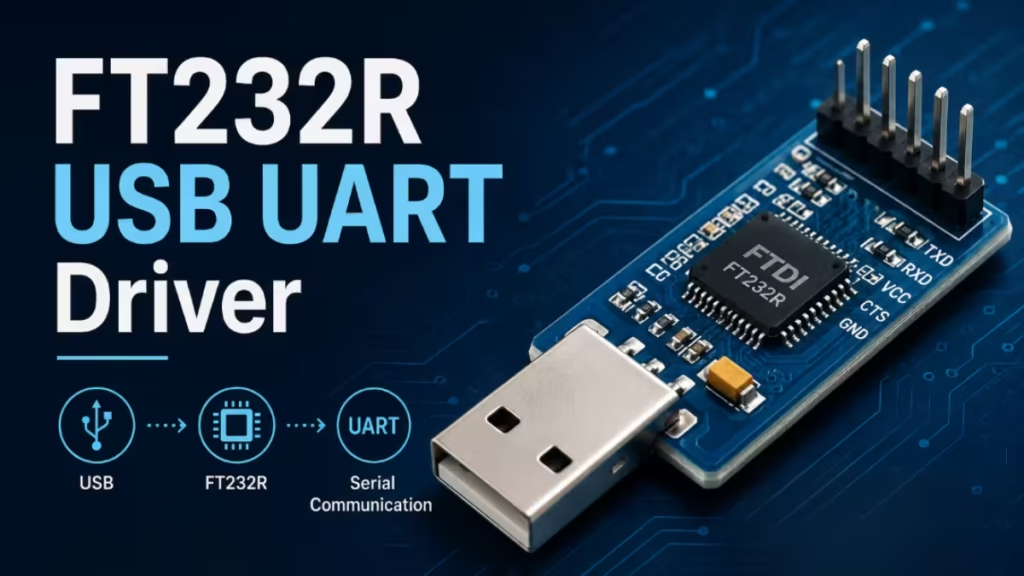
The FT232R is a single chip USB to serial UART converter made by Future Technology Devices International (FTDI). It converts USB signals from your Windows 11 PC into TTL level serial signals (TX, RX, RTS, CTS) that microcontrollers and embedded devices can understand.
When you plug an FT232R based device into Windows 11, two things need to happen:
- The USB driver loads the device as a generic USB peripheral
- The Virtual COM Port (VCP) driver layers on top and exposes the device as a standard COM port (like COM3 or COM5)
Without both layers working, your PC sees the USB device but no COM port appears, and serial software cannot talk to the board.
Common Devices That Use the FT232R USB UART
You will run into FT232R chips on a wide range of hardware:
- Older Arduino Uno and Nano clones (genuine boards moved to ATmega16U2, but clones still use FT232R)
- USB to TTL serial adapter cables (the ones with bare wires for TX, RX, GND, VCC)
- FTDI Basic Breakout boards
- AVR and PIC programmers
- IoT development boards and ESP8266 NodeMCU clones
- Industrial serial converters and PLC programming cables
- Some 3D printer control boards
- GPS modules with USB output
- Amateur radio interface cables
If you see “FT232R USB UART” in Device Manager (with or without a yellow warning), one of these device types is connected.
Where to Download the Official FT232R USB UART Driver
Download FT232R drivers from the FTDI website only. Third party driver sites bundle adware, install outdated versions, or replace the official driver with modified versions that may not work with counterfeit chips.
Official FTDI driver download page:
https://ftdichip.com/drivers/vcp-drivers/On that page, find the Currently Supported VCP Drivers table and download the Windows row. The file is usually named something like CDM212364_Setup.zip or CDM v2.12.36.4 WHQL Certified.zip. The version number changes over time, so always grab the latest.
FTDI provides two driver types:
| Driver Type | Use Case | Most Users |
|---|---|---|
| VCP (Virtual COM Port) | Device appears as a COM port for serial software | Yes, pick this |
| D2XX | Direct USB access for custom applications | No, only for developers |
For Arduino, PuTTY, Tera Term, and almost every other use case, the VCP driver is what you need.
Step by Step FT232R Driver Installation on Windows 11
Follow these steps in order. Unplug your FT232R device before starting.
Step 1: Download the Driver Package
- Open Edge or Chrome and go to the FTDI VCP drivers page
- Click the setup executable link in the Windows row (not the raw driver files)
- Save the ZIP file to your Downloads folder
Step 2: Extract the ZIP File
- Right click the downloaded ZIP and choose Extract All
- Pick a location (Desktop works fine)
- Click Extract
You will see a folder containing a file named something like CDM212364_Setup.exe.
Step 3: Run the FTDI Driver Installer
- Right click the
.exefile and select Run as administrator - Click Yes on the User Account Control prompt
- The FTDI CDM Drivers wizard opens
- Click Extract
- Click Next on the welcome screen
- Accept the license agreement and click Next
- Wait for the install to finish (usually under one minute)
- Click Finish
Step 4: Plug In the FT232R Device
After the installer finishes, plug your FT232R based device into a USB port. Windows 11 shows a brief notification at the bottom right saying “Setting up a device” followed by “Device is ready”. The driver is now bound and a COM port is assigned.
If the notification does not appear, unplug and replug the device. If it still does not appear, skip to the troubleshooting section below.
How to Verify the FT232R Driver Installed Correctly in Device Manager
Device Manager confirms whether the driver is bound and which COM port your FT232R device is using.
- Press Windows + X and click Device Manager
- Expand Ports (COM and LPT)
- Look for an entry named USB Serial Port (COMx) where x is a number
If you see USB Serial Port (COM3) or similar with no yellow warning icon, the driver is installed correctly.
You can also expand Universal Serial Bus controllers and look for USB Serial Converter to confirm the lower USB layer is also bound.
To check driver details:
- Right click USB Serial Port (COMx)
- Choose Properties
- Click the Driver tab
- Driver Provider should say FTDI
- Driver Version should match what you just installed
How to Find the Assigned COM Port Number
Software like Arduino IDE, PuTTY, and Tera Term need to know the exact COM port number to talk to your device. Here is how to find it.
Method 1: Device Manager
Open Device Manager, expand Ports (COM and LPT), and read the number in parentheses next to USB Serial Port. For example, USB Serial Port (COM5) means your device is on COM5.
Method 2: PowerShell
Open PowerShell and run:
Get-WmiObject Win32_SerialPort | Select-Object Name, DeviceID, DescriptionThis lists every serial port on your PC with the COM number and a description.
Method 3: Plug and Unplug Test
If multiple COM ports are listed and you cannot tell which one is your FT232R:
- Open Device Manager and expand Ports
- Unplug the FT232R device and watch which COM port disappears
- Plug it back in and the same COM port reappears
That is your FT232R port.
How to Change the COM Port Number
Windows sometimes assigns high numbers like COM18 or COM23, which some older software cannot use. To change it:
- Open Device Manager, right click USB Serial Port (COMx), choose Properties
- Click the Port Settings tab
- Click Advanced
- Pick a lower number from the COM Port Number dropdown
- Click OK twice
If Windows says the port is in use, pick a different number or restart your PC and try again.
Common FT232R Driver Errors and Fixes
Error: This Device Cannot Start (Code 10)
This usually means a counterfeit FT232R chip is installed. Some older FTDI drivers intentionally bricked counterfeit chips. To fix:
- Open Device Manager and find the FT232R device with the yellow warning
- Right click and choose Update driver
- Pick Browse my computer for drivers
- Choose Let me pick from a list of available drivers on my computer
- Select an older FTDI driver version (2.12.00 or earlier works for most counterfeit chips)
If the device still does not work, try the unofficial driver from your hardware supplier (Arduino clone vendors usually provide a working version).
Error: USB Device Not Recognized
This points to a hardware or cable problem, not a driver problem:
- Try a different USB cable (charge only cables are common, you need a data cable)
- Try a different USB port (use a direct port, not a hub)
- Test the device on another PC to rule out a dead chip
Error: No COM Port Appears After Driver Install
The USB layer is bound but the VCP layer is not. To fix:
- Open Device Manager
- Expand Universal Serial Bus controllers
- Find USB Serial Converter for your FT232R
- Right click and choose Properties
- Click the Advanced tab
- Check the Load VCP box
- Click OK, unplug the device, and plug it back in
The COM port should now appear under Ports (COM and LPT).
Error: Driver Installs but Arduino IDE Cannot Connect
Even with the driver working, the upload can fail if:
- The wrong COM port is selected in Tools > Port
- The wrong board type is selected in Tools > Board
- Another program (Serial Monitor, PuTTY) is holding the COM port open
Close any other serial software, select the correct COM port, and try again.
How to Uninstall and Clean Reinstall the FT232R Driver
If the driver is corrupted or the wrong version is installed, a clean reinstall fixes most problems.
Step 1: Uninstall the Current FTDI Driver
- Press Windows + I to open Settings
- Go to Apps > Installed apps
- Search for FTDI or Windows Driver Package – FTDI
- Click the three dots next to each FTDI entry and choose Uninstall
- Confirm each removal
Step 2: Remove the FT232R Device from Device Manager
- Plug in your FT232R device
- Open Device Manager
- Find USB Serial Port and USB Serial Converter entries
- Right click each and choose Uninstall device
- Check the Delete the driver software for this device box if it appears
- Click Uninstall
Step 3: Unplug the Device
Unplug the FT232R device from USB.
Step 4: Install the Latest Driver
Follow the standard installation steps above with the freshly downloaded FTDI driver package.
Step 5: Plug the Device Back In
Windows 11 will bind the new driver automatically and assign a fresh COM port.
Read More
- How to Download and Install AMD Chipset Drivers on Windows 11 (Version 8.05.04.516)
- How to Install Android Fastboot Drivers on Windows 11
- How to Fix Windows 11 No Device Drivers Were Found Error During Installation
- How to Install MIDI Drivers on Windows 11
- Canon Printer Drivers on Windows 11: How to Download & Install
The official FT232R driver from FTDI is the only safe download source. Avoid driver updater software promising to find FTDI drivers automatically, since most of these tools install outdated versions or bundle unwanted programs. If your device is a counterfeit FT232R clone, stick with FTDI driver version 2.12.00 or use the driver provided by your hardware vendor, since newer FTDI drivers may refuse to work with non genuine chips.
For everyday use, the steps above install the ft232r usb uart driver correctly on Windows 11, expose your device as a COM port, and get you connected through Arduino IDE, PuTTY, Tera Term, or any other serial software within a few minutes.

