Building the perfect base in Grounded 2 is more than just putting up walls and a lean-to. Your base location can make or break your survival run in Brookhollow Park. A well-placed base gives you quick access to resources, safer nights, and an easier time completing story objectives. But as the game progresses, your ideal spot will change—what works in the early game may leave you stranded later.
This guide covers the best base locations for early, mid, and late game, detailing their pros, cons, nearby resources, and danger levels so you can plan the ultimate survival setup.
See also: Grounded 2 Armor Sets & Bonuses Guide (Tier 1 to Tier 3)
Best Early-Game Base Locations
Early on, your priorities are safety, basic resources, and access to Ranger Outposts for scanning materials. You want somewhere flat, bug-free, and near essentials like grass, clay, and sap.
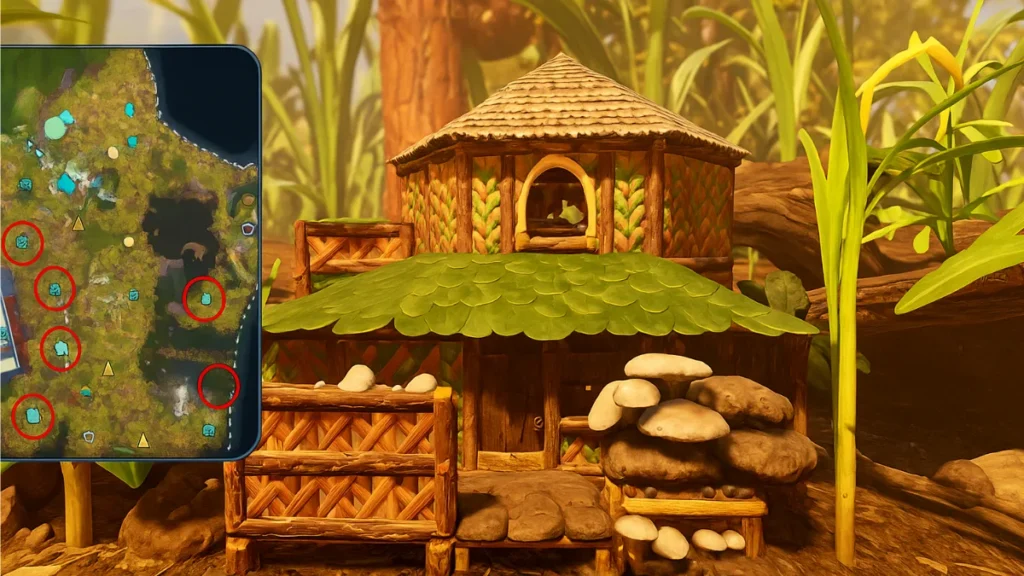
1. Ranger Outpost: Snackbar Clearing
- Pros: Easy access, safe zone, near basic resources
- Cons: Limited building space, far from late-game materials
- Nearby Resources: Grass, Dry Grass, Clover, Sap, Acorns
- Danger Level: None
The clearing in front of the Snackbar Ranger Outpost is the perfect starter base. Non-hostile creatures like Aphids and Weevils roam nearby for food, and the nearby Comms Array makes completing early missions easy. You can safely focus on learning crafting and building without constant bug threats.
2. Ranger Outpost: Trash Bags Clearing
- Pros: Huge flat area, creative building options, access to late-game resources
- Cons: Less central, some minor spider threats
- Nearby Resources: Clover, Clay, Sap, Pine Needles, Flower Petals
- Danger Level: Low (Spiderlings, Orb Weaver Jr.)
This location combines early-game safety with mid-game convenience. The open space in front of the outpost is perfect for large builds, and you can even expand to the rock ledge or wooden posts above for a defensible multi-level base. It also positions you closer to resources like Lingonberries and Pine Needles.
Best Mid-Game Base Locations
By the mid-game, you’ll need larger builds and access to rarer resources, while preparing to face tougher insects like Bombardier Beetles and Mosquitos.
3. Snackbar Front Wooden Table
- Pros: Huge flat surface, great for creative layouts, scenic and defensible
- Cons: Edge-of-map location, resources must be carried in
- Nearby Resources: Mint Shards, Mushrooms, Dry Grass, Clay
- Danger Level: Medium (Bombardier Beetle, Mosquitos)
This massive table in front of the Snackbar is one of the largest flat surfaces in the game, ideal for expansive structures without scaffolding. Start your build on the bottom-left corner to minimize bug aggro and expand as you gather materials.
Bringing materials here is easier if you build simple ramps or step chains, which let the Red Soldier Ant Buggy carry grass planks and weed stems without repeated manual hauling.
4. Ceremony Boulder
- Pros: Central location, natural high ground, great vantage point
- Cons: Limited space, surrounded by hostile bugs
- Nearby Resources: Dry Grass, Thistle Needles, Clover, Monster Parts
- Danger Level: High (Bombardier Beetle, Northern Scorpions, Orb Weaver)
The Ceremony Boulder is a risky but rewarding spot. Its elevated position gives you a bird’s-eye view of Brookhollow Park, perfect for spotting threats and resources. This is best attempted once you have strong armor and weapons, as the surrounding area is crawling with high-level enemies.
Best Late-Game Base Locations
Late-game bases prioritize defensibility, aesthetics, and central access to rare materials. By now, you’ll have advanced gear and transportation methods like the Red Soldier Ant Buggy, making material hauling easier.
5. Wooden Stumps Near Lamp Post
- Pros: Highly defensible, creative multi-level builds, central map location
- Cons: Requires extensive setup and material hauling
- Nearby Resources: Sap, Clover, Milkweed Tufts, Acorns, Pinecones
- Danger Level: Low (Wolf Spider, Orb Weaver)
These wooden stumps offer one of the safest and most creative late-game builds. Ground enemies cannot reach the top, letting you snipe raid waves from above. The location is also resource-rich and strategically central, giving quick access to the Picnic Table, Ice Cream Cart, and Fire Pit.
6. Statue Front Steps
- Pros: Huge open build space, panoramic views, safe once cleared
- Cons: No grass for building, requires scaffolding and hauling
- Nearby Resources: Crow Feathers
- Danger Level: Low (Mosquitos, easily avoided)
After you destroy nearby O.R.C. Transmitters, this spot becomes a late-game fortress. The wide concrete steps are ideal for a massive base or even a multi-building complex. Hauling building materials can be challenging, so consider building a ramp from the Ceremony area for easy access.
Tips for Choosing the Right Base Location in Grounded 2
Picking the perfect spot for your base can make survival much easier. A good location saves time on gathering resources, keeps you safe from bugs, and sets you up for smooth progression. Consider these tips:
- Check Nearby Resources: Early bases need grass and clay, while late-game bases benefit from rare materials like pinecones and feathers.
- Evaluate Enemy Activity: Spend some time scouting before committing. Avoid constant bug patrol routes.
- Consider Elevation: Elevated bases are safer from ground bugs and easier to defend during raids.
- Plan for Story Progression: Use Ranger Outposts to scan materials for blueprints, and clear O.R.C. Transmitters to permanently secure late-game bases.
- Plan for Expansion and Logistics: Use ramps and step chains for hauling resources with the Red Soldier Ant Buggy to save time and energy.
Related Guides You Might Like:
- Grounded 2 Orb Weaver Buggy Guide: How to Find Eggs and Hatch Your Spider Mount
- Grounded 2 Armor Sets & Bonuses Guide (Tier 1 to Tier 3)
- Grounded 2 Main Story Quests: Full Mission List and Objectives Guide
- Where to Find Praying Mantis in Grounded 2: All Spawn Locations & Farming Tips
- Grounded 2 Mint Shards: All Locations, Crafting Uses, and Farming Tips
- Grounded 2 Blueberries: All Locations, Farming Tips & Blueberry Leather Guide
Enjoyed this walkthrough? A small coffee from you keeps us going!
Buy Me a CoffeeYour support keeps Fdaytalk alive and helps us create more free gaming guides for the community.
With these best base locations in Grounded 2, you can build safely, progress through the story efficiently, and unleash your creativity without worrying about constant bug ambushes. Start small, expand smartly, and secure your place in Brookhollow Park. Play Now!

