The Kyocera Memory Allocation Failure error appears when the printer runs out of memory or fails to process a print job correctly. It stops the job mid-print and can lock up the print queue entirely.
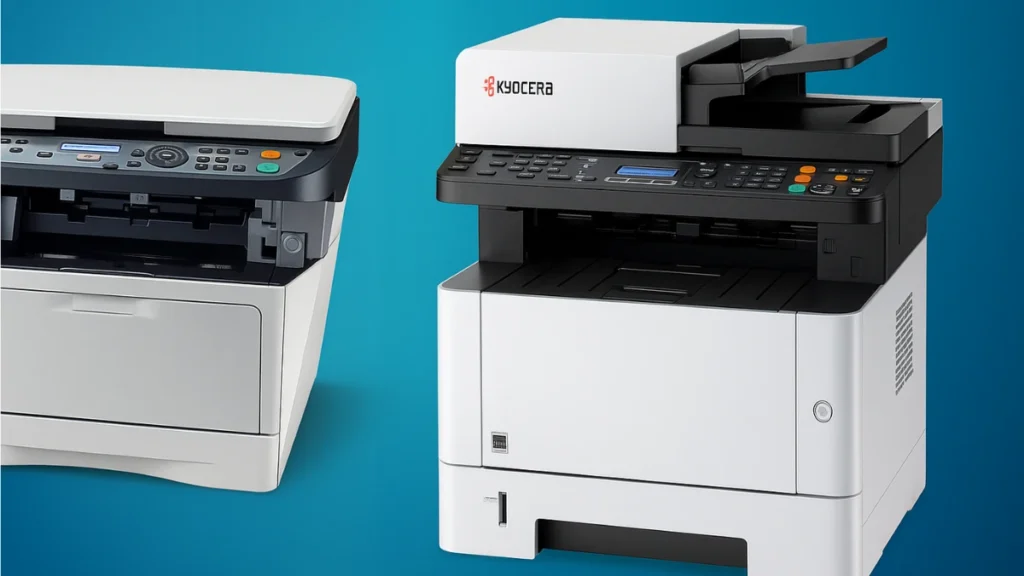
This error has four main causes:
- A print job that exceeds the printer’s available memory
- Outdated or corrupted printer firmware
- Misconfigured spooling or memory settings
- A faulty or loose RAM module inside the printer
This guide covers every fix, from a quick restart to a RAM upgrade, so you can clear the error and prevent it from returning.
Fix 1: Restart the Printer
A restart flushes all temporary memory and clears any stuck job data. This resolves the error in most cases.
- Press the Power button to turn off the printer.
- Unplug the power cable from the wall outlet.
- Wait 60 seconds to let all residual power drain.
- Reconnect the cable and power the printer back on.
- Send a small test page before retrying the original job.
If the error returns immediately, move to the fixes below.
Fix 2: Reduce the Print Job Size
Large files, high-resolution images, and complex layouts demand more memory than the printer can handle at once. Reducing the load directly reduces memory pressure.
- Split large documents into smaller batches of 10 to 20 pages.
- Lower the print resolution in Print Properties (300 dpi is sufficient for most office documents).
- Switch to black-and-white mode to drop color data processing requirements.
- Remove embedded high-resolution images or flatten them before printing.
- In busy offices, schedule large jobs during off-peak hours to avoid spooler overload from multiple simultaneous jobs.
Fix 3: Update Firmware and Drivers
Outdated firmware is a common cause of memory management failures in Kyocera printers. Firmware updates improve how the printer allocates and releases memory during jobs.
- Go to the Kyocera support website.
- Search for your exact printer model.
- Download the latest firmware package and run the installer.
- While there, also download the latest printer driver for your Windows version.
If you prefer an automated approach, a reliable best driver update tools for Windows 11 can scan and update the Kyocera driver without manual searching.
After updating, restart both the printer and your PC before testing.
Fix 4: Adjust Spooling Settings
The Windows print spooler controls how jobs transfer to the printer. The wrong spooling mode can overload printer memory before the job is ready to print.
- Open Control Panel and go to Devices and Printers.
- Right-click your Kyocera printer and select Printer Properties.
- Click the Advanced tab.
- Adjust spooling based on your job type:
- Start printing after last page is spooled works best for large or complex jobs. The PC processes the full job before sending it, reducing memory spikes on the printer.
- Print directly to the printer works for simple, single-page jobs where speed matters more.
- Click Apply, then OK.
This same Advanced tab is also worth checking if you encounter issues like Windows 11 Printer Error 0x00000709, since spooler misconfiguration causes that error too.
Fix 5: Clear Printer Memory
Residual or corrupted data stuck in printer memory can trigger allocation failures even on small jobs. Clearing memory removes that data without affecting your saved settings.
Method 1: Through the Printer Menu
- On the printer control panel, go to Menu.
- Navigate to Settings or Admin Setup.
- Select Reset and then Clear Memory.
- Confirm with OK and wait for the printer to restart.
Method 2: Through the Printer Driver Utility
- Open Control Panel and go to Devices and Printers.
- Right-click the Kyocera printer and select Printing Preferences.
- Open the Utility tab and click Reset Printer.
- Select Clear Memory to remove temporary data only.
Important: Clear Memory removes only temporary job data and cached print content. It does not erase your custom settings. Factory Reset, on the other hand, wipes all settings and downloaded fonts. Use Factory Reset only as a last resort.
Fix 6: Check and Reseat the RAM Module
A loose or partially seated RAM module causes intermittent memory errors that no software fix can resolve. This is a quick physical check worth doing before considering a RAM upgrade.
- Power off the printer completely and unplug the power cable.
- Locate the RAM slot, usually behind a small panel on the side or back of the unit. Check your printer manual for the exact location.
- Remove the RAM module by pressing the retention clips outward.
- Inspect the module for visible damage, burn marks, or bent pins.
- Reseat the module firmly until the retention clips click into place.
- Reconnect the power and test with a print job.
Even a module that looks properly seated can cause errors if it shifted slightly. Reseating it costs nothing and takes under five minutes.
Fix 7: Upgrade Printer RAM
If the printer handles high-resolution print jobs, large PDFs, or heavy office volumes regularly, the built-in RAM may simply be insufficient. Several Kyocera models support optional RAM expansion.
- Check your printer model’s spec sheet on the Kyocera website to confirm whether RAM expansion is supported and what modules are compatible.
- Purchase a compatible RAM module from Kyocera or a certified reseller.
- Install it following the same steps in Fix 6, inserting the new module into the available expansion slot.
A RAM upgrade permanently increases the buffer available for complex jobs and eliminates memory allocation errors caused by volume rather than configuration.
Fix 8: Contact Kyocera Support
If none of the above fixes work, the issue likely involves internal hardware damage or a firmware fault that requires a diagnostic tool.
Before contacting support, collect:
- Your exact printer model number (found on the front or bottom label)
- Current firmware version (found under Menu > Device Info or similar)
- A description of what triggers the error (specific file type, job size, or any pattern)
Kyocera support can run remote diagnostics or arrange a service visit if the hardware requires inspection.
How to Prevent Kyocera Memory Allocation Errors
A few habits keep this error from returning:
- Update firmware and drivers whenever Kyocera releases a new version.
- Split large or image-heavy documents before sending them to print.
- Clear printer memory once a month to remove accumulated residual data.
- Monitor the print queue during busy periods to avoid stacking too many jobs at once.
- If print volumes increase, evaluate a RAM upgrade before the errors begin.
Printer memory errors share root causes with other print failures. If you also see PCL XL Error on HP printers or an XPS Printer Error 1168 in Windows, the same driver and spooler checks above apply.
FAQ: Kyocera Memory Allocation Failure
What causes Kyocera memory allocation failure?
The error occurs when a print job exceeds the printer’s available memory, the firmware is outdated, spooling settings are misconfigured, or the RAM module is loose or damaged.
Does restarting the Kyocera printer fix memory allocation failure?
Yes, in most cases. Restarting flushes temporary memory and clears stuck job data, which resolves the error without any additional steps.
How do I clear memory on a Kyocera printer?
Go to Menu, then Settings or Admin Setup, select Reset, and choose Clear Memory. This removes temporary data without erasing your saved settings or custom profiles.
Can upgrading RAM permanently fix the Kyocera memory allocation error?
Yes, if the cause is insufficient memory capacity. A RAM upgrade increases the buffer available for large or complex jobs. If the cause is firmware or hardware damage, RAM alone will not fix it.
Why does the Kyocera memory allocation failure keep coming back?
The error returns when the root cause is not addressed. Regular firmware updates, splitting large print jobs, periodic memory clearing, and correct spooling settings prevent it from recurring.

