Installing software on macOS can feel slow and repetitive when you rely on manual downloads. That is where Homebrew makes a big difference. It simplifies everything by letting you install tools directly from the Terminal with a single command.
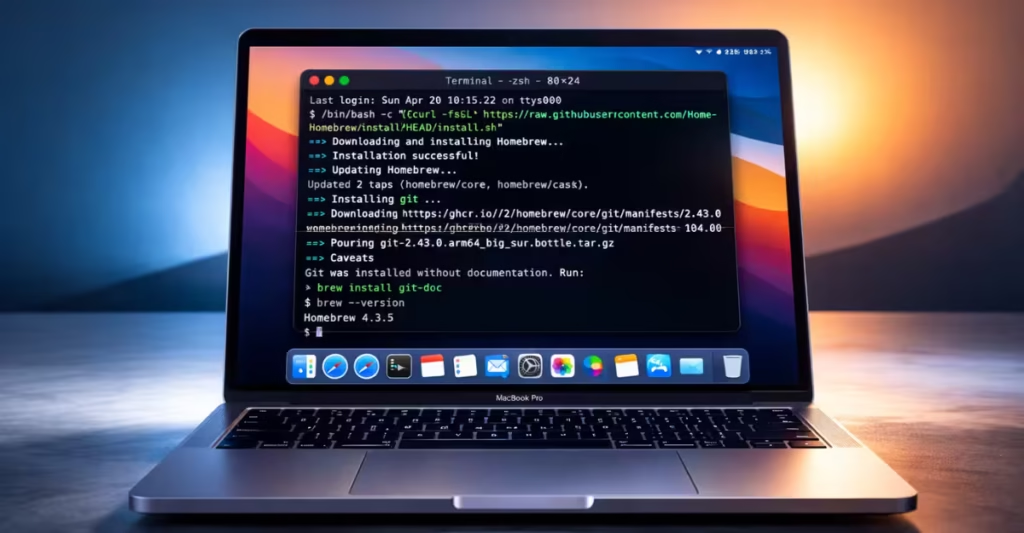
In this guide, you will learn how to install Homebrew on Mac step by step, even if you are a complete beginner. By the end, you will be ready to install apps, manage packages, and speed up your workflow.
What Is Homebrew?
Homebrew is a package manager for macOS that lets you install, update, and manage software using simple Terminal commands.
It works like an App Store for developers, but instead of clicking buttons, you run commands to install tools quickly and efficiently.
Why Use Homebrew on Mac?
Homebrew saves time and keeps your system organized. Instead of downloading apps manually from different websites, you can install everything from one place using simple commands.
It also makes updating and removing tools much easier. With one command, you can upgrade all your installed packages without checking each app individually.
Before You Begin
Before installing Homebrew, make sure your system meets the basic requirements below:
- macOS 12 Monterey or later (latest version recommended)
- Active internet connection
- Terminal access (pre-installed on every Mac)
- Around 500 MB of free disk space
Step 1 — Open Terminal
Press ⌘ Command + Space, type Terminal, and press Return.
Alternatively, open:
Finder → Applications → Utilities → Terminal
Step 2 — Install Xcode Command Line Tools
Homebrew requires Apple’s command-line tools. Run this command:
/usr/bin/xcode-select --installA popup will appear. Click Install and wait for it to complete (usually 5–10 minutes).
If the tools are already installed, you can skip this step.
Step 3 — Run the Homebrew Install Script
Copy and paste the official install command into Terminal:
/bin/bash -c "$(curl -fsSL https://raw.githubusercontent.com/Homebrew/install/HEAD/install.sh)"The script will:
- Show what it will install
- Ask for your Mac login password
- Download and install Homebrew automatically
Security Tip: Always verify the URL matches the official Homebrew website (brew.sh).
Step 4 — Add Homebrew to PATH (Apple Silicon Macs)
If you use an M1, M2, M3, or newer Mac, Homebrew installs in a different location. You need to add it to your PATH.
Run:
echo 'eval "$(/opt/homebrew/bin/brew shellenv)"' >> ~/.zprofile
eval "$(/opt/homebrew/bin/brew shellenv)"
If you use an Intel Mac, you can skip this step.
Step 5 — Verify the Installation
Run:
brew --versionYou should see something like:
Homebrew 4.x.xThen run:
brew doctorIf everything is fine, you will see: Your system is ready to brew.
Most Useful Homebrew Commands
Below are the most useful Homebrew commands you will use daily:
| Command | What It Does |
|---|---|
| brew install git | Install a package |
| brew uninstall git | Remove a package |
| brew update | Update Homebrew |
| brew upgrade | Upgrade all packages |
| brew list | Show installed packages |
| brew search wget | Search packages |
| brew info node | View package details |
Installing Apps with Homebrew Cask
Homebrew also installs full macOS apps using Cask.
Use:
brew install --cask google-chrome
brew install --cask visual-studio-code
brew install --cask rectangle
These apps install directly into your Applications folder.
Troubleshooting Common Issues
Even though installing Homebrew is simple, you might face a few issues. Here’s how to fix them quickly.
1. “brew: command not found”
Your system cannot find Homebrew.
Run the PATH commands again (Step 4), then restart Terminal.
2. Permission Errors
Do not use sudo with Homebrew.
Run:
brew doctorFollow the suggestions shown.
3. Slow Installation
Homebrew downloads from GitHub, so speed depends on your internet connection.
Let the process complete without interruption.
4. Xcode Tools Reinstall Loop
If macOS keeps asking for Xcode tools:
xcode-select --resetQuick Tip: If Homebrew installation fails, restart your Mac and try again. Most issues happen due to incomplete Xcode tool setup.
How to Uninstall Homebrew
To remove Homebrew completely, run:
/bin/bash -c "$(curl -fsSL https://raw.githubusercontent.com/Homebrew/install/HEAD/uninstall.sh)"This removes all Homebrew files and installed packages.
If you run into any issue while installing Homebrew, comment on fdaytalk.com and we will help you fix it step by step.

