If your Windows PC suddenly becomes sluggish and you notice svchost.exe consuming a large portion of your CPU in Task Manager, you’re not alone. This background process is essential to the operating system, but sometimes it can misbehave — especially after updates or service issues.
What Is Svchost.exe and Why It Uses High CPU
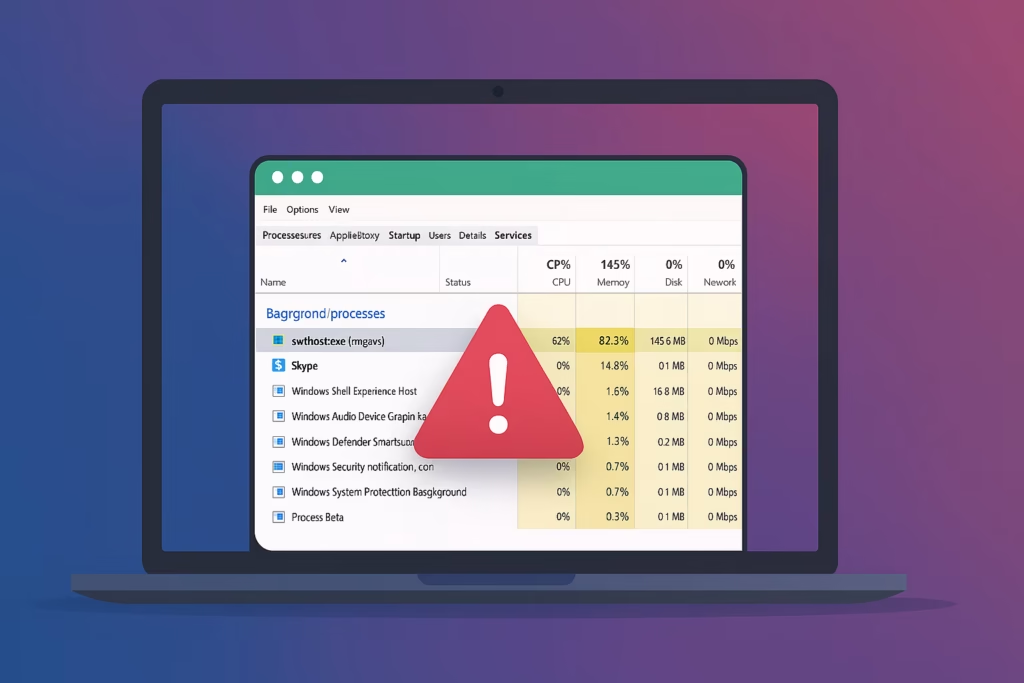
Svchost.exe (Service Host) is a Windows system process that runs background services like Windows Update, Superfetch, and others. Multiple svchost.exe instances usually run at once, each handling a set of services.
When one service malfunctions or loops, the CPU usage spikes — causing your computer to slow down. Common triggers include:
- Corrupted Windows Update cache
- Malware disguised as svchost.exe
- Excessive background services
- Large event logs or damaged system files
Before You Begin: Quick Fixes
Before moving to advanced methods, try these simple actions:
- Restart your PC – clears stuck service instances.
- Close unnecessary background applications – reduces overall CPU usage.
If the issue persists, continue with the steps below.
1. Scan for Malware or Fake Svchost.exe Processes
Malware is one of the most frequent causes of fake svchost.exe processes consuming system resources.
Steps:
- Press Windows + I → Privacy & Security → Windows Security → Virus & Threat Protection.
- Click Scan options → select Full scan → hit Scan now.
- Wait for the scan to complete and remove any threats found.
- Open Task Manager → Details tab → right-click svchost.exe → Open file location.
- The legitimate file path should be
C:\Windows\System32\. - If the file is located elsewhere, delete it — it’s likely malware.
- The legitimate file path should be
Fake svchost processes often disguise malicious scripts that drain CPU usage.
2. Identify and Disable Faulty Services
Each svchost.exe instance runs several services. If one service loops or hangs, CPU usage spikes.
Steps:
- Press Ctrl + Shift + Esc to open Task Manager.
- Go to the Details tab → right-click the svchost.exe using high CPU → select Go to Service(s).
- Observe the highlighted services.
- In the Services window:
- Right-click each suspected service → Stop.
- Monitor if CPU usage drops.
- Once identified, open services.msc → right-click the service → Properties → set Startup type: Disabled.
- Restart your PC.
Tip: Avoid disabling critical Windows services like RPC or Windows Audio.
3. Reset and Troubleshoot Windows Update
Windows Update is one of the most common causes of svchost.exe CPU spikes.
Steps to Reset Update Components:
- Press Windows + R, type
services.msc, and hit Enter. - Stop these services:
- Windows Update
- Background Intelligent Transfer Service (BITS)
- Cryptographic Services
- Go to
C:\Windows\SoftwareDistributionand rename the folder toSoftwareDistribution.old. - Restart your PC, then restart the stopped services.
Optional:
Run the Windows Update Troubleshooter:
- Go to Settings → System → Troubleshoot → Other troubleshooters → Windows Update → Run.
This tool automatically detects and repairs update-related errors.
It clears corrupted cache files and restarts update-related services, which are often responsible for high svchost CPU usage.
4. Clear Event Viewer Logs
Overloaded or corrupted logs can cause svchost.exe to continuously process data in the background.
Steps:
- Press Windows + R, type
eventvwr, and hit Enter. - In the left pane, navigate to:
Event Viewer → Windows Logs → Application, Security, Setup, System. - Right-click each → choose Clear Log… → confirm.
- Restart your PC and check CPU performance.
Clearing logs reduces background disk and CPU activity caused by constant event handling.
5. Run the System File Checker (SFC)
Corrupted system files can lead to persistent service loops within svchost.exe.
Steps:
- Open Command Prompt as Administrator.
- Type:
sfc /scannow - Wait for the verification process to complete.
- Restart your PC.
If issues persist, also run:
DISM /Online /Cleanup-Image /RestoreHealth
These tools automatically repair missing or corrupted system files that may trigger service malfunctions.
6. Roll Back Recent Windows Updates (Optional)
If the high CPU issue started right after a recent update, you can uninstall it temporarily.
Steps:
- Go to Settings → Windows Update → Update history → Uninstall updates.
- Select the most recent update and uninstall it.
- Restart your PC and monitor CPU usage.
Some updates introduce background service bugs. Rolling back lets Windows revert to a stable build.
Read More:
- How to Fix Nvidia GeForce GTX 760 Not Working on Windows 10 or 11 — Driver, BIOS, and Overheating Solutions
- Dwm.exe Crash Error in Windows 10/11: 8 Proven Fixes to Stop Desktop Window Manager Crashes
- How to Install MIDI Drivers on Windows 11
- How to Calibrate Xbox One Controller on Windows 11 (Step-by-Step Guide)
The svchost.exe process is vital to Windows but shouldn’t consume excessive CPU continuously.
By following this guide — from malware scans to resetting Windows Update and repairing system files — you can restore your computer’s normal performance without needing a full reinstall.
If the issue remains, creating a new user profile or performing a clean Windows installation can serve as a last resort.

