Running Windows 11 inside a virtual machine is fully supported—but only if the VM is configured correctly. Many installations fail because Secure Boot, TPM 2.0, or UEFI firmware are missing or misconfigured.
This guide walks you through exactly how to configure Windows 11 on VMware and Hyper-V, step by step.
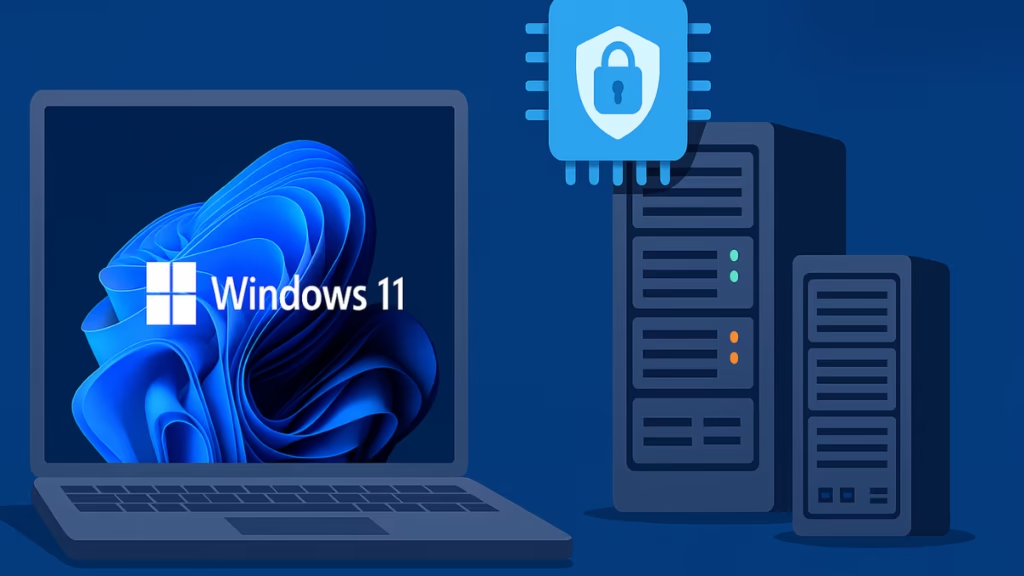
Why Windows 11 Fails to Install in Virtual Machines
Windows 11 enforces hardware checks even inside virtual environments. If any one requirement is missing, setup will stop with errors such as:
- “This PC can’t run Windows 11”
- TPM 2.0 not detected
- Secure Boot not supported
The solution is not bypassing checks—but configuring the VM properly.
Windows 11 Minimum Requirements for a Guest Virtual Machine
Before creating the VM, verify the host system supports virtualization (Intel VT-x or AMD-V enabled in BIOS).
Windows 11 VM Requirements
- CPU: 64-bit processor, 2+ cores, virtualization enabled
- RAM: 4 GB minimum (8 GB recommended)
- Storage: 64 GB or more (SSD strongly recommended)
- Firmware: UEFI (Legacy BIOS will fail)
- Secure Boot: Required
- TPM: TPM 2.0 (virtual TPM)
- Graphics: DirectX 12 compatible
- Display: 720p or higher
If any of these are missing, Windows 11 setup will block installation.
How to Install Windows 11 on VMware Workstation or Player
These steps apply to VMware Workstation Pro or Player version 16.2 or newer.
Step 1: Install VMware Correctly
- Download VMware Workstation Pro or Player
- Run the installer
- Restart the system after installation
A restart ensures virtualization drivers load properly.
Step 2: Create a New Virtual Machine (Correct Firmware Matters)
- Open VMware → Create a New Virtual Machine
- Select Installer disc image (ISO)
- Choose the Windows 11 ISO
- When prompted, select UEFI (not Legacy BIOS)
If UEFI is not selected here, Secure Boot and TPM will not work later.
Step 3: Configure VM Hardware (This Prevents Setup Errors)
Open VM Settings and configure:
- Processors: 2 processors / 2 cores minimum
- Memory: 4–8 GB RAM
- Disk: 64 GB virtual disk
- Options → Advanced: Enable Secure Boot
- Add Hardware → Trusted Platform Module (vTPM 2.0)
VMware supports virtual TPM natively. No workaround is required.
Step 4: Install Windows 11
- Power on the VM
- Boot from the ISO
- Complete Windows 11 setup normally
- After login, install VMware Tools
VMware Tools improves graphics, mouse input, and system stability.
How to Install Windows 11 on Hyper-V (Pro / Enterprise)
Hyper-V is only available on Windows 11 Pro, Enterprise, or Education.
Step 1: Enable Hyper-V
- Press Win + R, type
optionalfeatures.exe - Enable:
- Hyper-V Platform
- Hyper-V Management Tools
- Restart the system
Without a restart, Hyper-V will not function correctly.
Step 2: Create a Generation 2 Virtual Machine
- Open Hyper-V Manager
- Click New → Virtual Machine
- Select Generation 2 (mandatory for UEFI)
- Assign:
- 4–8 GB RAM
- 2 or more virtual processors
- Create a 64 GB virtual hard disk
- Attach the Windows 11 ISO
Step 3: Enable Secure Boot and TPM
Before starting the VM:
- Open VM Settings → Security
- Enable Secure Boot
- Add Trusted Platform Module (TPM)
This is the most commonly missed step in Hyper-V setups.
Step 4: Install Windows 11
- Start the VM
- Proceed with Windows 11 installation
- After setup, run Windows Update to install drivers
FAQs
Can Windows 11 run on VMware Player?
Yes. VMware Player 16.2+ supports Secure Boot and TPM 2.0.
Is TPM required for Windows 11 in a VM?
Yes. Windows 11 requires TPM 2.0 even in virtual machines.
Can I bypass Windows 11 VM requirements?
While bypass methods exist, they are not recommended and may break updates.
Does Hyper-V work on Windows 11 Home?
No. Hyper-V requires Pro, Enterprise, or Education editions.
Which is better for Windows 11: VMware or Hyper-V?
VMware offers better flexibility; Hyper-V integrates tightly with Windows.
Installing Windows 11 in a virtual machine is reliable once the firmware, Secure Boot, and TPM requirements are met. Most failures occur because these settings are skipped during VM creation.
By following this guide in order exactly you can run Windows 11 safely for testing, development, or daily use without affecting your main system.

