Shinobi: Art of Vengeance is built around a Metroidvania design philosophy, rewarding players who explore thoroughly and return to earlier levels with new abilities. Among its many secrets, Oboro Relics are especially important. Each stage contains exactly five (5) of these collectibles, and gathering them expands the Yokai Shopkeeper’s inventory, unlocking new items and upgrades that are essential for progression.
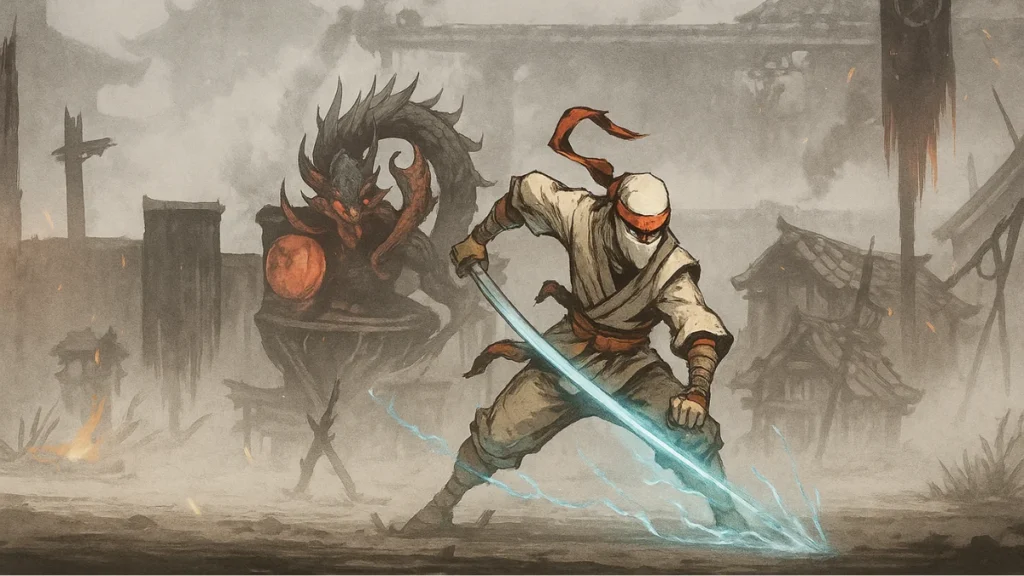
The game’s opening stage, Oboro Village, may look simple at first, but it hides all five (5) relics in clever locations. Some can be picked up during the tutorial, while others require revisiting the level with skills earned in later stages. This guide shows you how to find them all.
Required Skills to Access Every Oboro Relic
Before you begin hunting, note that several relics in Oboro Village require the Sword Dive ability, which you unlock in the Submarine Base stage. Without it, you won’t be able to break through the Yokai floor barriers blocking certain chests.
Although not required for the relics themselves, other skills such as Cannon Punch (Lantern Festival), Ninja Hook (Neo City), and Ninja Claws (The Mountain) are also important, since they unlock access to Elite Squads, Secret Chests, and the Ankou Rift in this stage.
All Oboro Relic Locations in Oboro Village
Oboro Relic 1 – Village Ruins Shrine
From the Village Ruins fast travel point, head left and jump up to the spot where you fought the game’s first archer. You’ll see a sealed platform above. To break through, you need the Sword Dive skill, unlocked later in the Submarine Base stage. Once inside, open the chest to claim the relic.
Oboro Relic 2 – Antechamber Dojo
After clearing the first Elite Squad, return to the Antechamber shrine. Go into the next room, move all the way to the right, and drop to the bottom floor. This isolated dojo-style room contains a chest holding the second relic.
Oboro Relic 3 – Attic / Ankou Rift Chamber
To the left of the Ankou Rift, you’ll find two vertical walls Musashi can wall-jump between. Ascend quickly, and at the top, you’ll find three chests. One of them contains the third relic.
Oboro Relic 4 – Collapsed Bridge Chamber
From the Collapsed Bridge shrine, continue along the main path on the right until you reach a higher vantage point in the large chamber. From here, leap off the left side while holding toward the western wall. You’ll land on a hidden platform with a chest holding the fourth relic.
Oboro Relic 5 – Tutorial Gift
The final relic is the easiest to find—it’s awarded during the tutorial sequence near the shop where you first learn about relics. This one is unmissable.
Quick View: Oboro Relics Location
| Relic | Nearest Shrine | Requirement / Tip |
|---|---|---|
| #1 | Village Ruins | Sword Dive to break platform above archer ledge |
| #2 | Antechamber | Bottom chest in isolated dojo room |
| #3 | Attic (Rift chamber) | Sword Dive to access, wall-jump to chest cluster |
| #4 | Collapsed Bridge | Reach ledge via wall-jump or drop from above |
| #5 | Tutorial / Shop | Given automatically |
Best Order to Collect All Oboro Relics
Once you’ve unlocked Sword Dive, you can clear all five relics in a single run through Oboro Village:
- Start at Village Ruins for Relic #1.
- Move to Antechamber and pick up Relic #2 in the dojo room.
- Head to the Attic, Sword Dive down to the rift chamber, and climb for Relic #3.
- Continue to Collapsed Bridge and grab Relic #4 from the hidden ledge.
- Remember Relic #5 is already secured from the tutorial.
This order minimizes backtracking and makes efficient use of fast-travel shrines.
What Oboro Relics Unlock in the Game
- Unlock Shop Upgrades: Oboro Relics expand what the Yokai Shopkeeper can offer, giving you access to stronger gear and abilities earlier in the game.
- Encourage Replayability: Because some relics are locked behind abilities like Sword Dive or Ninja Hook, you’ll need to revisit Oboro Village after progressing further. This ties into the game’s Metroidvania philosophy of rewarding thorough exploration.
Pro Tips for 100% Completionists
- Always make note of barriers and unreachable areas during your first playthrough—chances are, a relic is hidden there.
- Return after clearing the Submarine Base and Neo City stages, as the Sword Dive and Ninja Hook are critical for uncovering blocked relics and secrets.
- While Oboro Village looks like a simple introduction, it actually sets the tone for how secrets will be hidden in every later stage.
Related Guides You Might Like:
- MGS Delta Snake Eater: All Secret Radio Frequencies – Healing, Fire Support, Alerts, Doors
- Pokemon GO Level Cap Increase: Trainer Level Expands from 50 to 80 in October 2025
- Discounty Beginner Tips and Tricks: Complete Guide for New Players
- Pokemon GO Necrozma Shiny Guide: Raid Counters, Fusions & 100% IVs
Finding all Oboro Relics in Shinobi: Art of Vengeance is more than just a completionist task—it directly affects your progression by expanding shop options and ensuring you’re well-equipped for tougher stages. Oboro Village is only the beginning, but mastering its secrets teaches you the exploration habits you’ll need throughout the rest of the game. Play Now!

